Welcome to Moda Fabrics!
Ombre Pinwheel Quilt
Ombre Pinwheel Quilt
Published:
Jun 11 2015 - 23:00
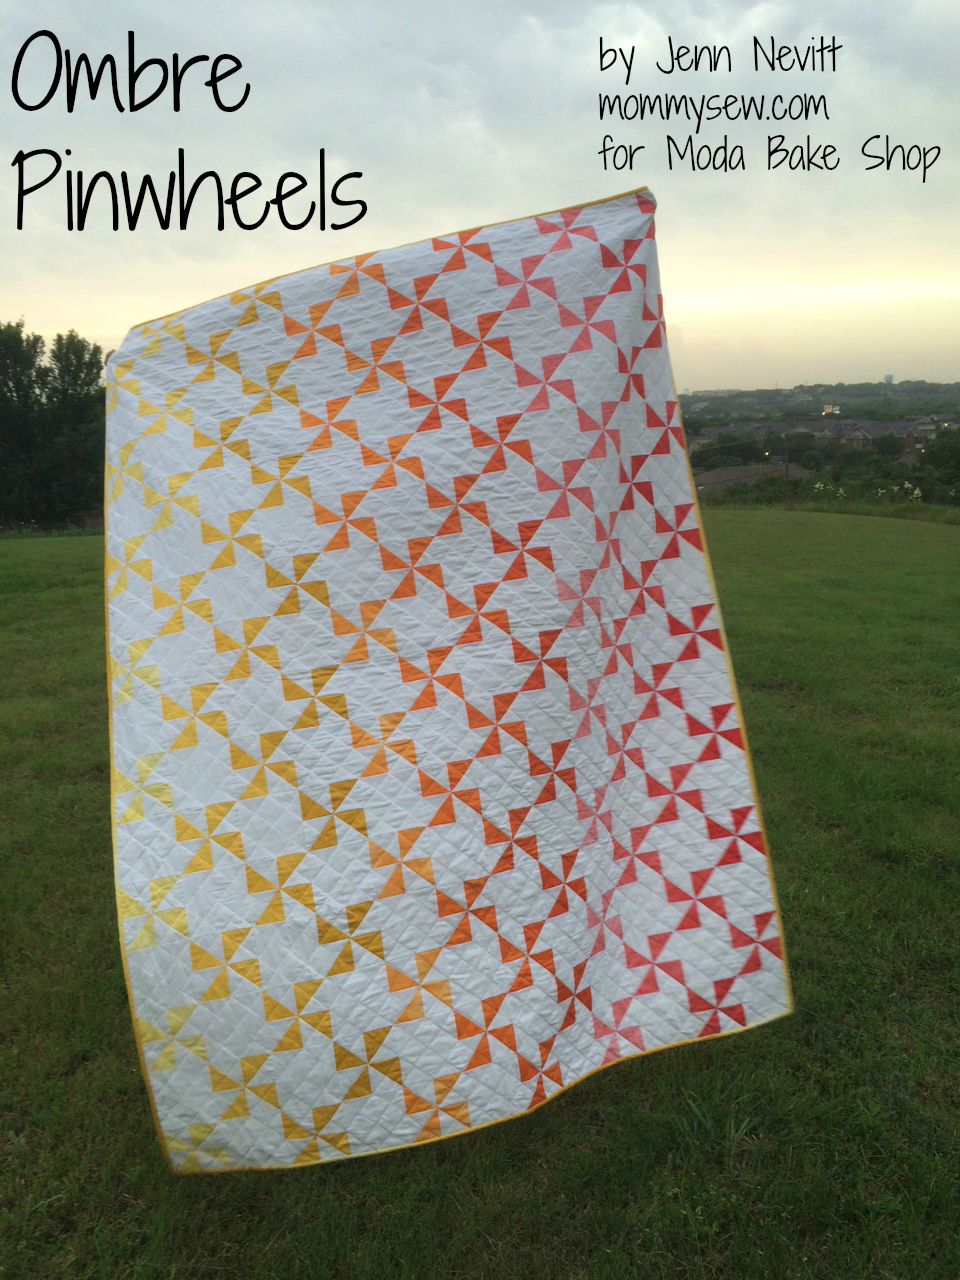

Hi and welcome to my pattern for the Ombre Pinwheels Quilt! I’m very excited to be here with you today to share this project. I originally made a version of this quilt a few years ago, using different shades of solids, and when I saw that Vanessa Christensen was releasing a selection of ombre prints again with her new Simply Colorful collection, I couldn’t resist seeing how they would work in this pattern!
![]()
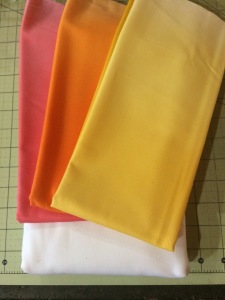
One half yard of each of three shades of the ombre fabric from Vanessa Christenson's Simply Colorful 1 OR 6 fat quarters of coordinating prints
3.5 yards of Moda Bella White (background)
4.5 yards of backing fabric
1/2 yard of binding fabric
![]()
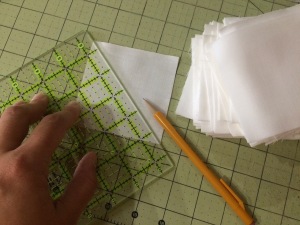
Using your rotary cutter and ruler, cut each half yard of ombre fabric into five 3.5” strips. Sub cut these strips into 3.5” squares. You should have 60 squares from each color. Before you remove your fabric from your cutting mat, organize your squares by the darkness of the color
.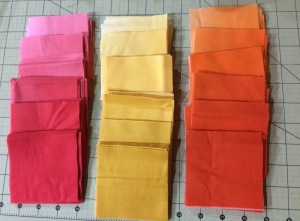
You should be able to cut 12 squares from each row, so I organized mine into six groups. Label each group with a number. In my pictures, the darkest part of the fabric was labeled 1, and the lightest 6, but you can arrange them however you want. It is important to keep your labels on your solids throughout the piecing! I pieced one set of HSTs at a time, and pressed and trimmed one set at a time so I could easily keep them labeled.
From your background fabric, cut fifteen 3.5” strips, sub cut into 180 3.5” squares.
From your background fabric cut thirteen 5.5” strips, sub cut 90 5.5” squares.
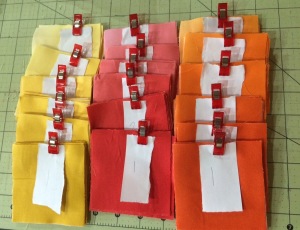
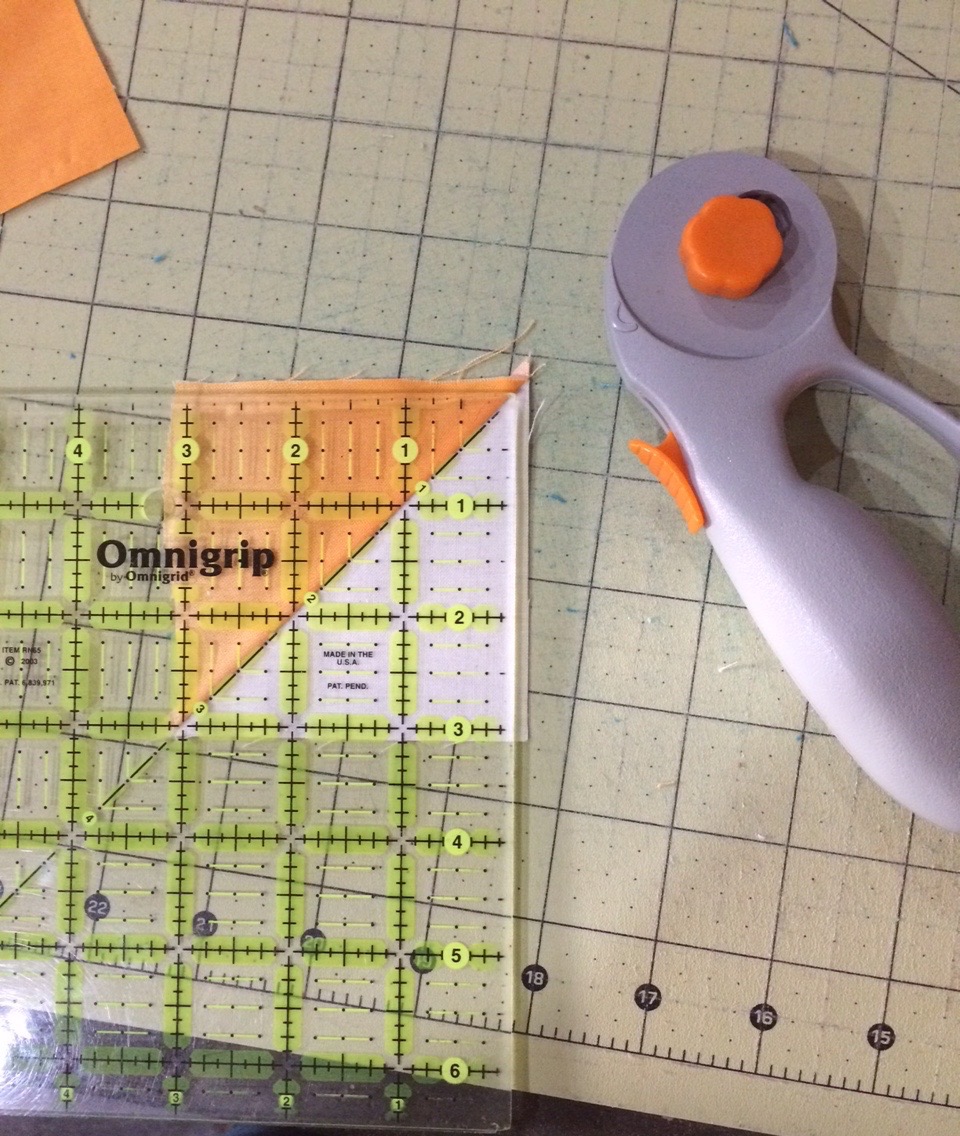
On the back of your 3.5" white squares, mark a diagonal line. Place a white square on top of a color square, RST.

Sew 1/4” away from this line on both sides, and then cut on the marked line. Press your seam to the dark side and trim your HSTs to 3”.
Arrange your HSTs into groups of four, creating a pinwheel design.
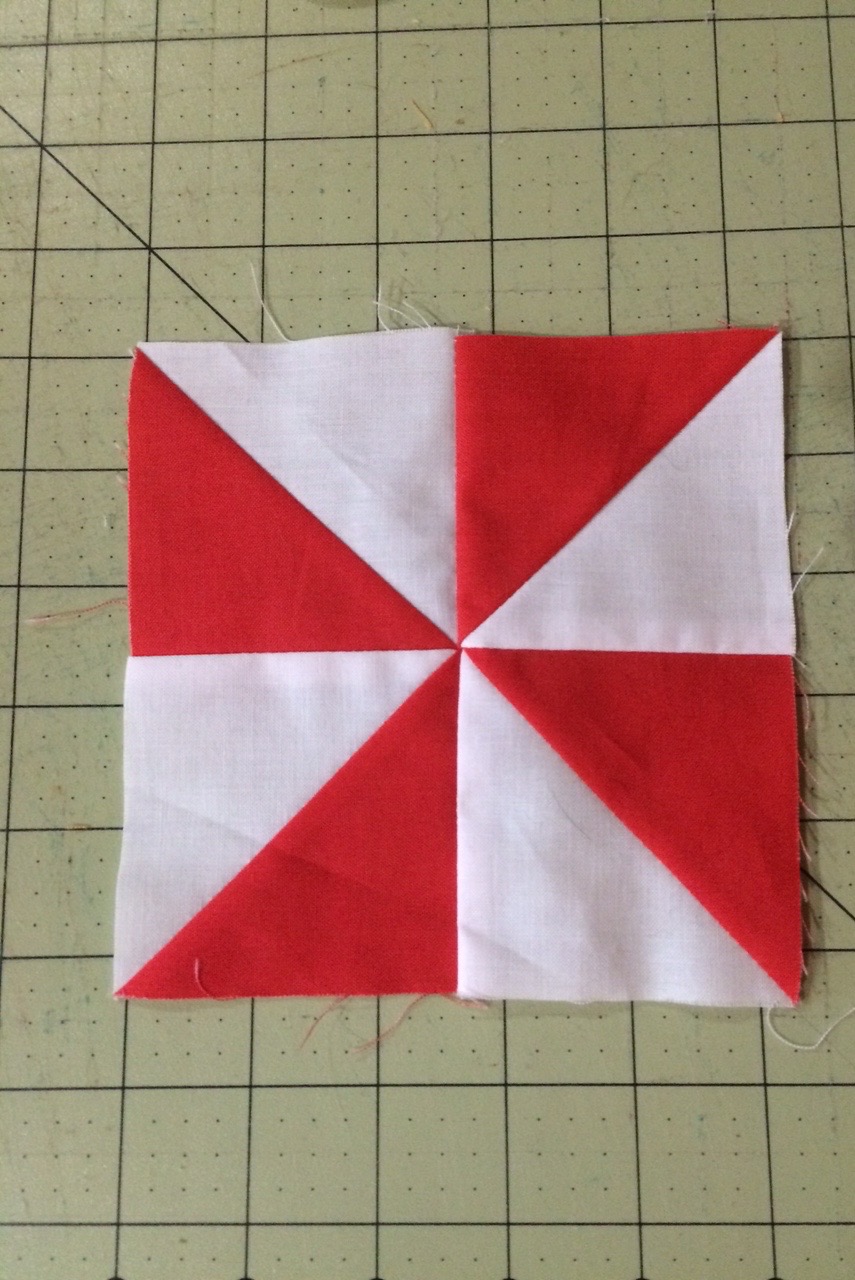
Sew together and press your seams. I sewed my top two blocks and bottom two blocks together, and then sewed the top row to the bottom row. Trim your pinwheel to 5.5" if necessary.
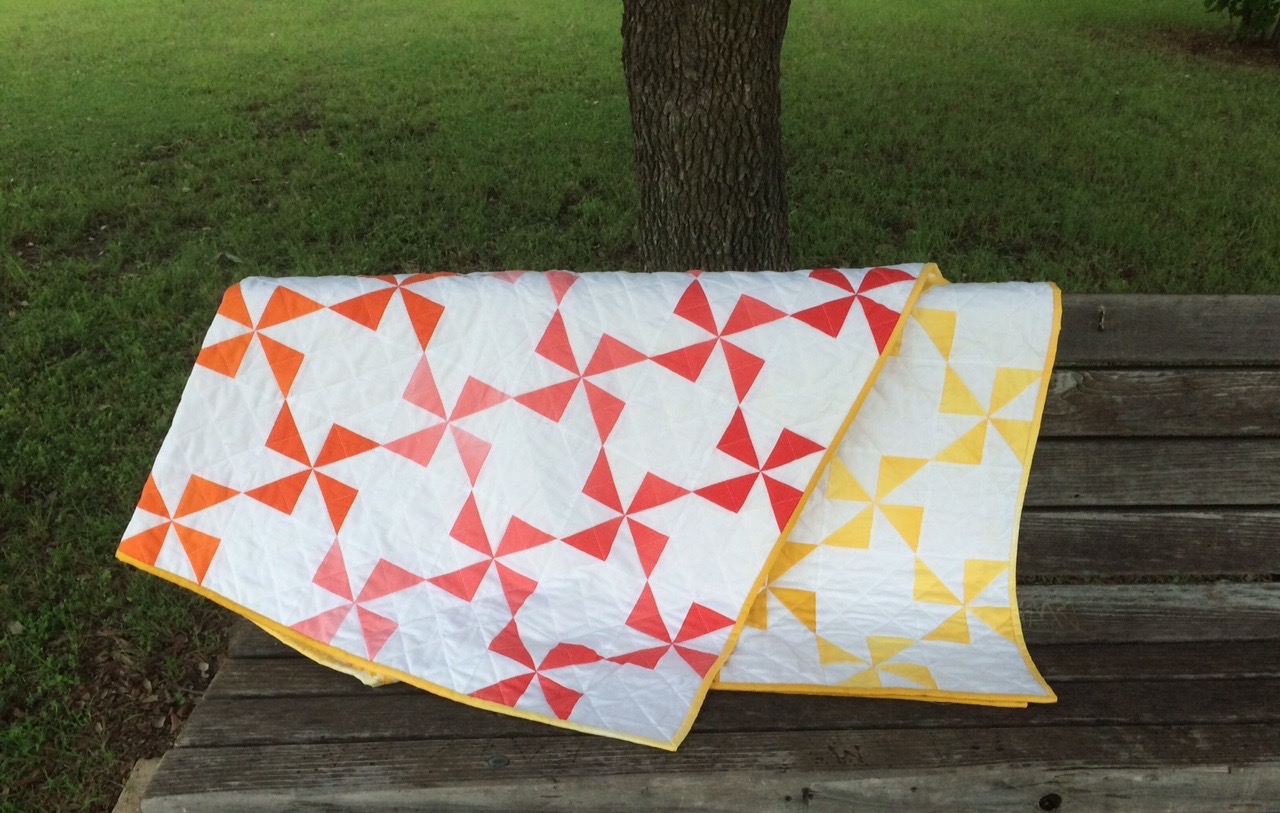
Using your design wall, or other method of laying out your squares, arrange your pinwheels in your desired pattern. I arranged mine starting with the lightest shade of the lightest color (yellow), and then continued to orange and red. My shading was arranged lightest-darkest, and I alternated my columns - the first column the lightest pinwheel is at the bottom, and they get darker going up. The next column starts light, and gets dark going down. This gives the illusion that the color is moving through the quilt. Alternate your pinwheel blocks with white background squares. Create a column A that begins with a pinwheel block at the beginning and end of the column, and a column B that begins and ends with a white square. Alternate your columns and sew together.
![]()
60"x75" throw quilt perfect for a summer picnic!
Jenn Nevitt
{mommysew.com}
![]()
Posted in: