Welcome to Moda Fabrics!
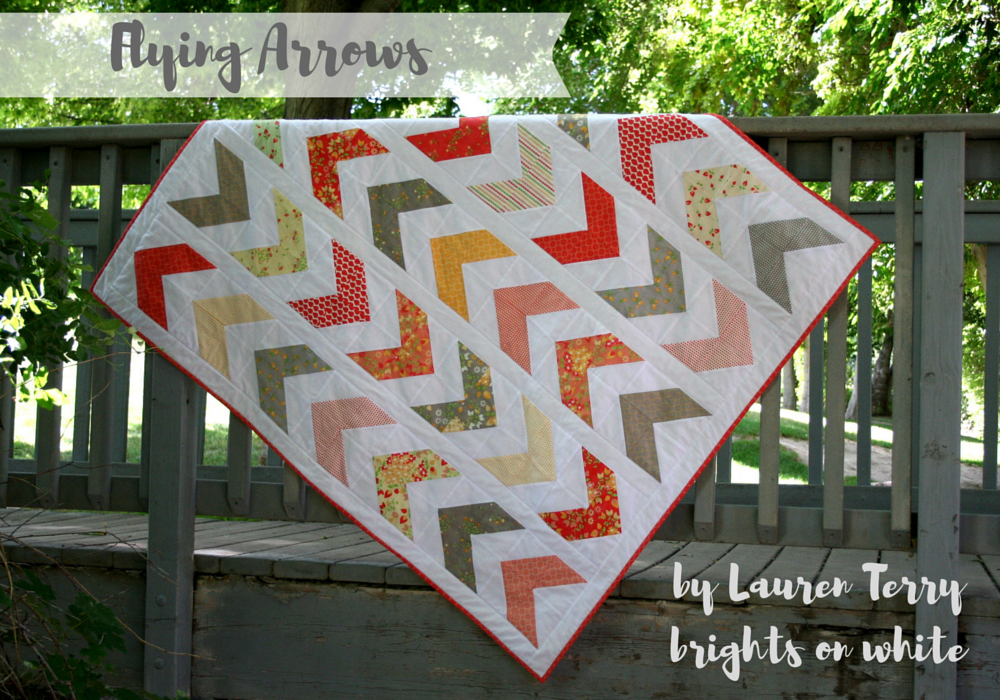
Flying Arrows Quilt
Flying Arrows Quilt
Published:
Aug 16 2016 - 23:00

I'm Lauren Terry. I'm a blogger and pattern designer. I also love dancing to folk music, riding bikes with my family and reading. I'm giving away some FREE FABRIC. To enter, head over to my blog and leave a comment on this post (housed on my personal blog, brights on white). Also, look out for a great quilt along this fall. (For those of you with a little boy in your life who loves trains - you won't want to miss this!)
Today, I'm showing you a simple design with half square triangles and I'm using the Sundrops line. Please do not copy or redistribute the pattern, but feel free to let others know where they can download it.
Download the FREE PDF INSTRUCTIONS here:
![]()
- 1 Layer Cake (you'll use 18 squares)
- 1 Bella Solids Layer Cake (18 squares needed)
- 1 Bella Solids Junior Jelly Roll (11 strips needed)
- 3/4 yard binding fabric
- 4 yards batting, or a piece 60" x 70"
- 4 yards backing fabric
![]()
Draw a diagonal line on your 10" square so it makes an "X"
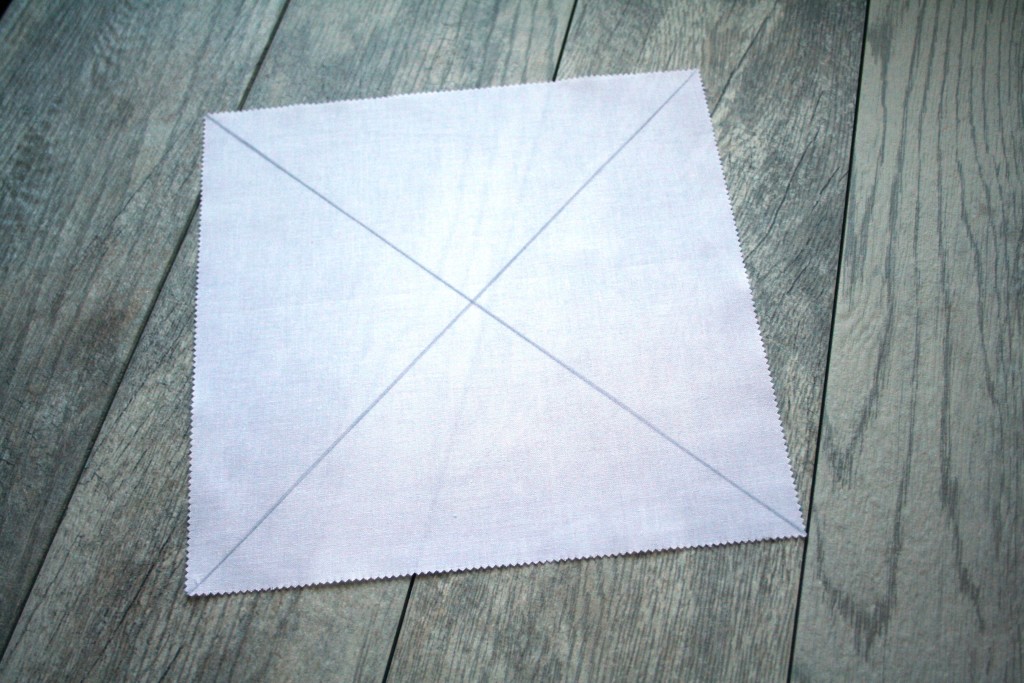
Place the neutral squares on top of your patterned square, so the right sides are together.

Sew 4 lines, one on either side of the lines you drew. Use a 1/4" (as always).

Press the piece to set the seam. This will make things sharper in the end.

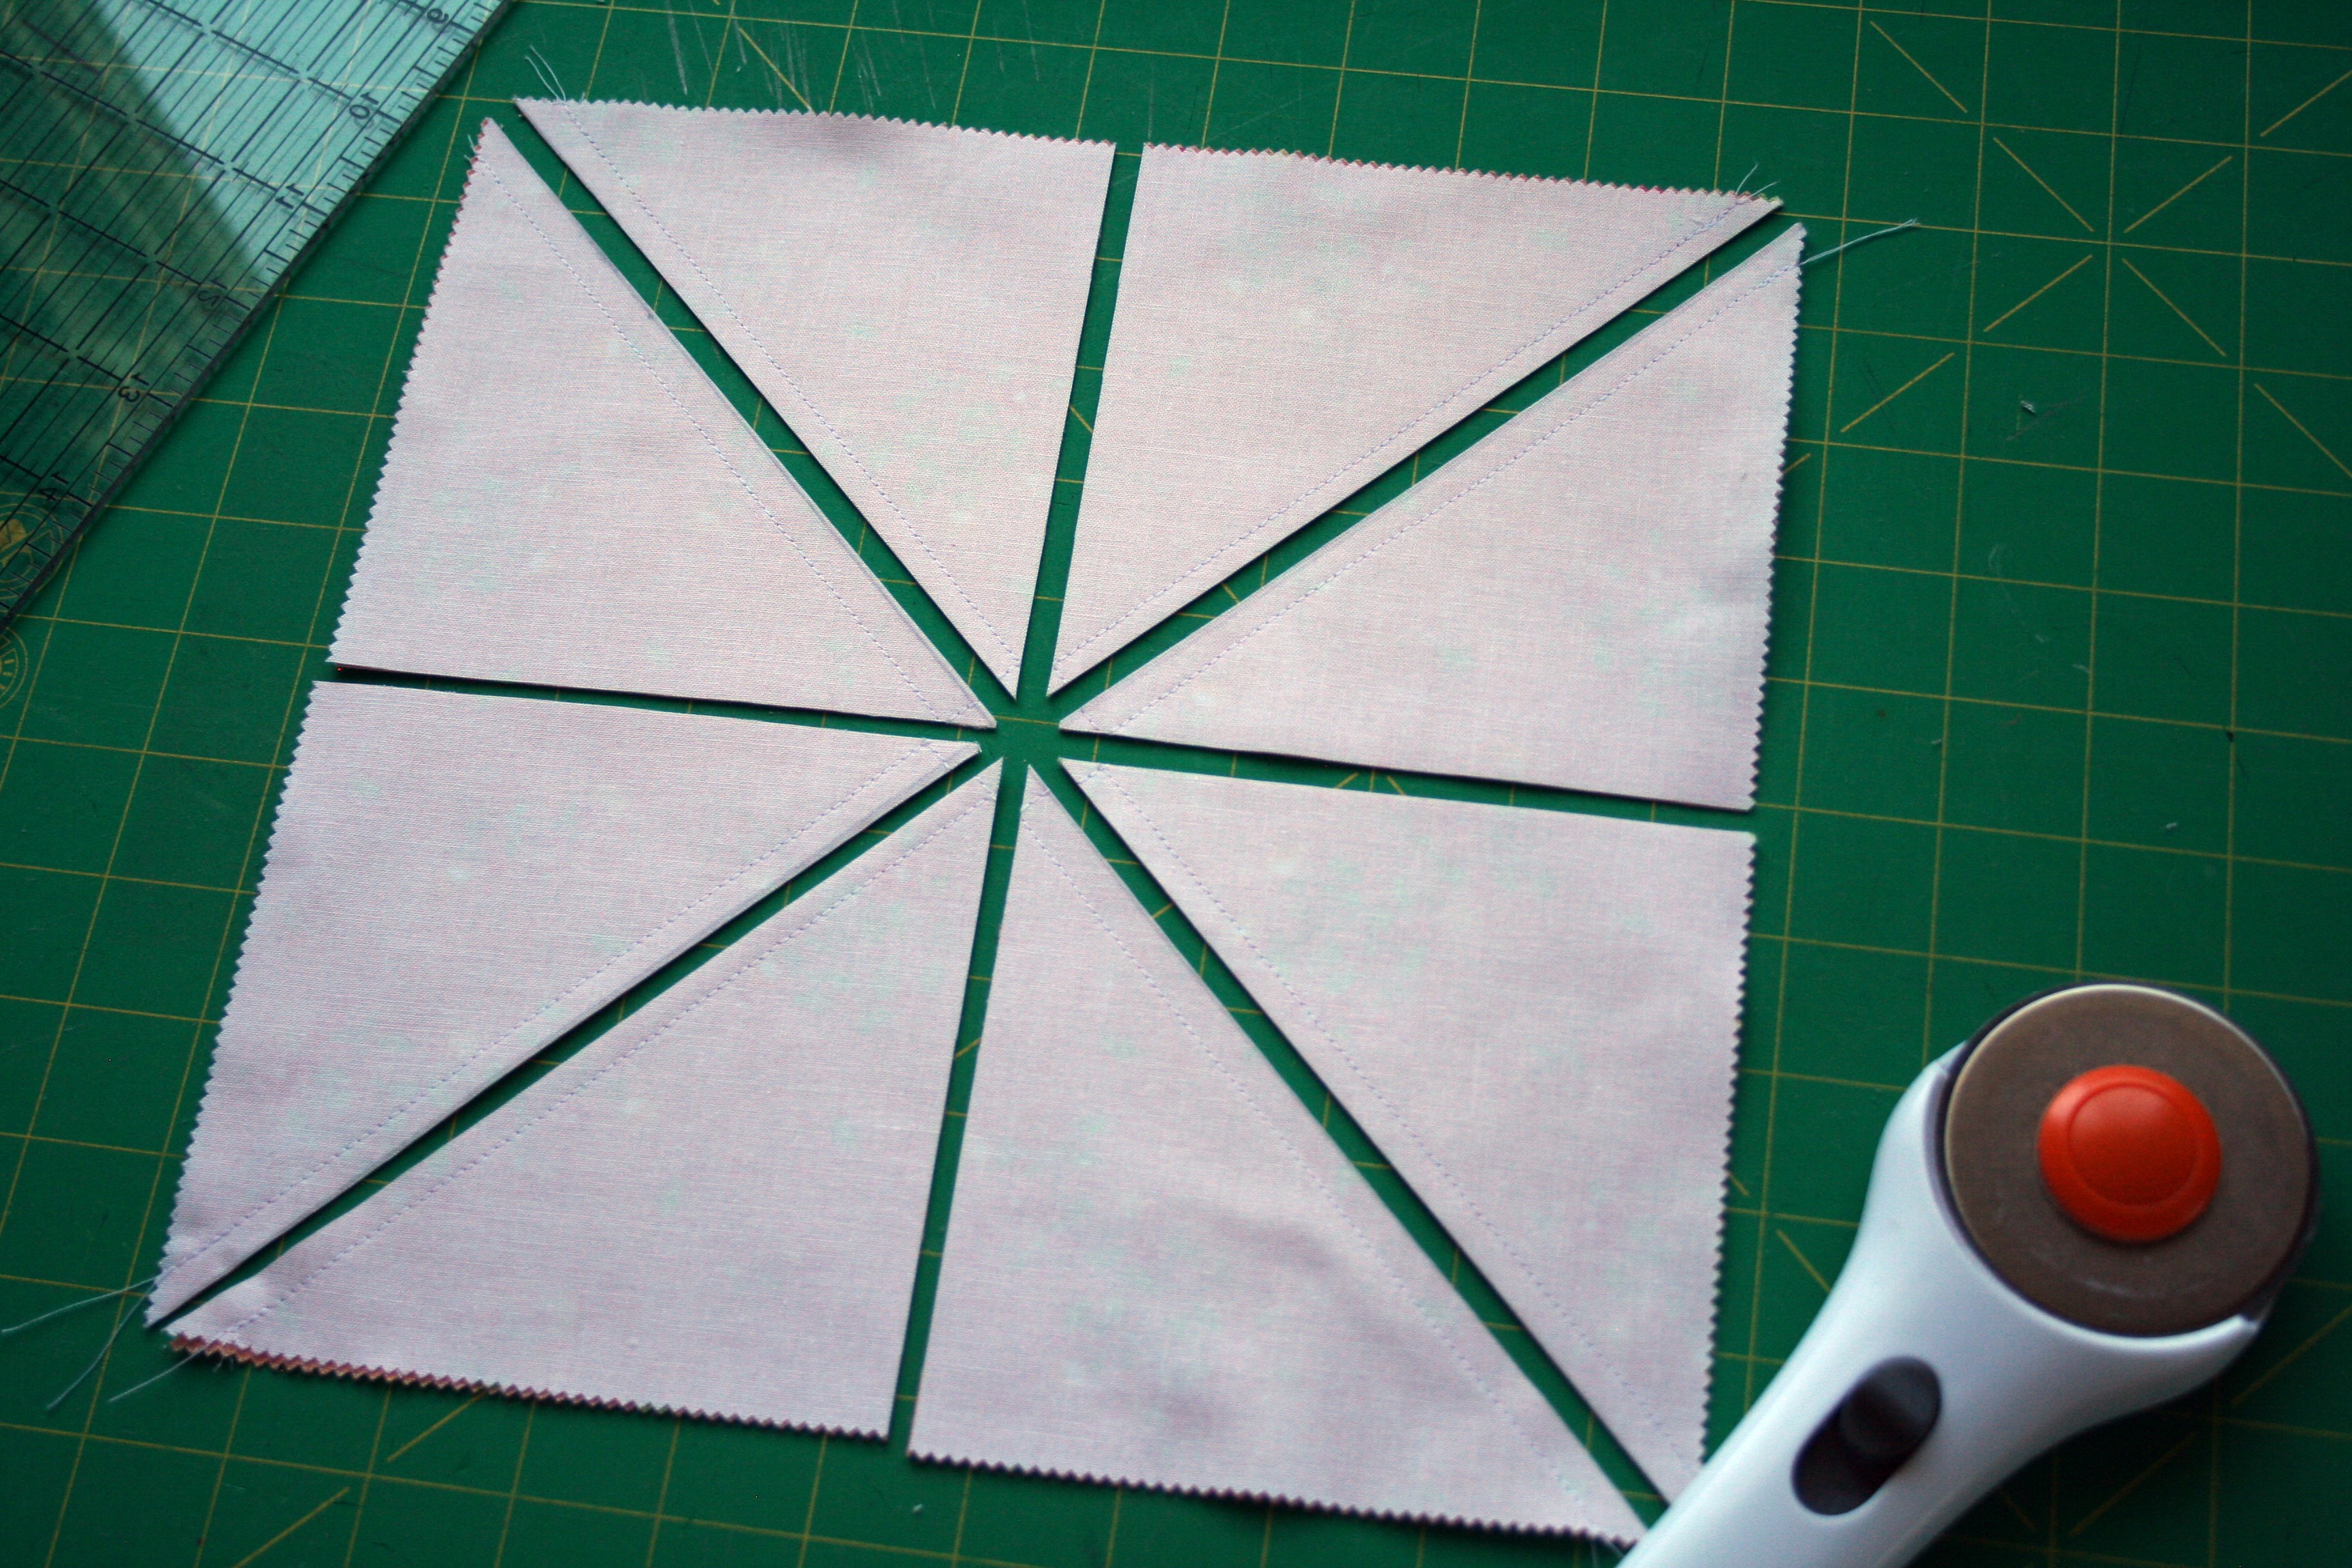
Now we'll cut these to make 8 half square triangles. We'll do 4 cuts total to each piece. One vertical...

One horizontal....

Then on the diagonal lines you drew earlier...
Now you need to square up your half square triangles to 4.5" x 4.5" I really love the "Quilt in a Day Square-up Ruler" Seriously, it's the best. Here's a couple pics of how it works. If you don't have one, just square it up the conventional way after it's ironed open.


Each piece will make 8 Half Square Triangles. Press 4 of the seam of the seam allowances to the dark side and 4 of them to the light side. Use two of each kind to make one block.
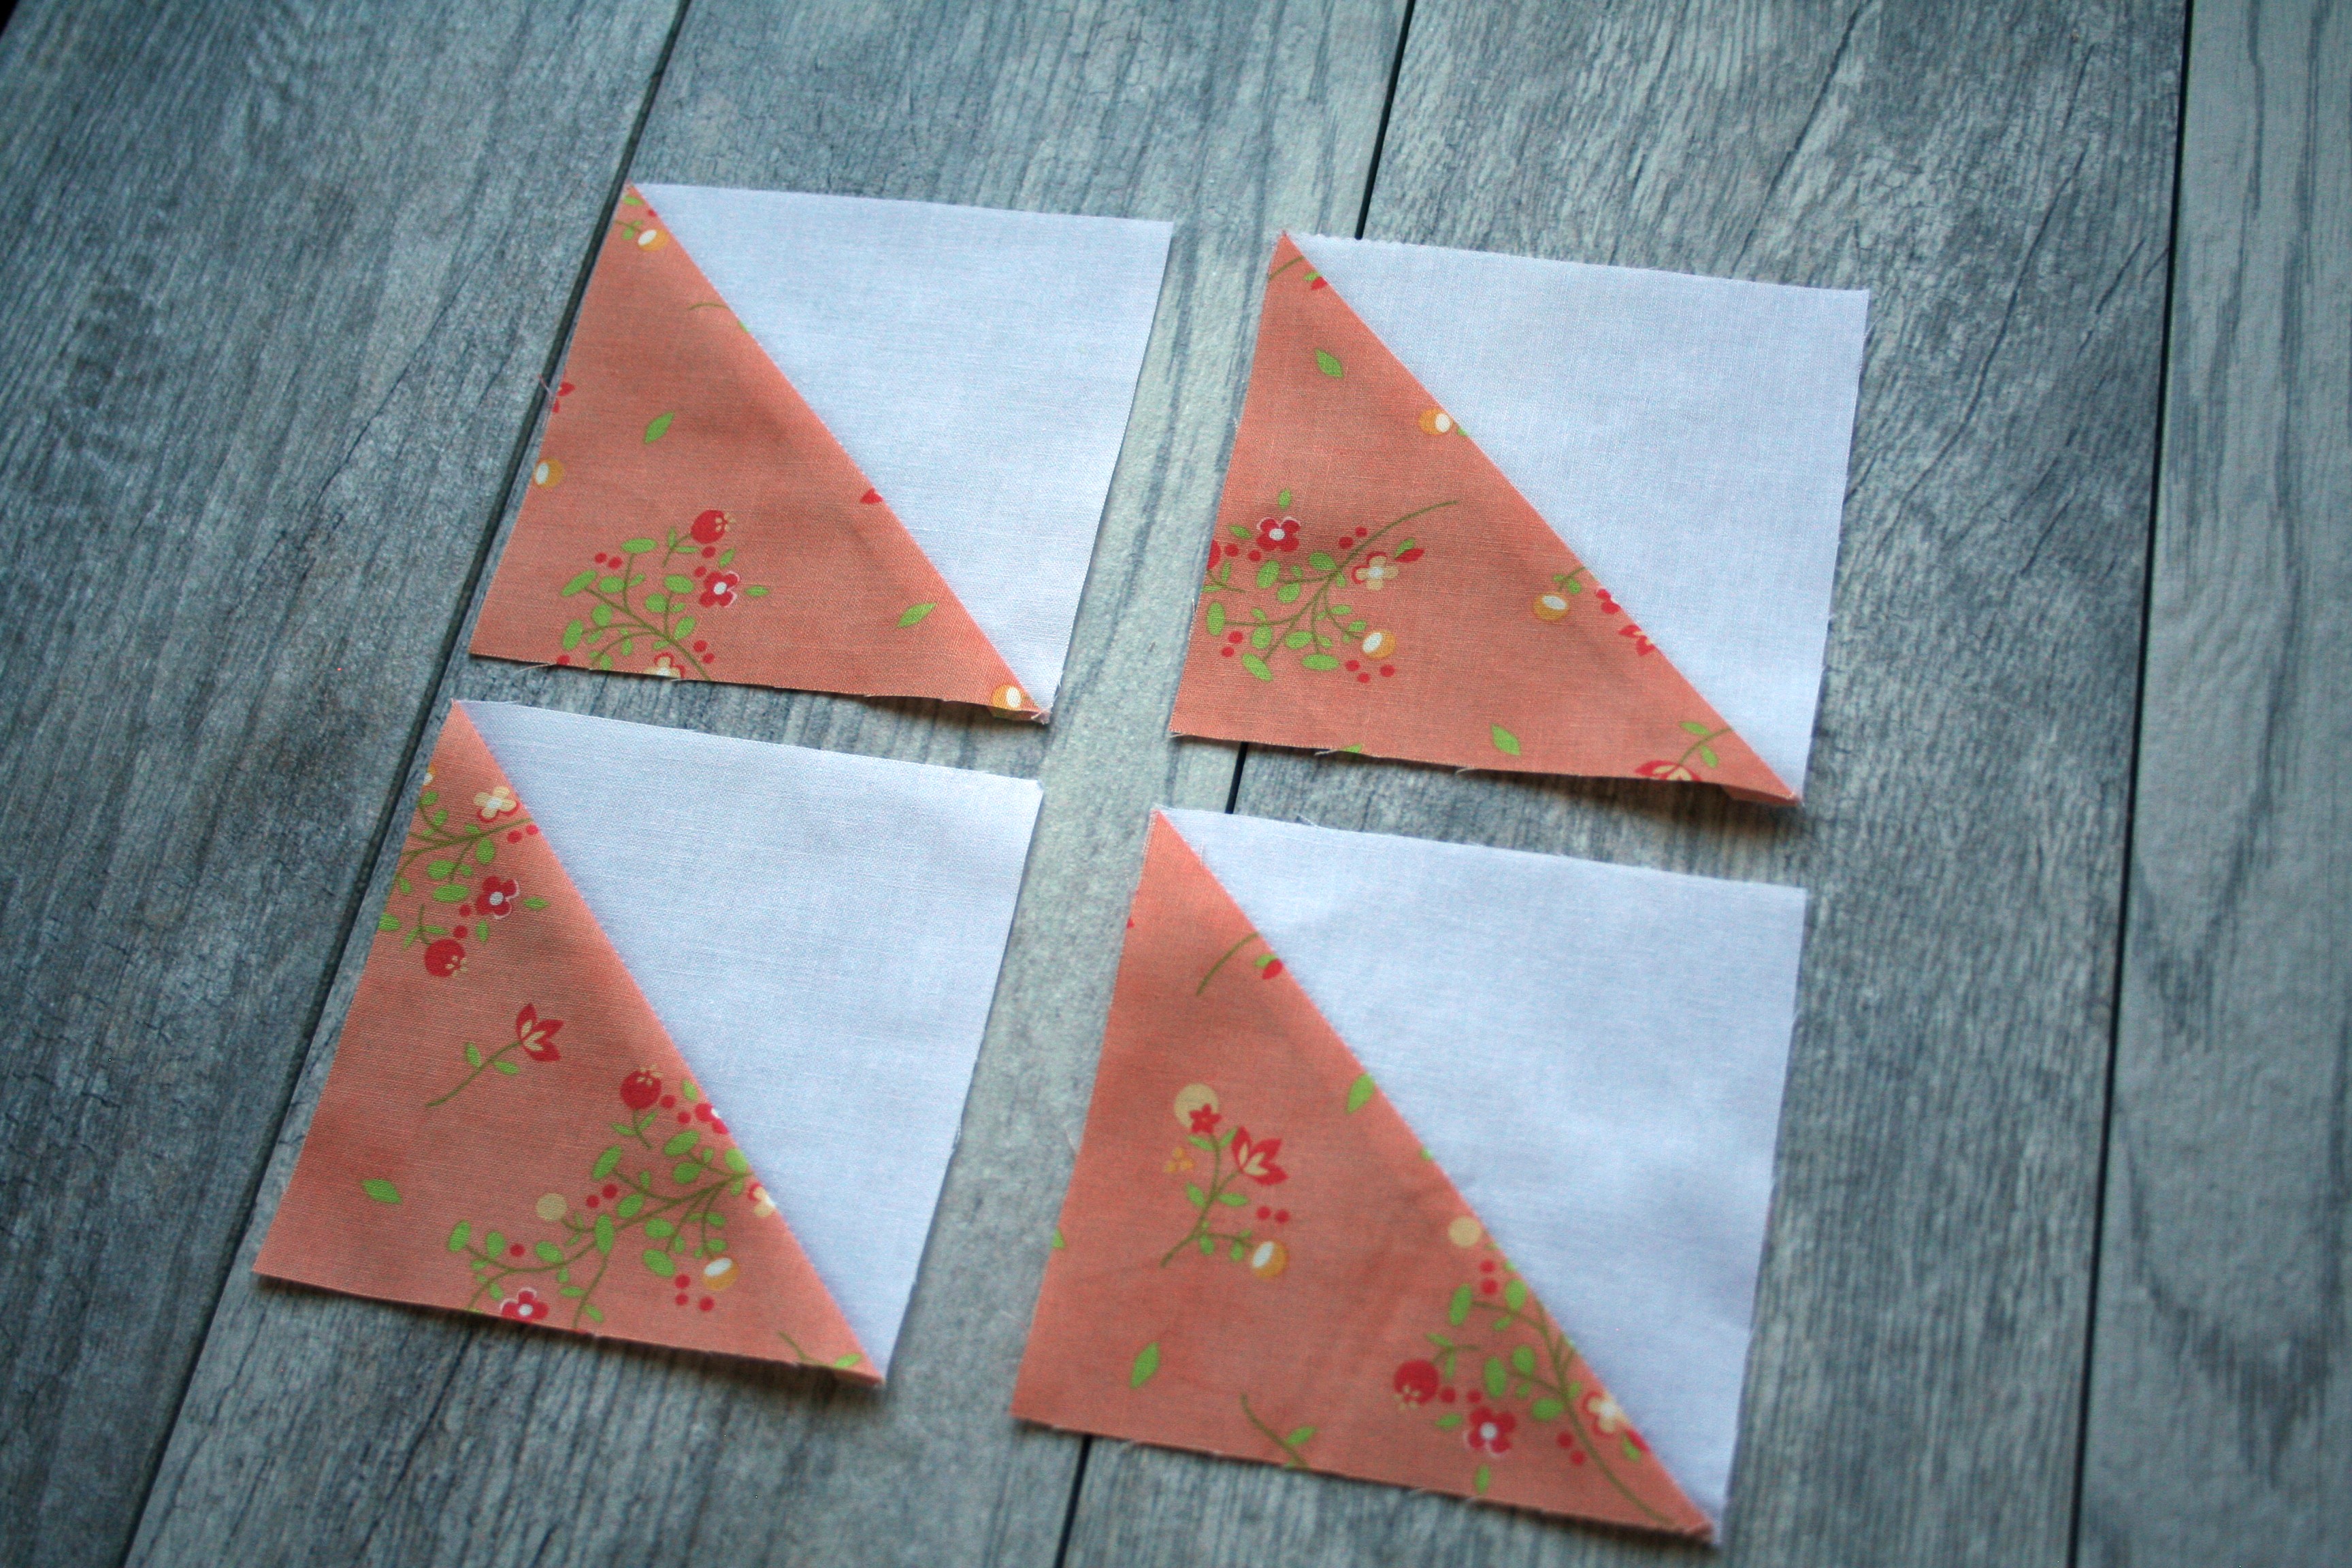
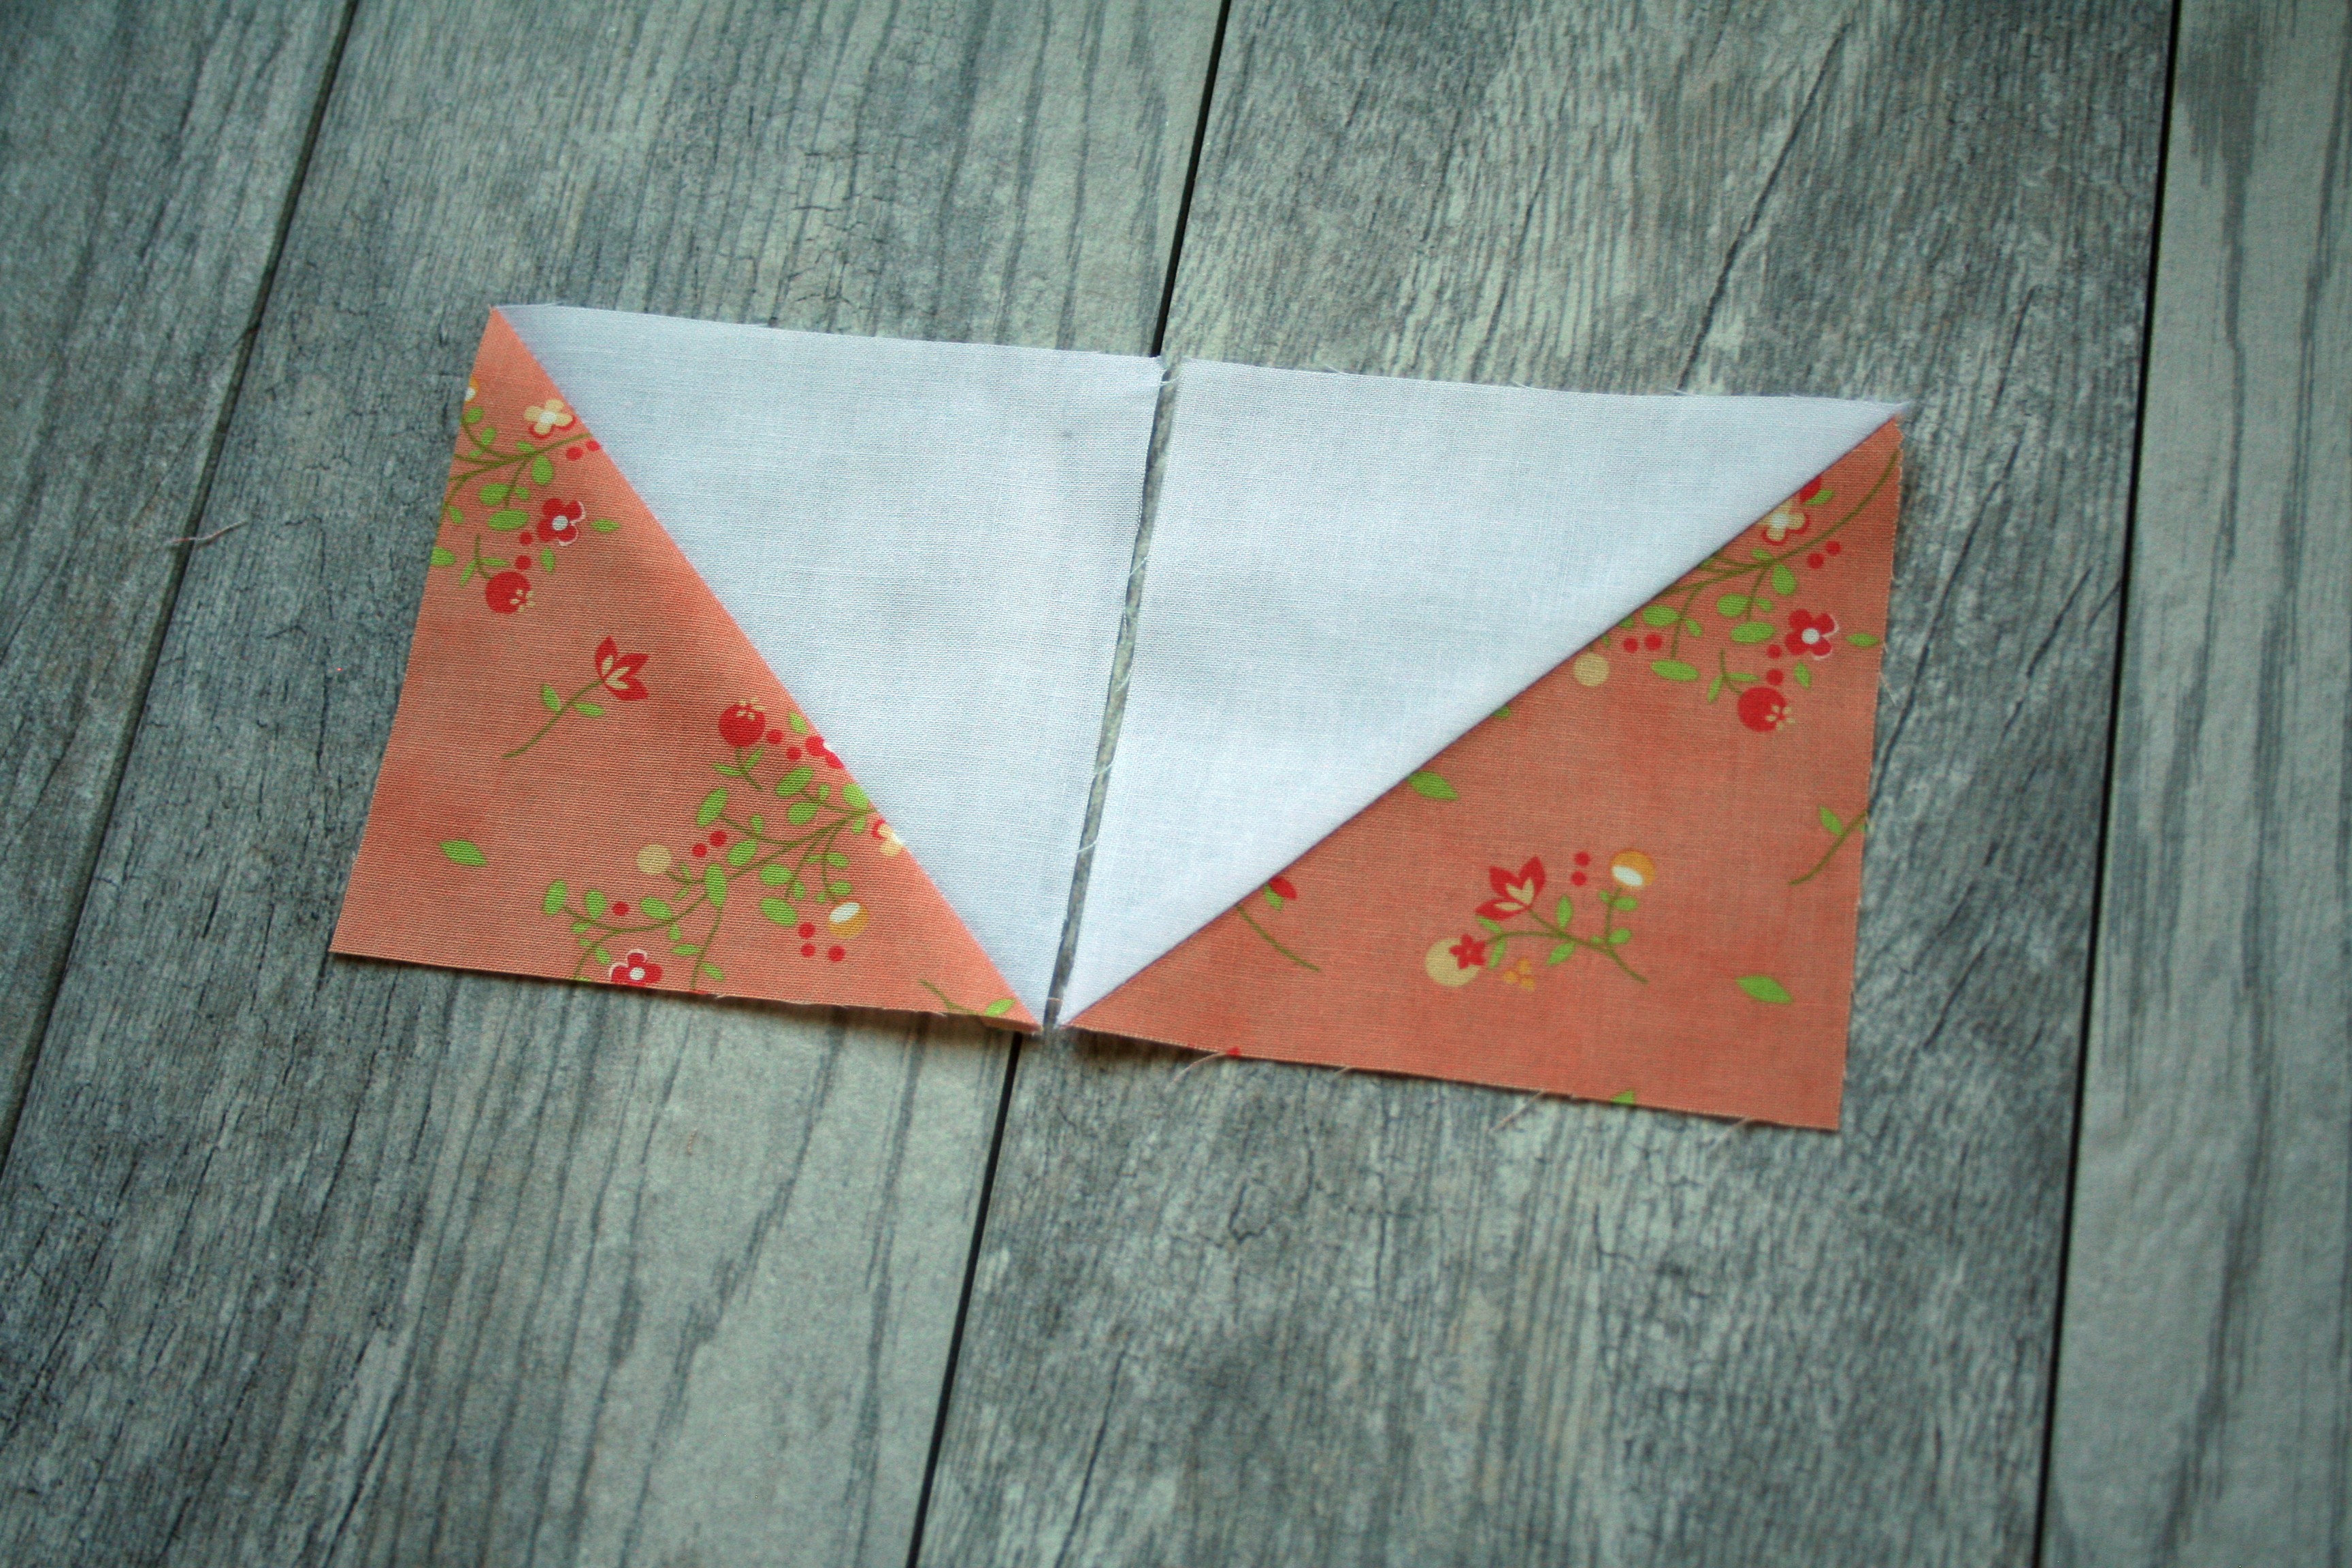
Lay out two (one dark side pressed and one light side pressed) like so:
Lay out the bottom two so it creates the point and sew both rows together, nesting the seams as you sew them together.
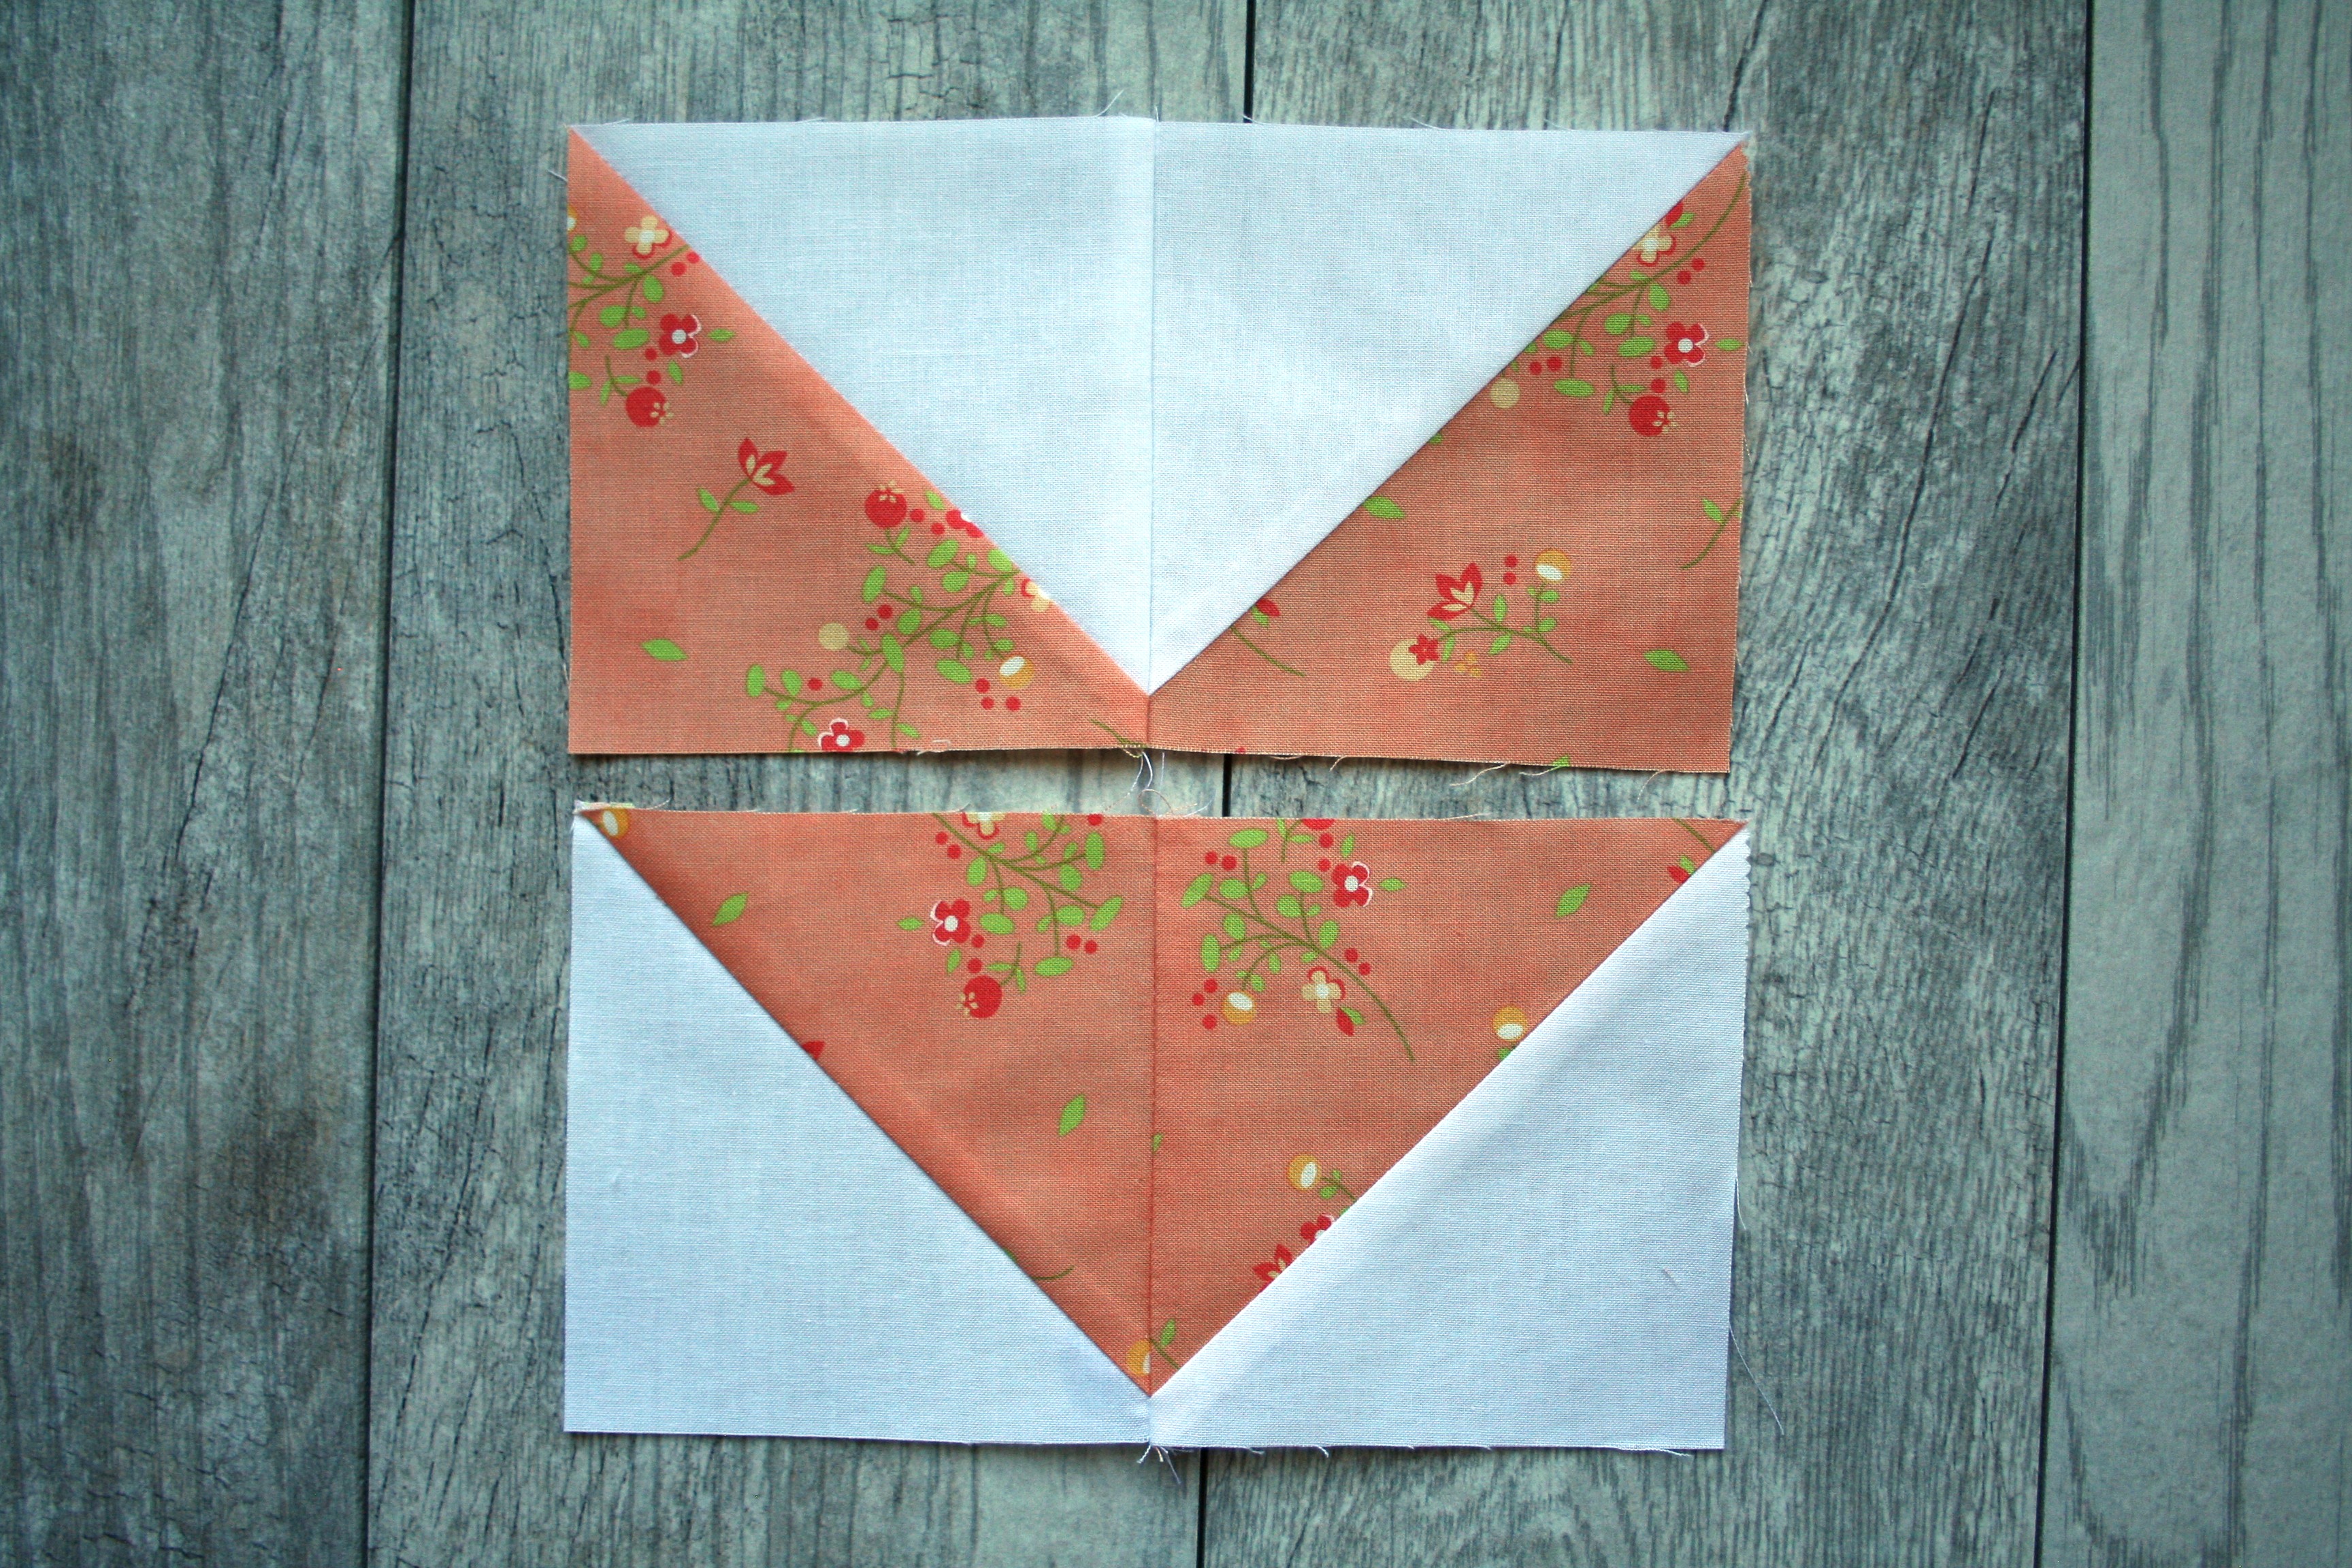
Press the top row's seam to the right and the bottom row's seam to the left.

Place right sides together, nesting seams and sew rows together. Press open.

Repeat until you have 35 blocks for your quilt.
(Note: These instructions are for a throw - sized quilt. But if you'd rather do a baby quilt, just make 20 blocks instead of 35. Then sew them together in 4 rows of 5).
To finish your quilt top, lay out your blocks in 5 rows of 7 and sew the blocks into rows.

Now go to your 2.5" strips from the jelly roll, (you'll need 11 strips 2.5" x 40"). Cut 3 strips into thirds. Sew each segment to a long strip until you have 8 strips that are roughly 55" long. Sew these long strips in between each row and on the top and bottom so it frames your blocks. Press seams open.
Baste, Quilt and Bind as desired.
![]()


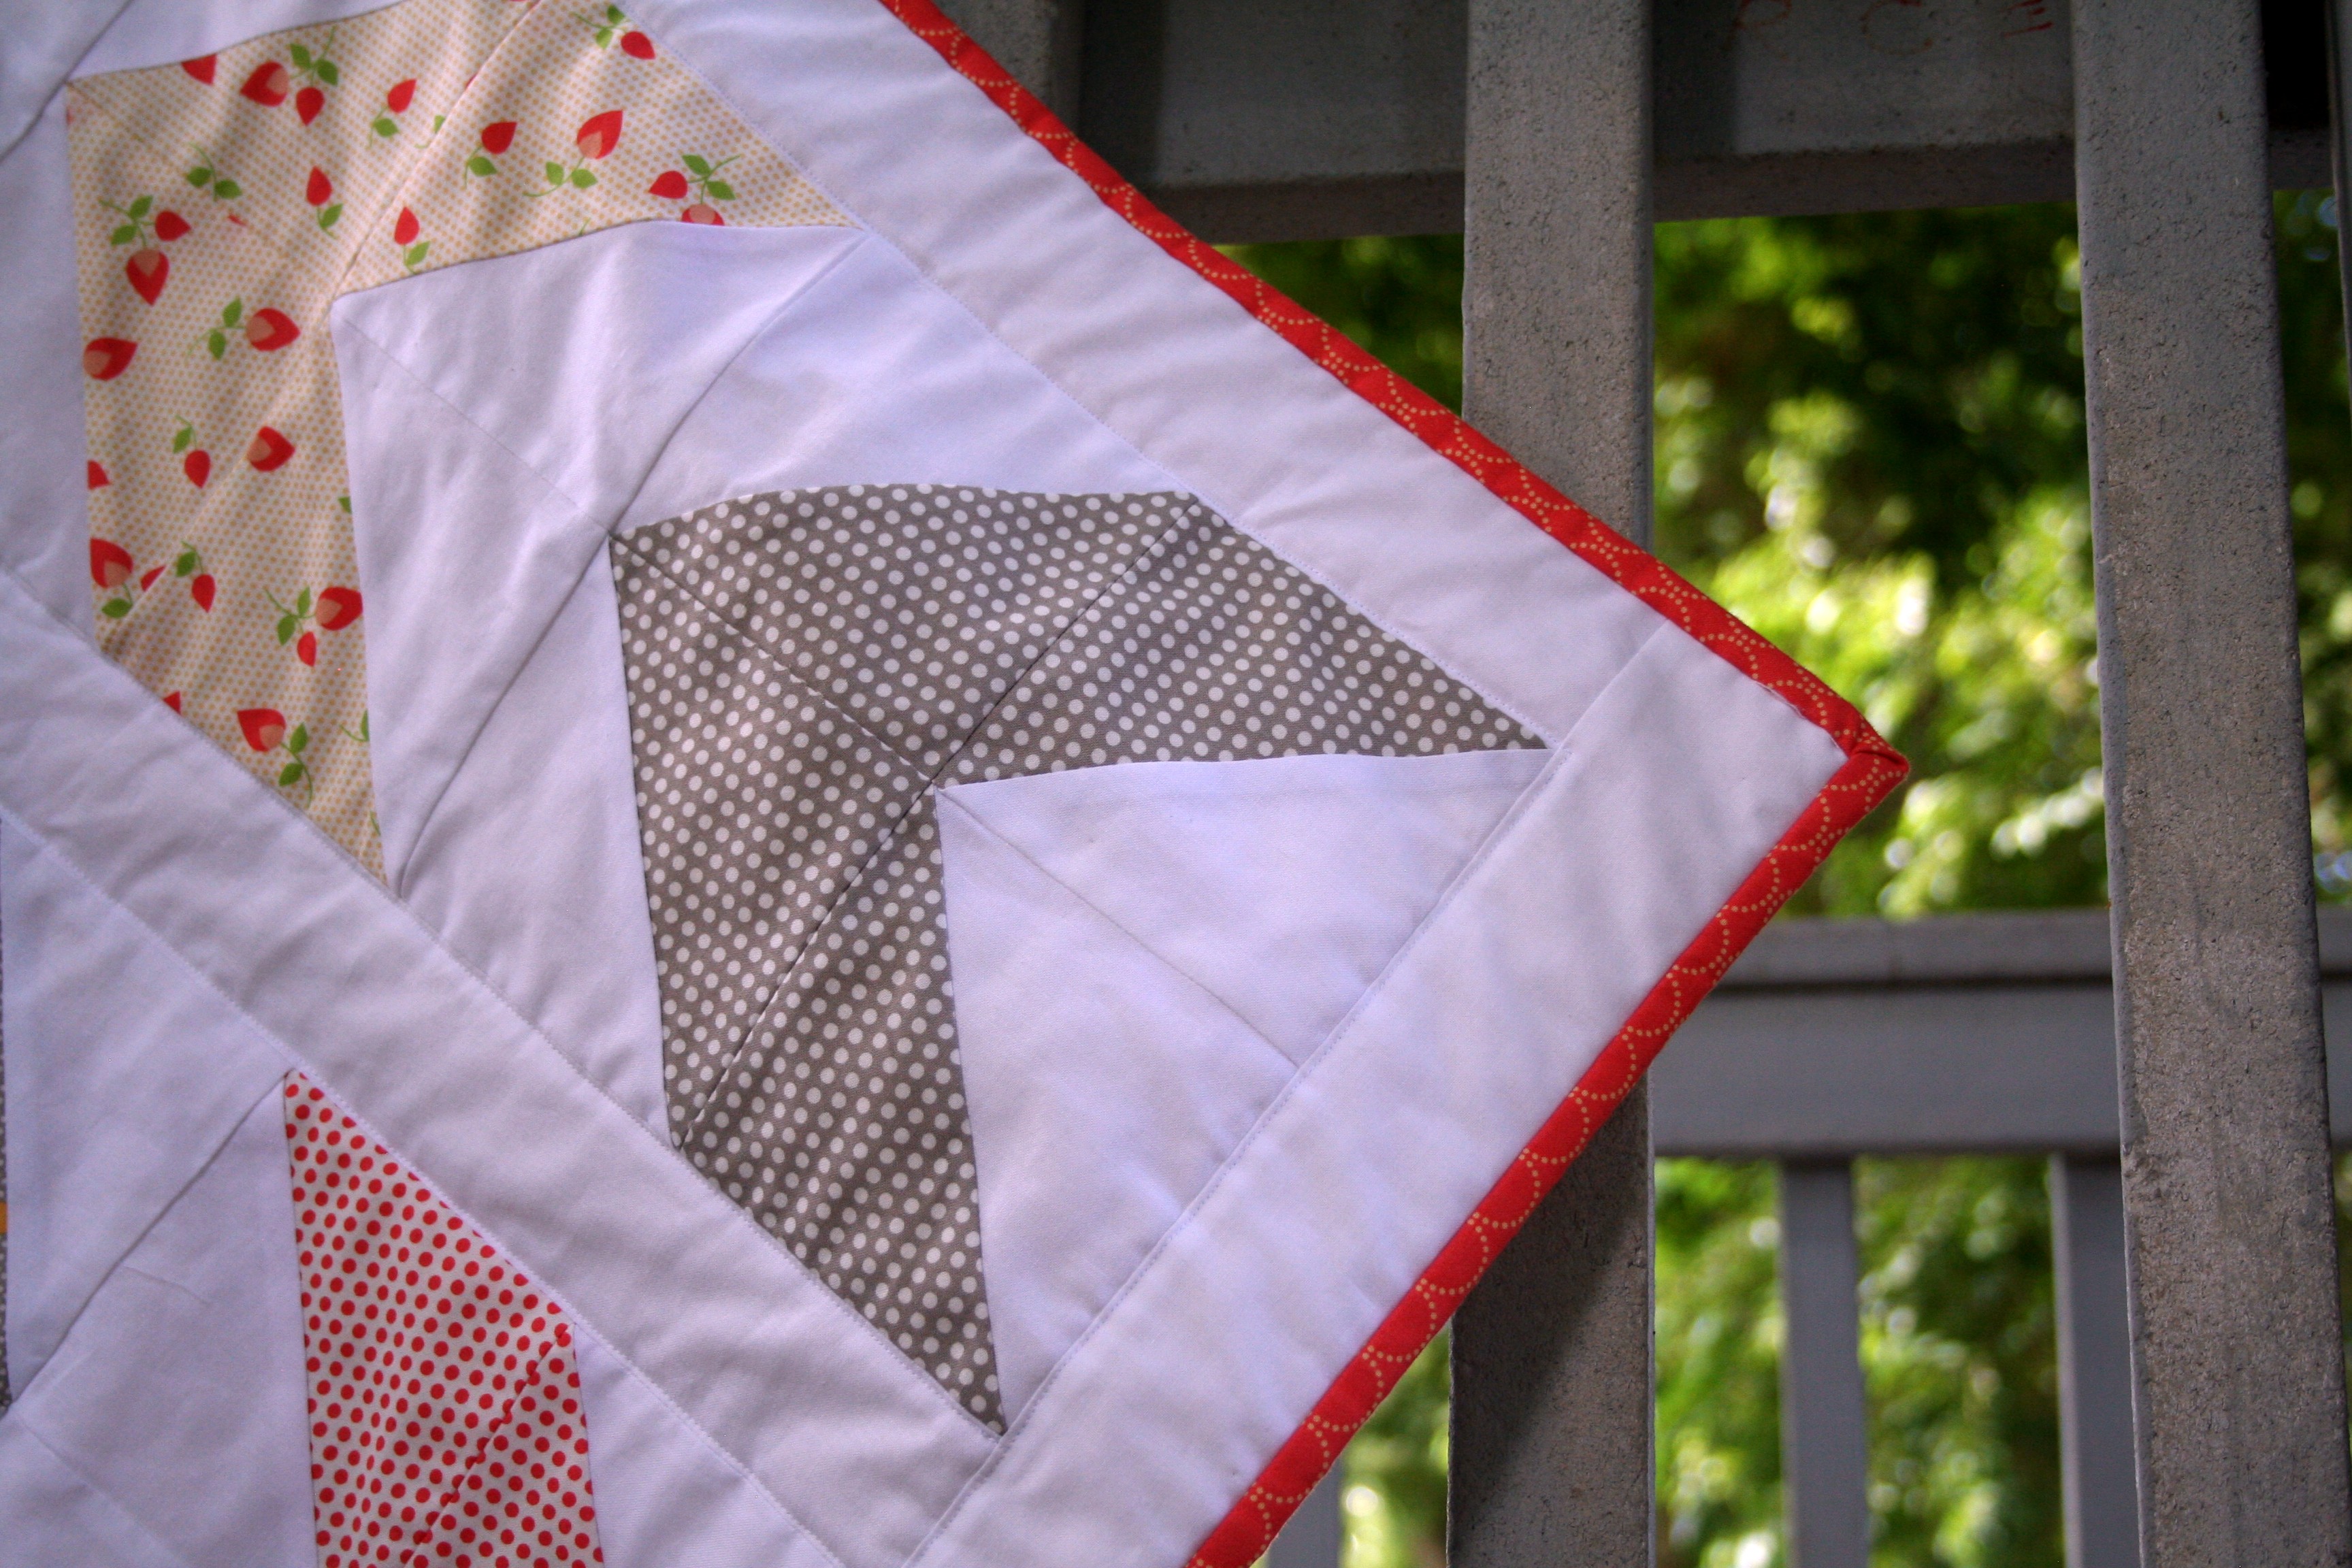
This quilt finishes at 50" x 60" - hope you enjoy the pattern!
Lauren Terry
{brightsonwhite.com}
![]()
Save
Save
Posted in: