Warehouse Closed On July 4th
Dresden Butterflies Quilt
Dresden Butterflies Quilt
Published:
Jan 15 2017 - 19:00

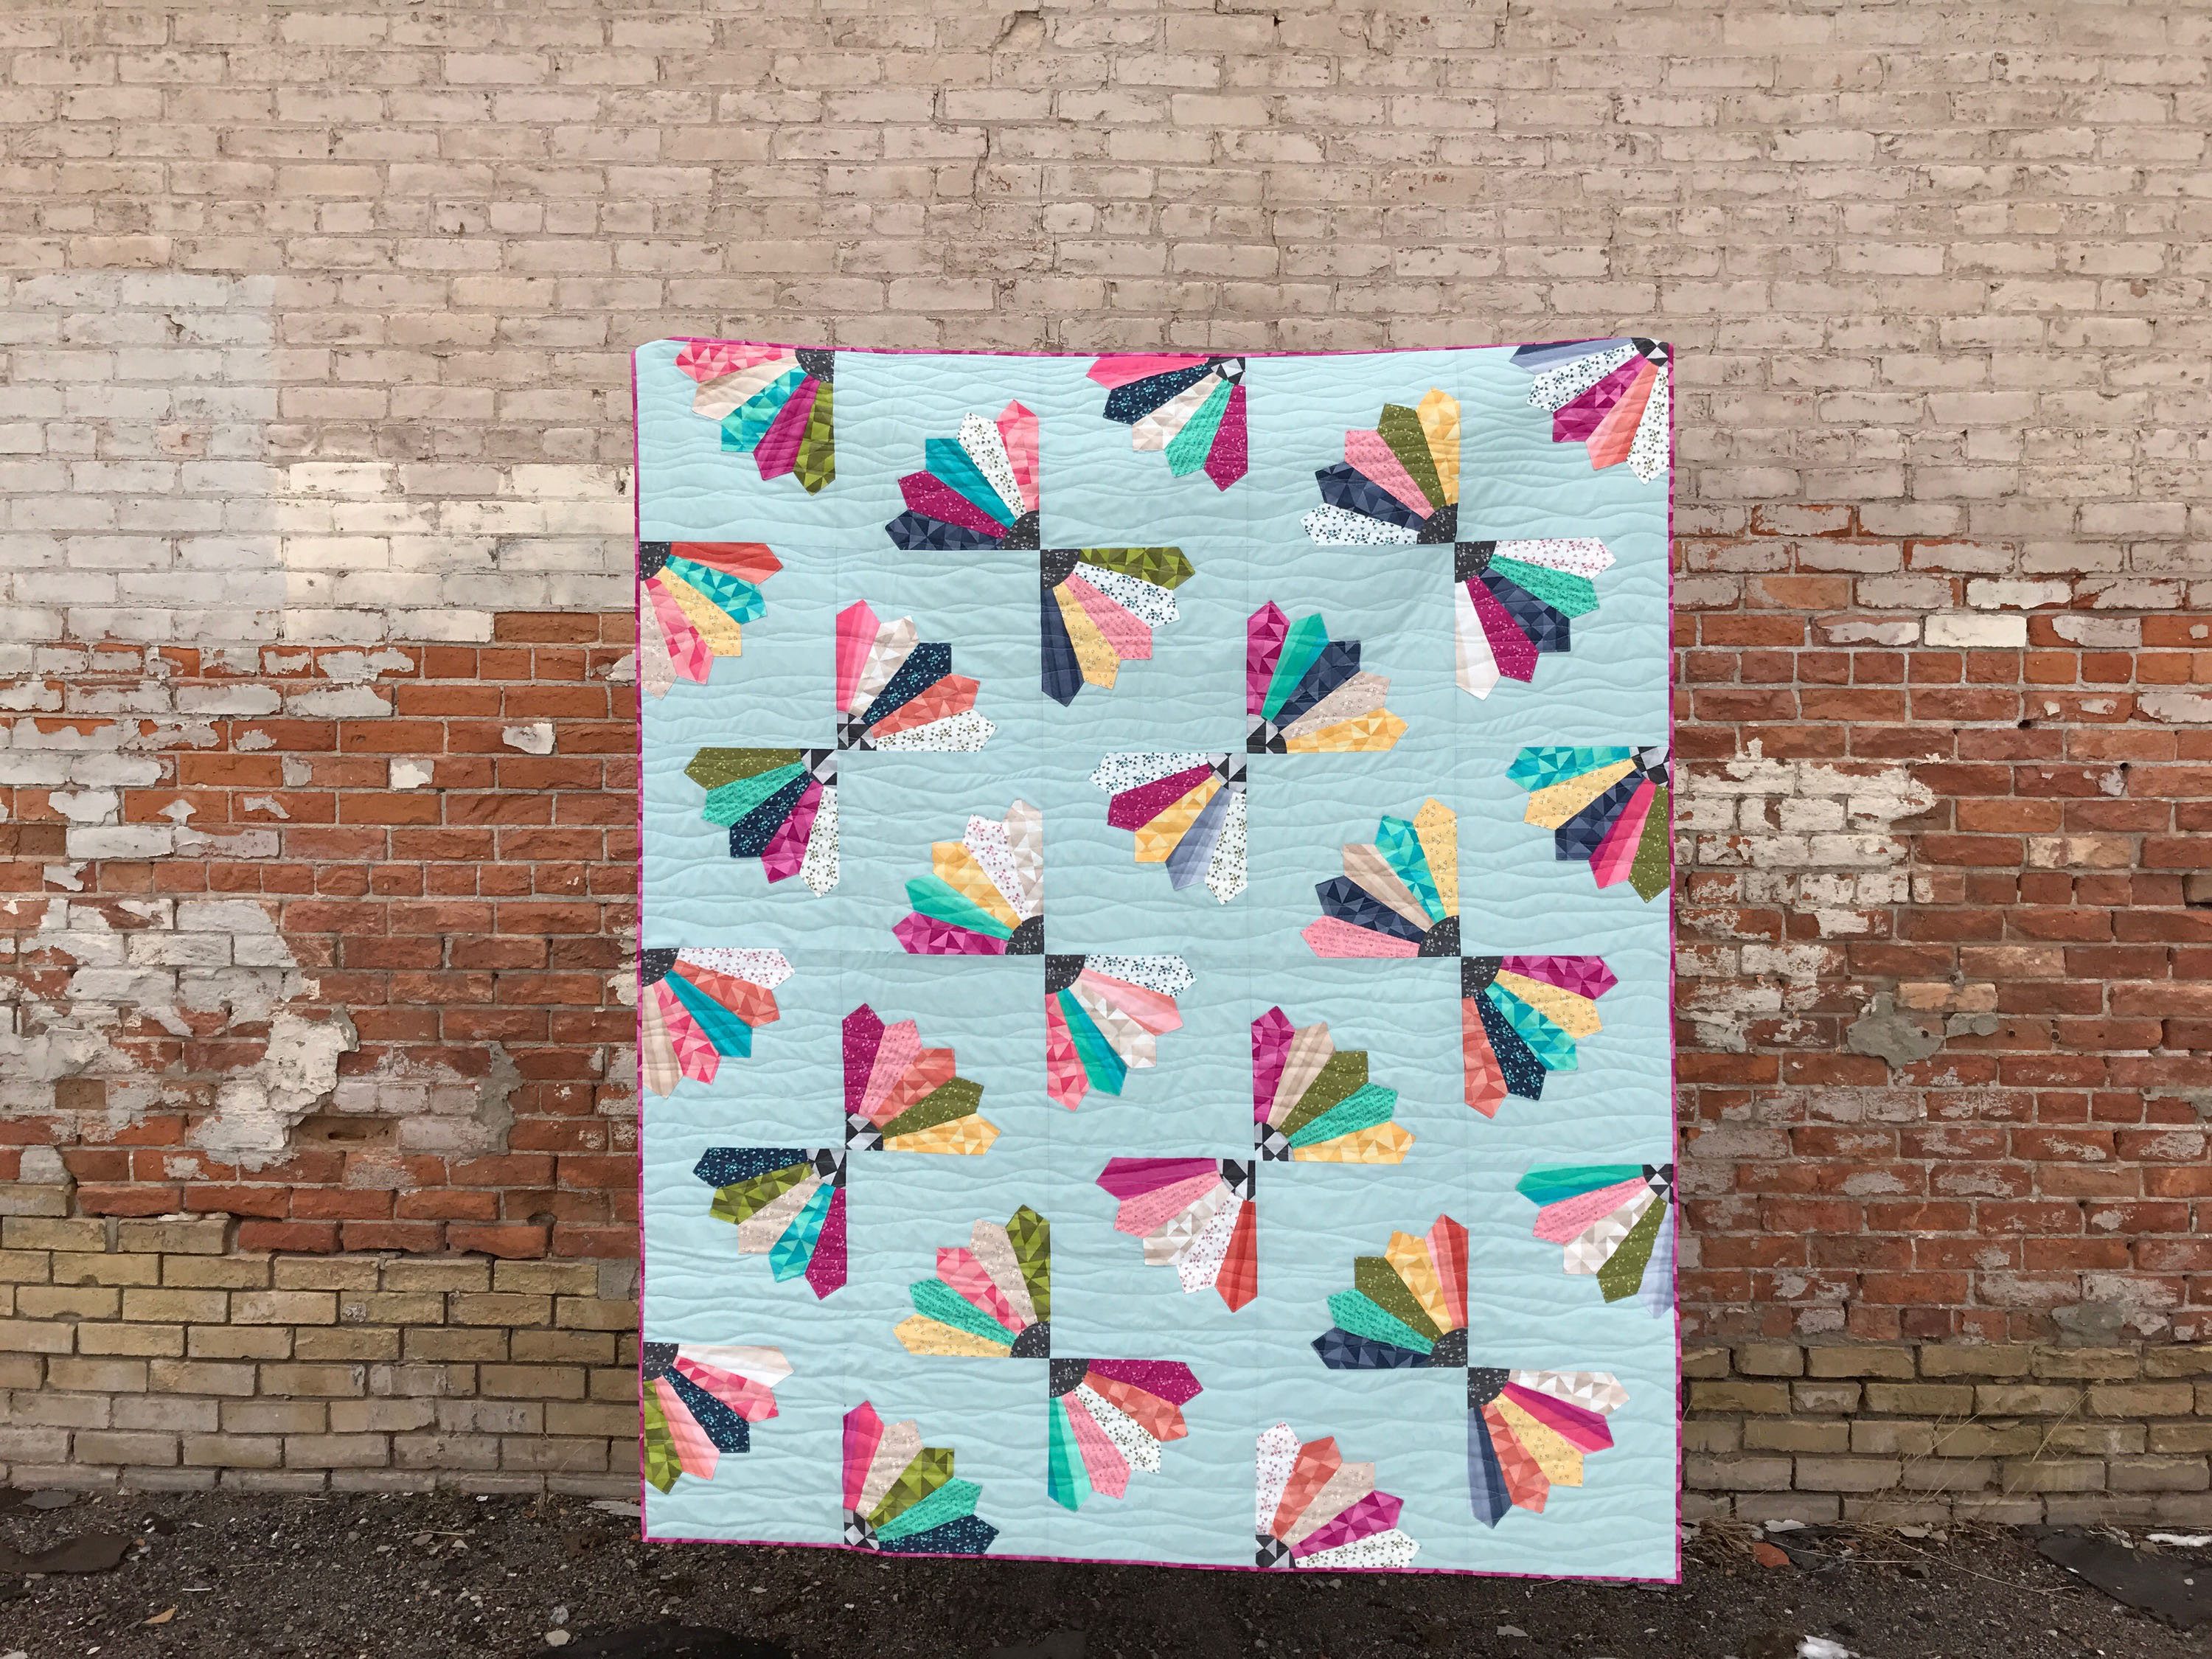
I am Jen Van Orman from Heritage Threads. I am so excited to be sharing my Dresden Butterflies quilt with you today. I have always wanted a Dresden quilt, but they were always so intimidating to me. I made a block for a sampler quilt I was doing recently and I was so amazed at how truly simple Dresden blades are to construct. This quilt was inspired by a vintage quilt and looks so fresh and modern in this lovely line Spectrum by Vanessa Christenson of V and Co., especially when paired with Bella Mist as the background. It has me dreaming of summer and warmer weather, and feeling jealous of you southern hemisphere quilters for certain!!
This quilt/project finishes at 60" x 72".
![]()
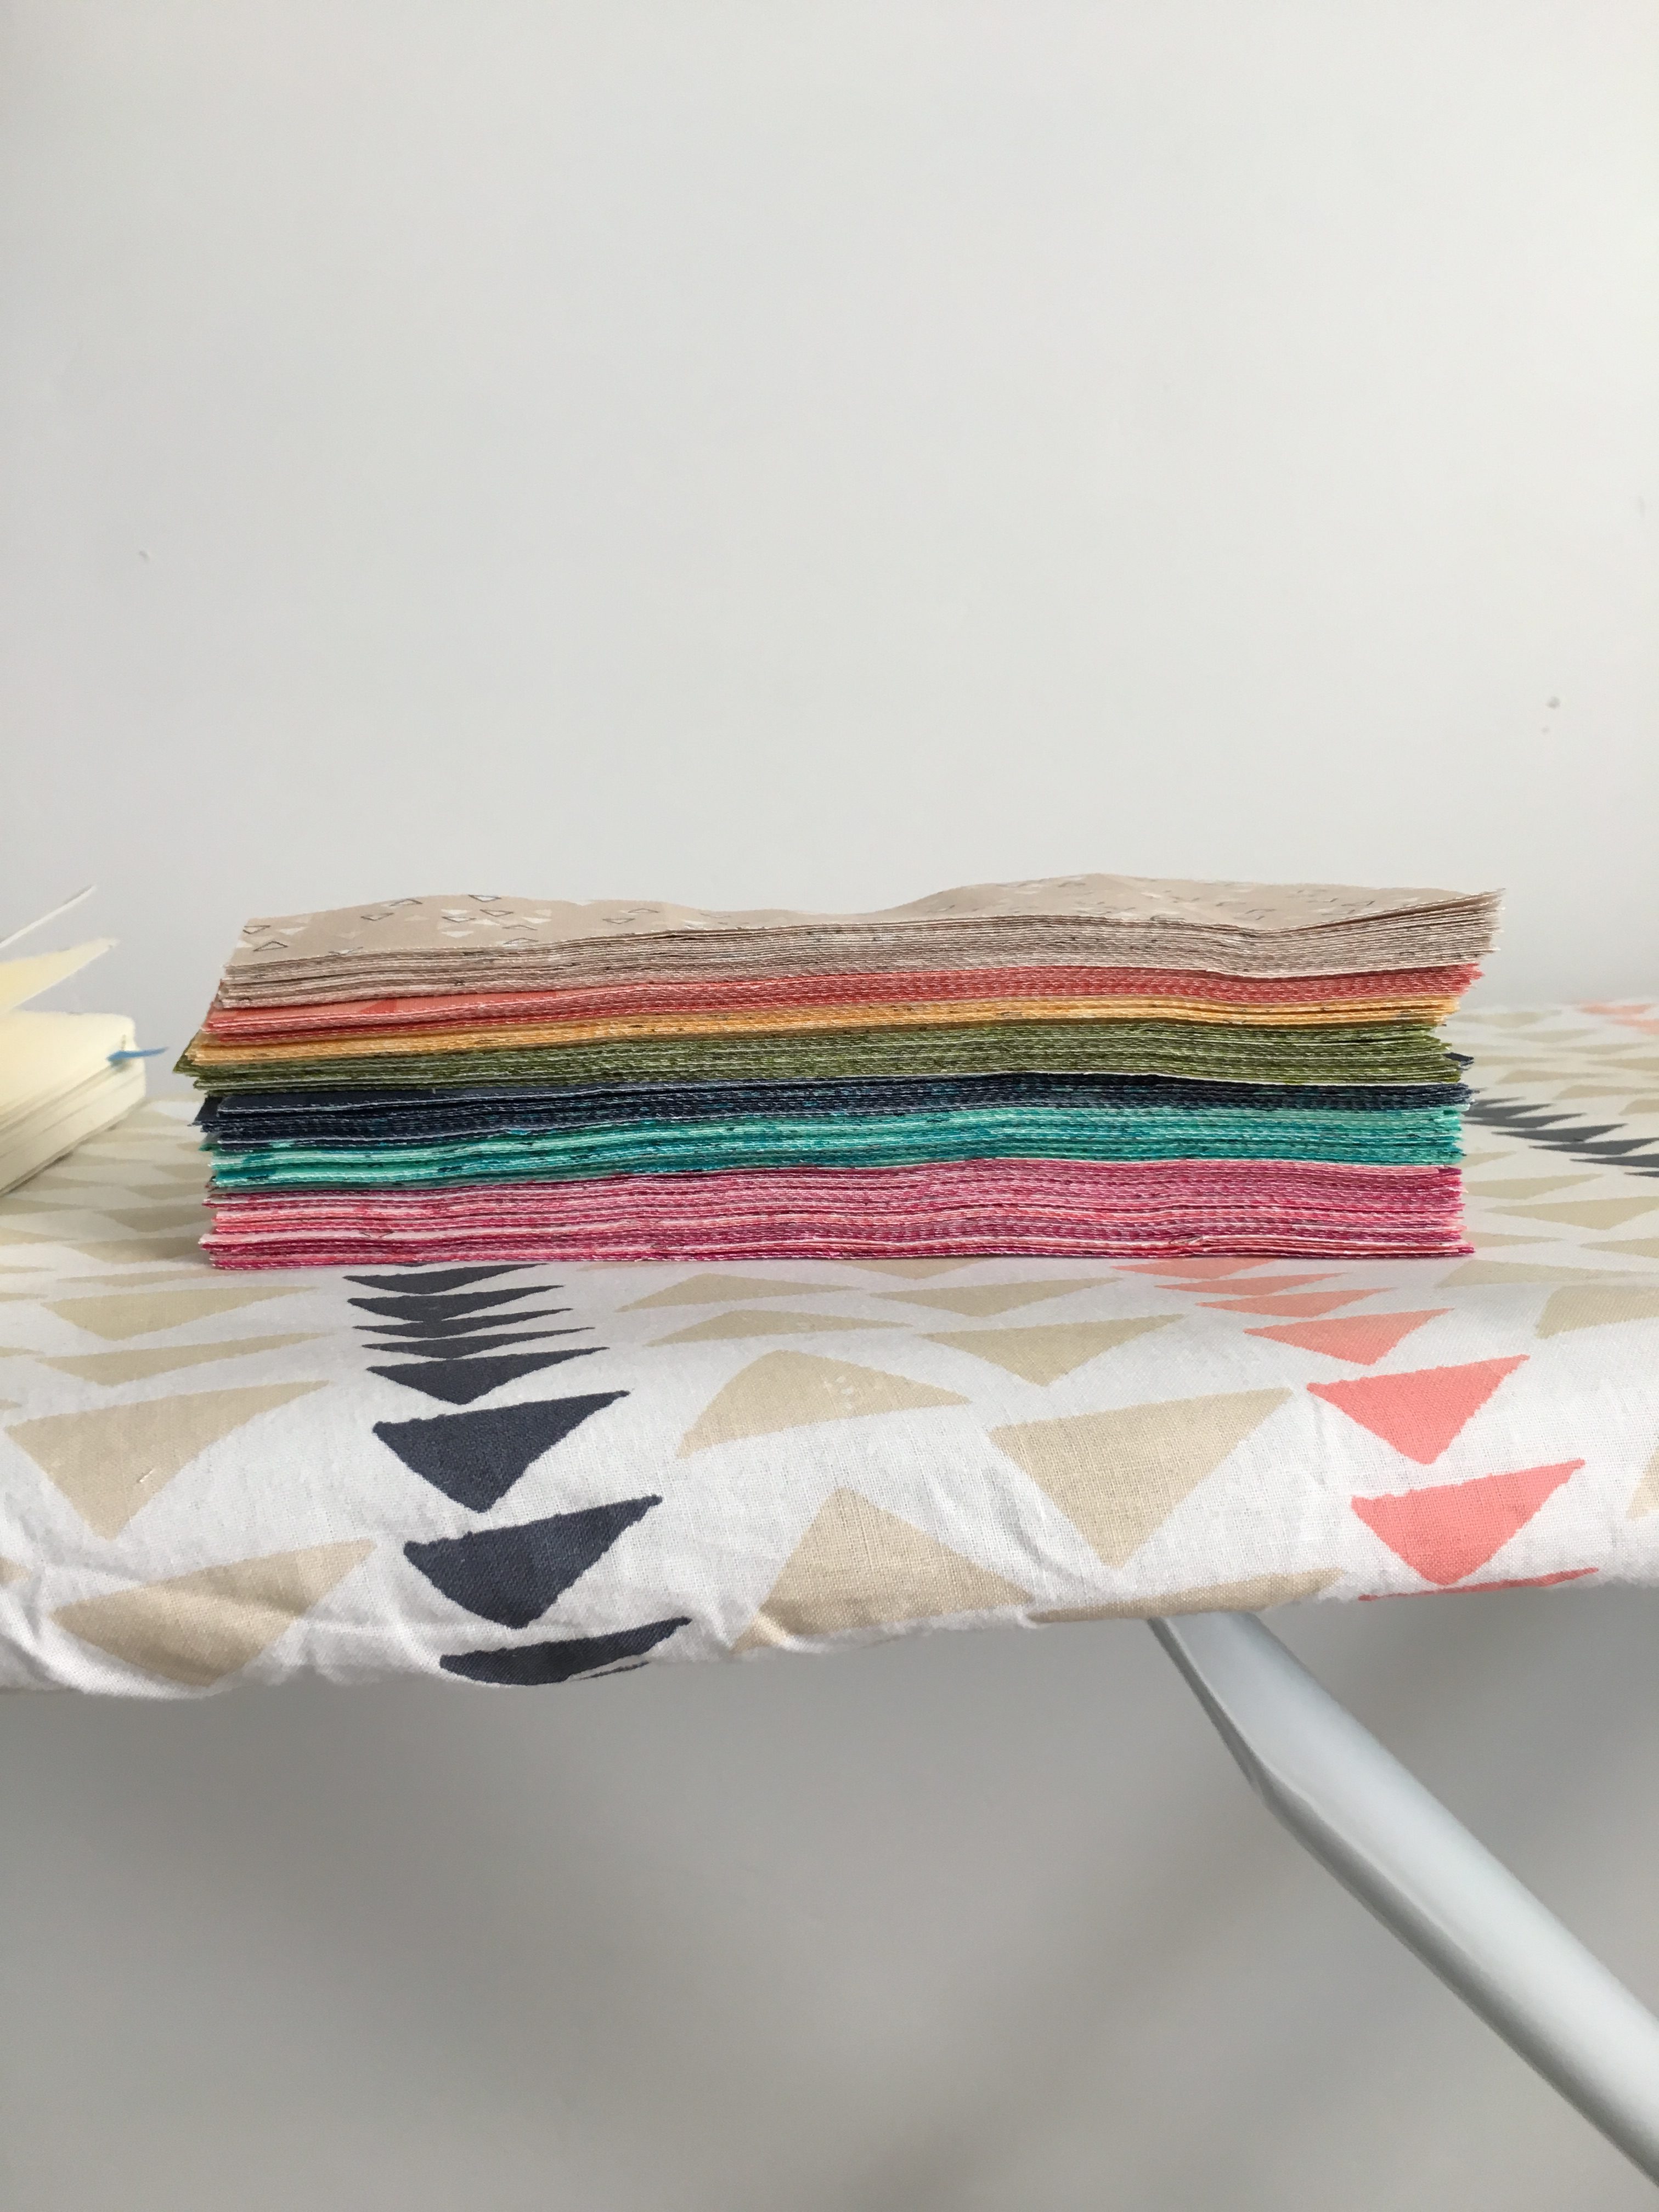
1 Fat Eighth Bundle Spectrum by Vanessa Christenson of V and Co.
3-3/4 yards background fabric {990037 Mist}
4 yards backing fabric {10863 22 Indigo}
1/2 yards binding fabric {10860 15 Magenta}
HeatnBond Lite 17" x 1.25 yard
Easy Dresden quilt set
![]()
Cutting:
From the background cut (30) 12-1/2" x 12-1/2" squares. Set aside until block assembly.
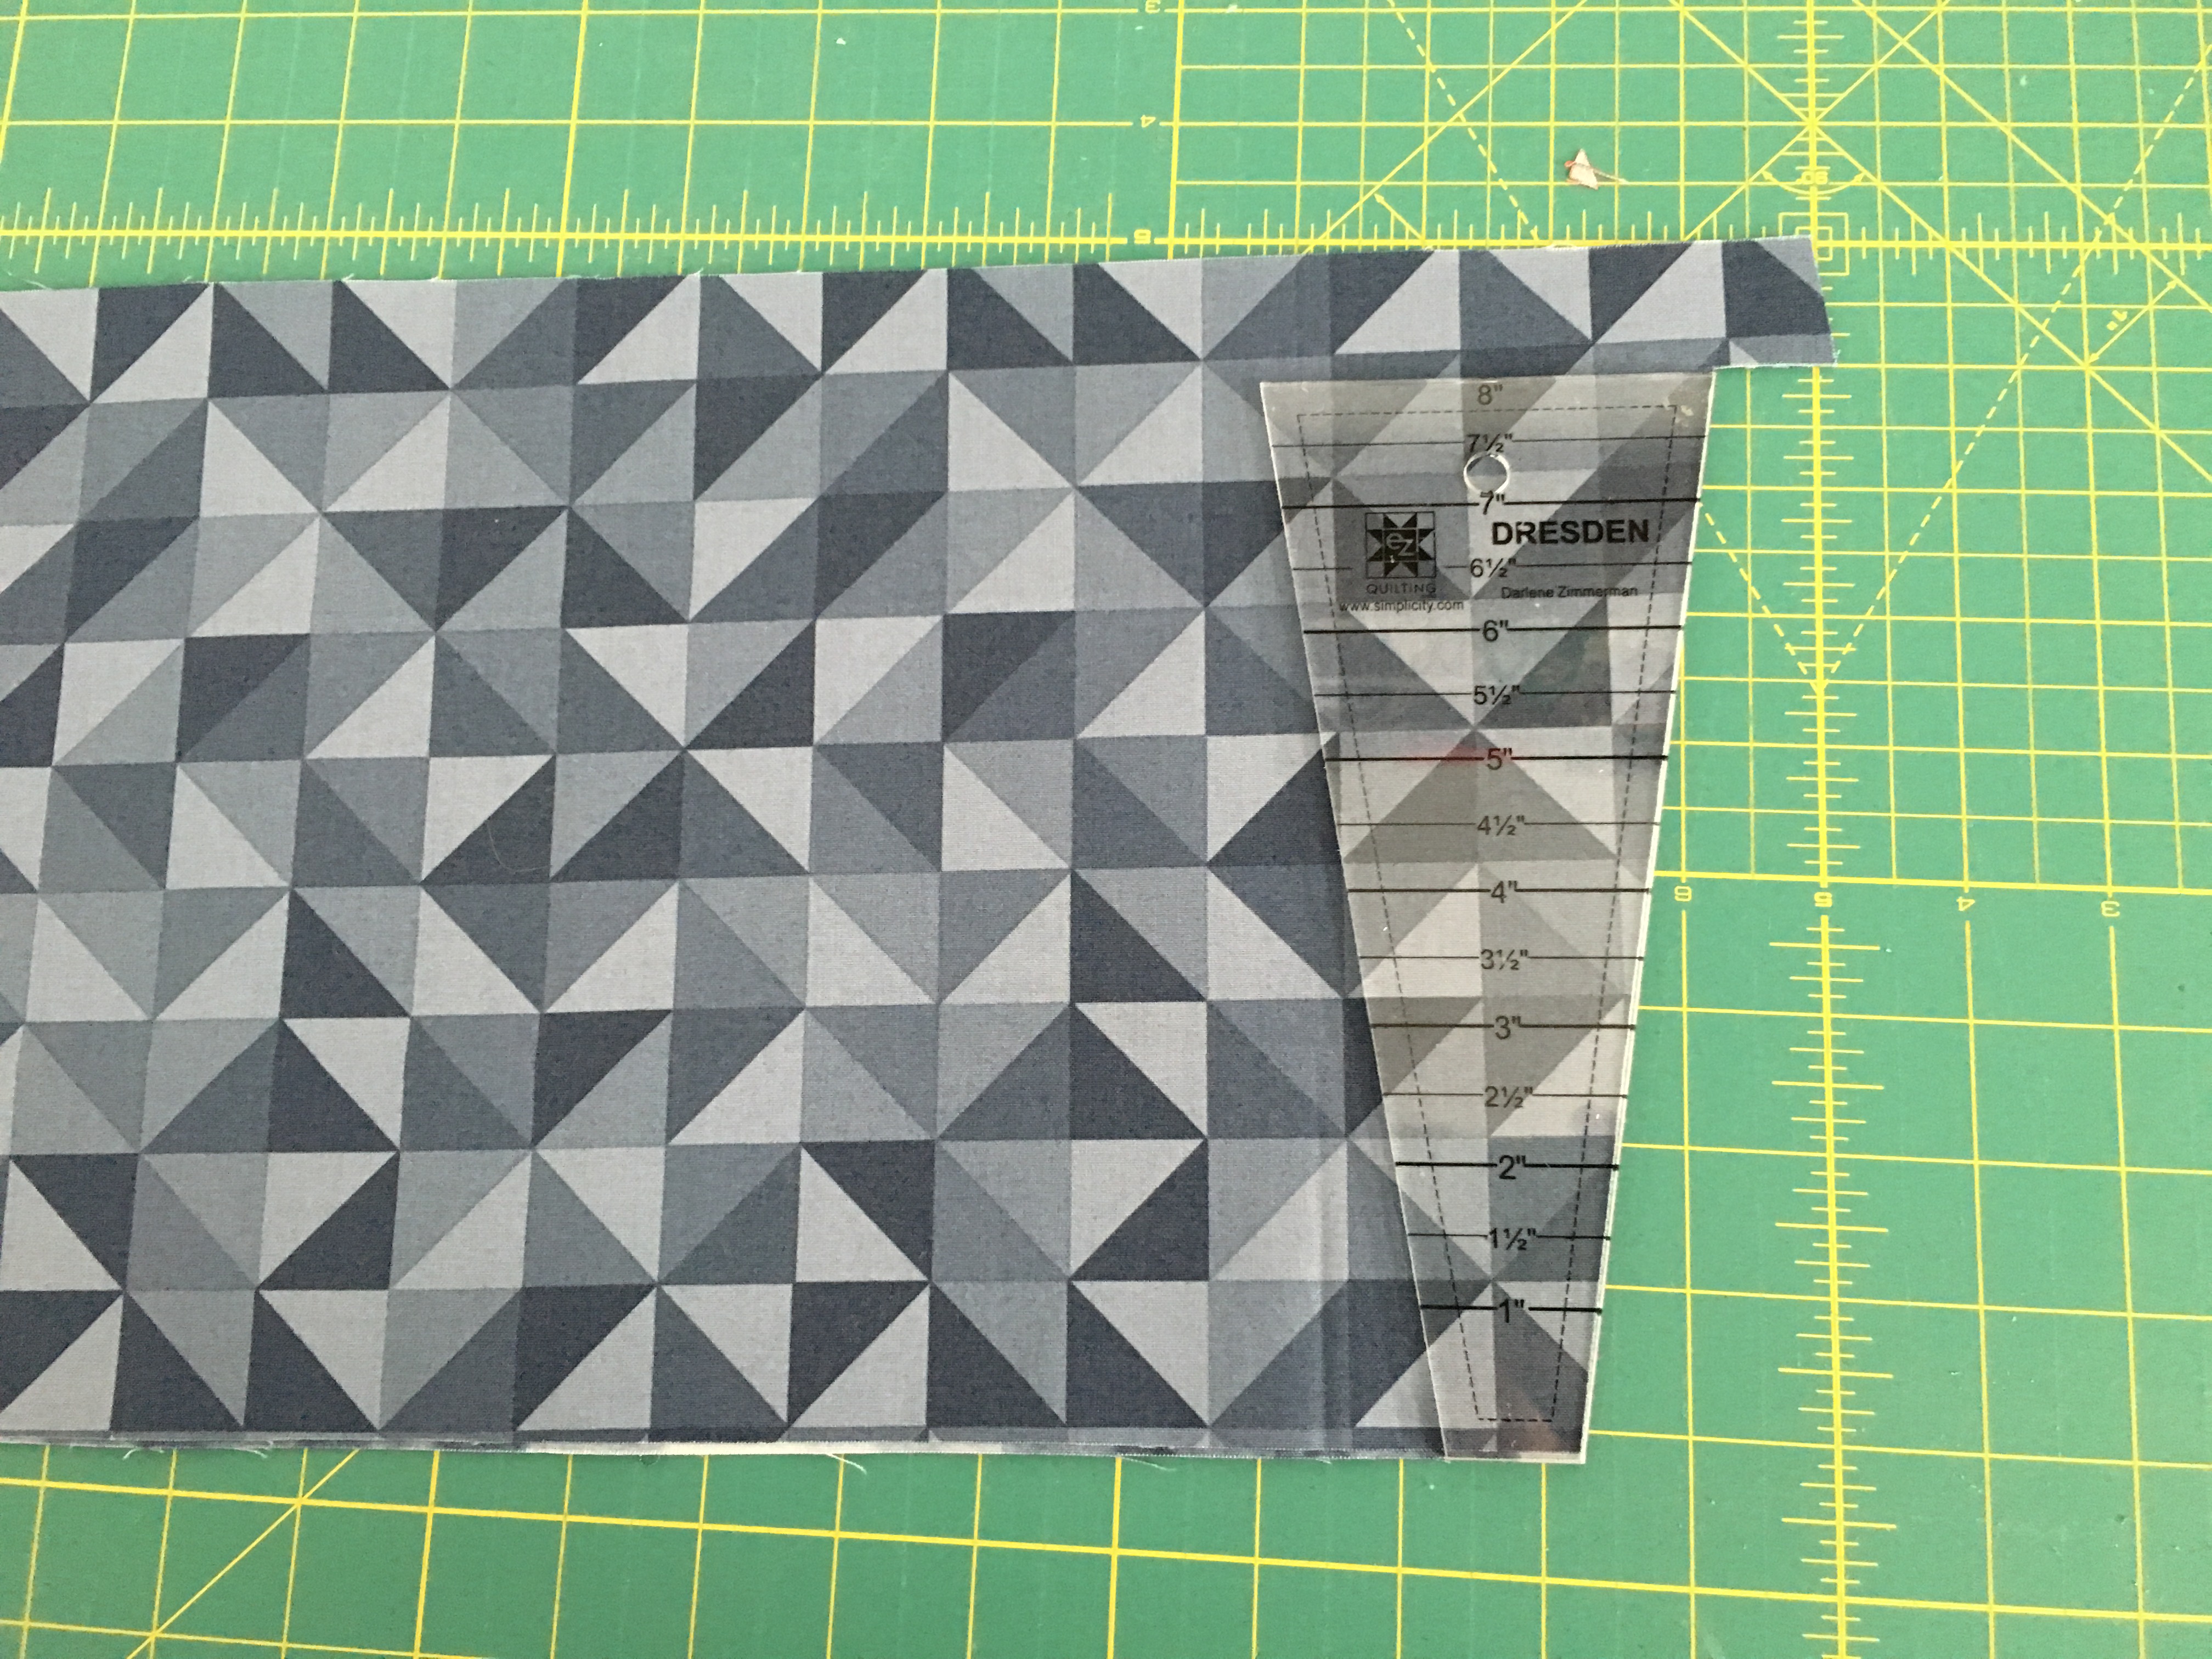
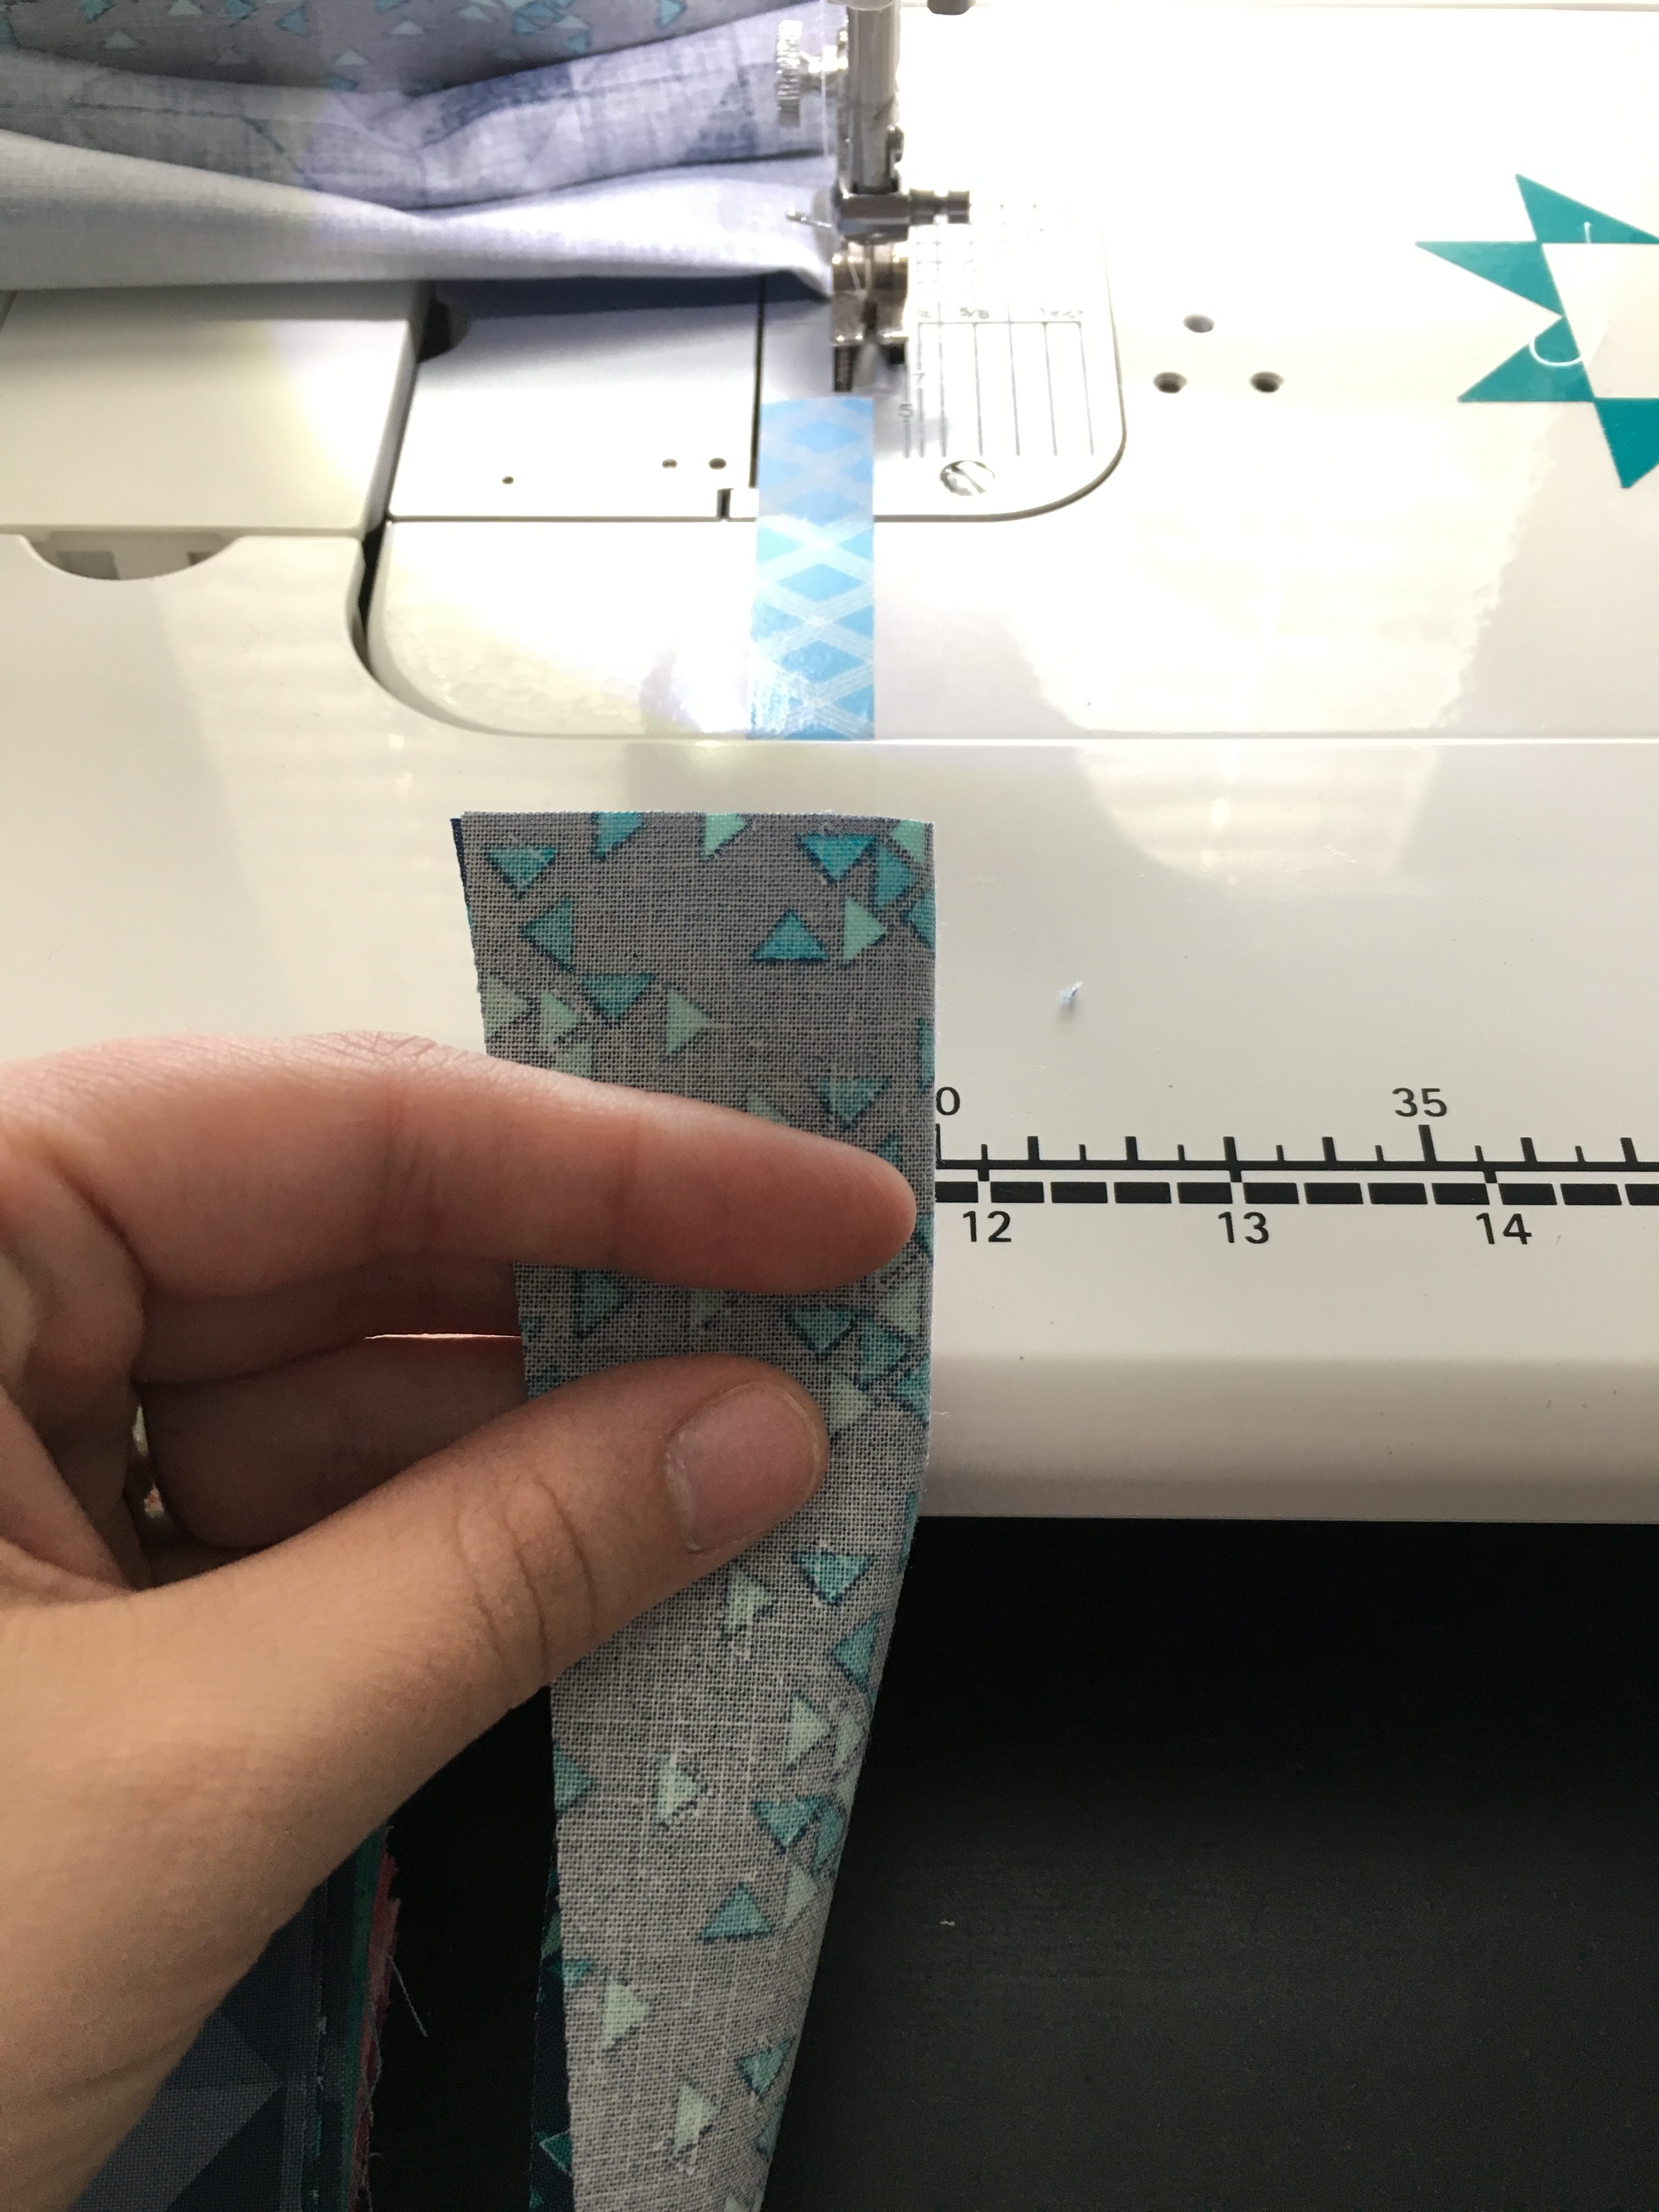
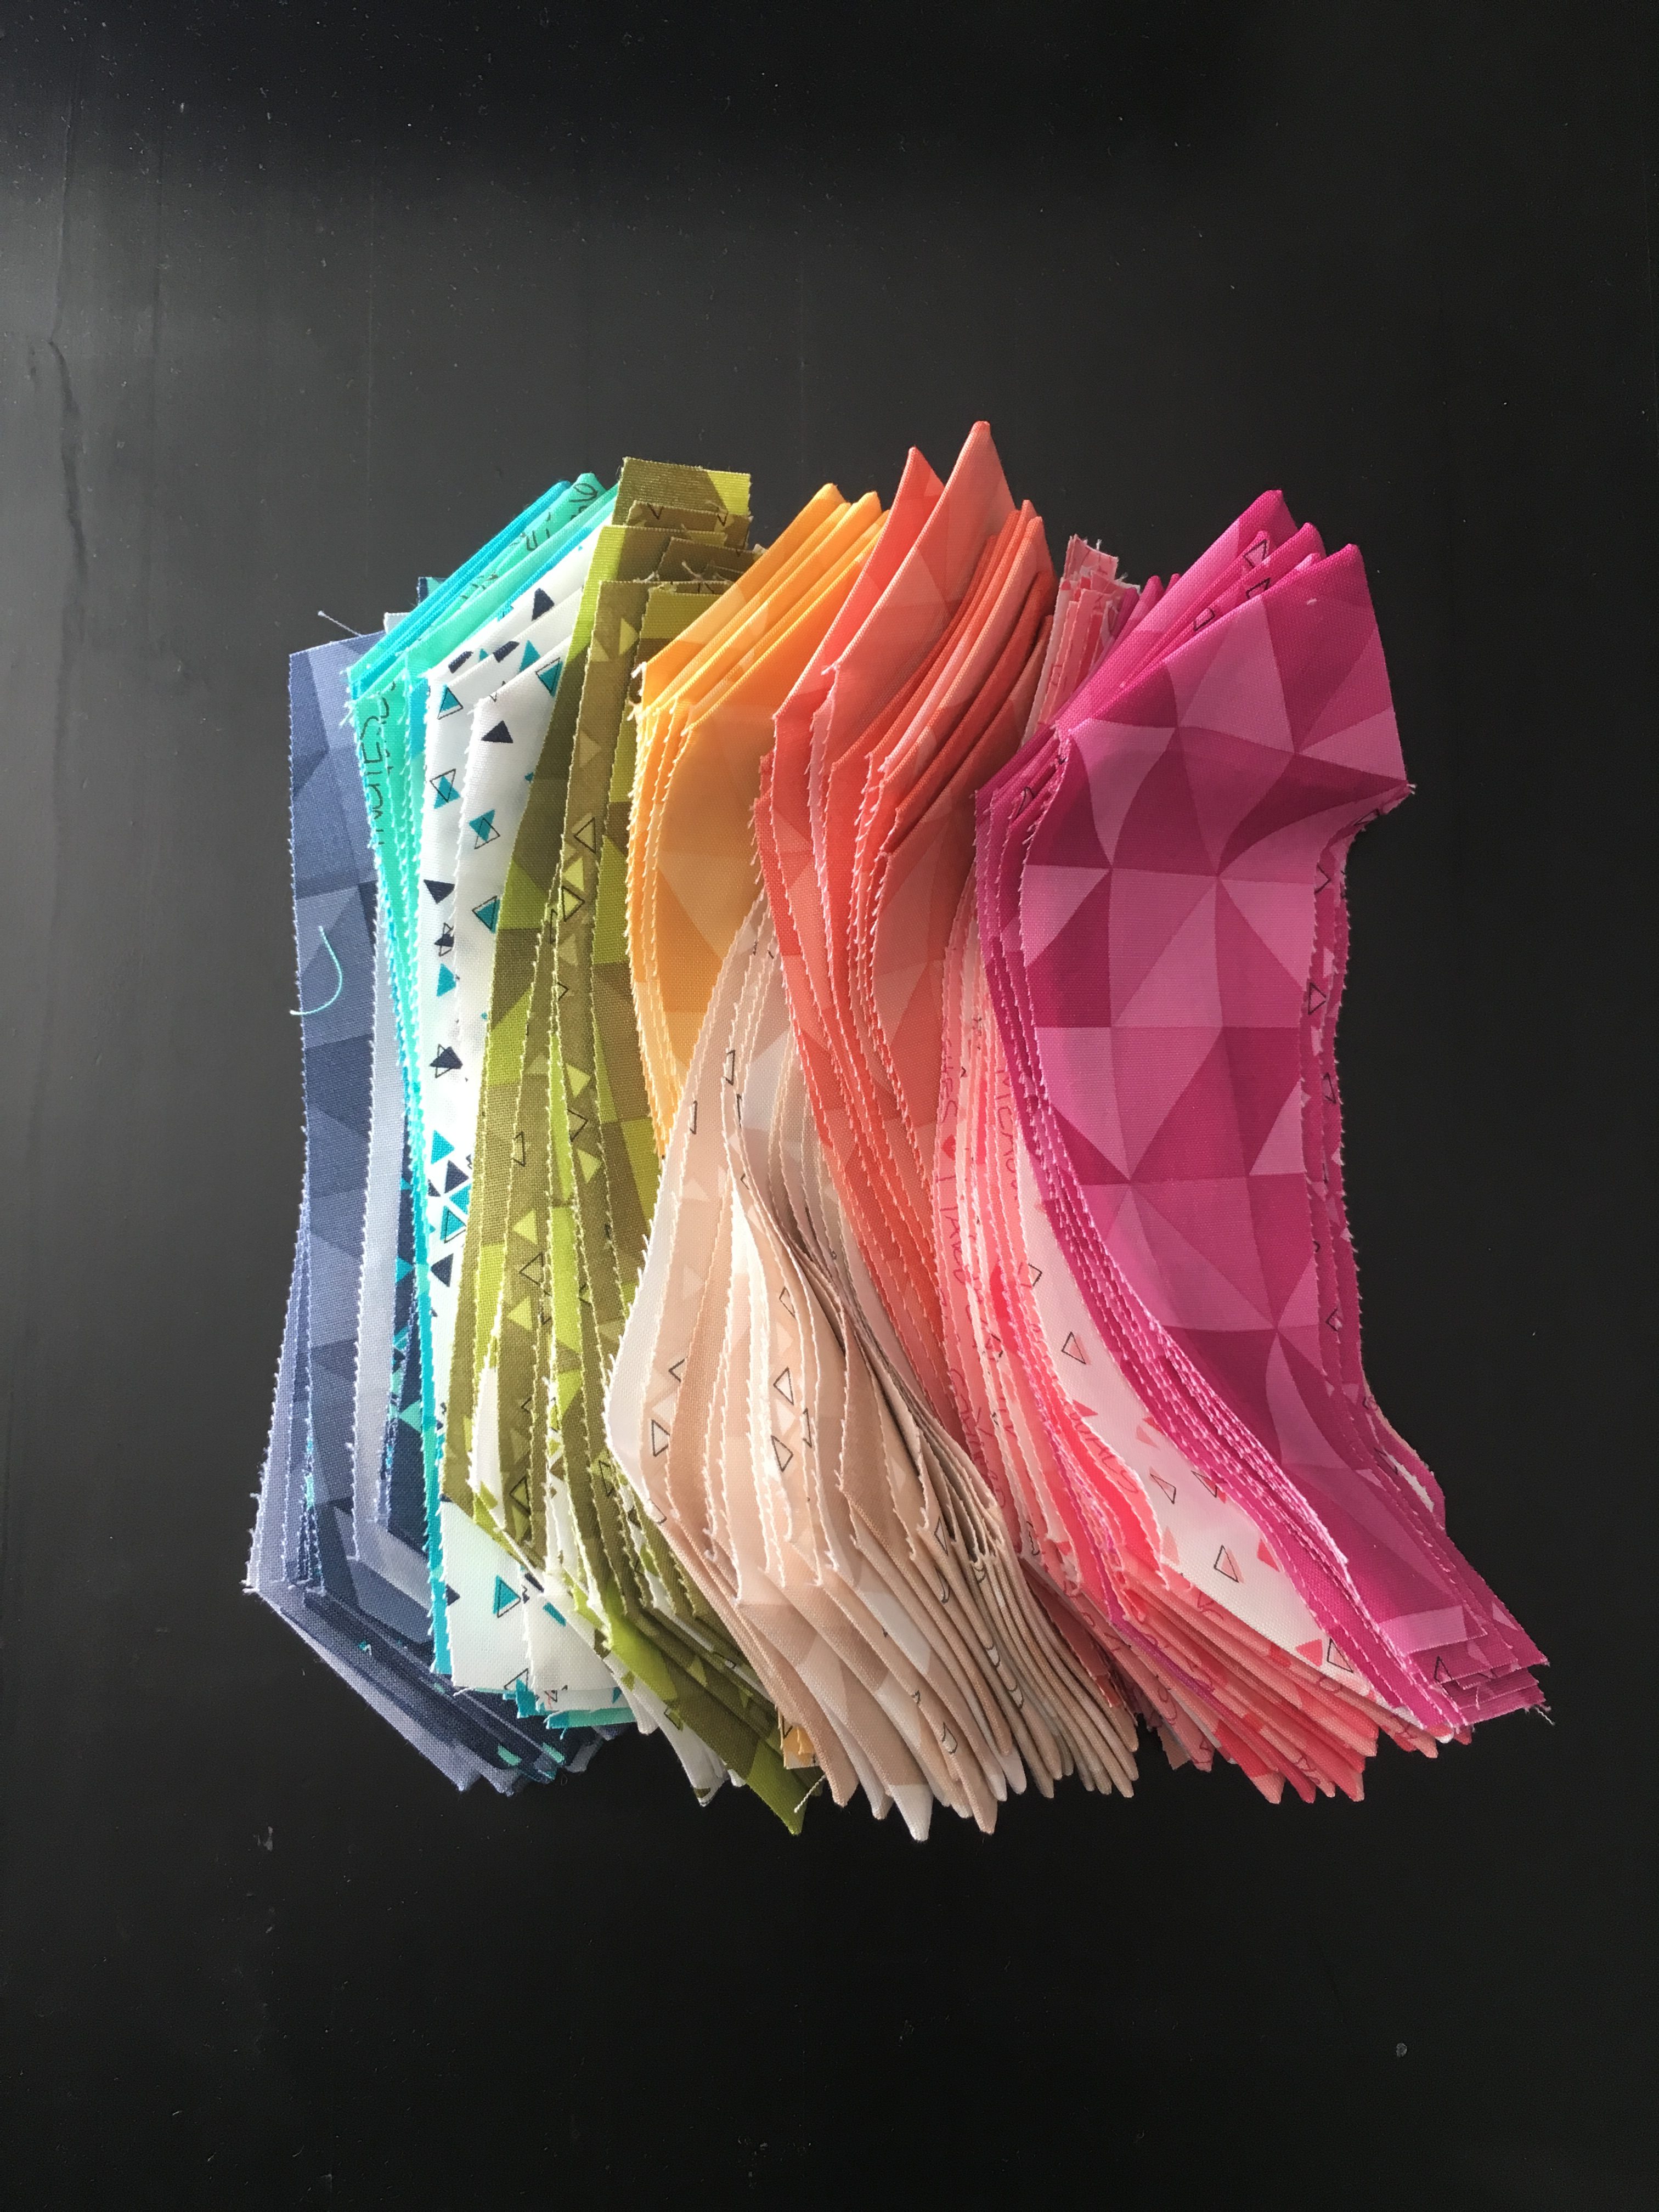
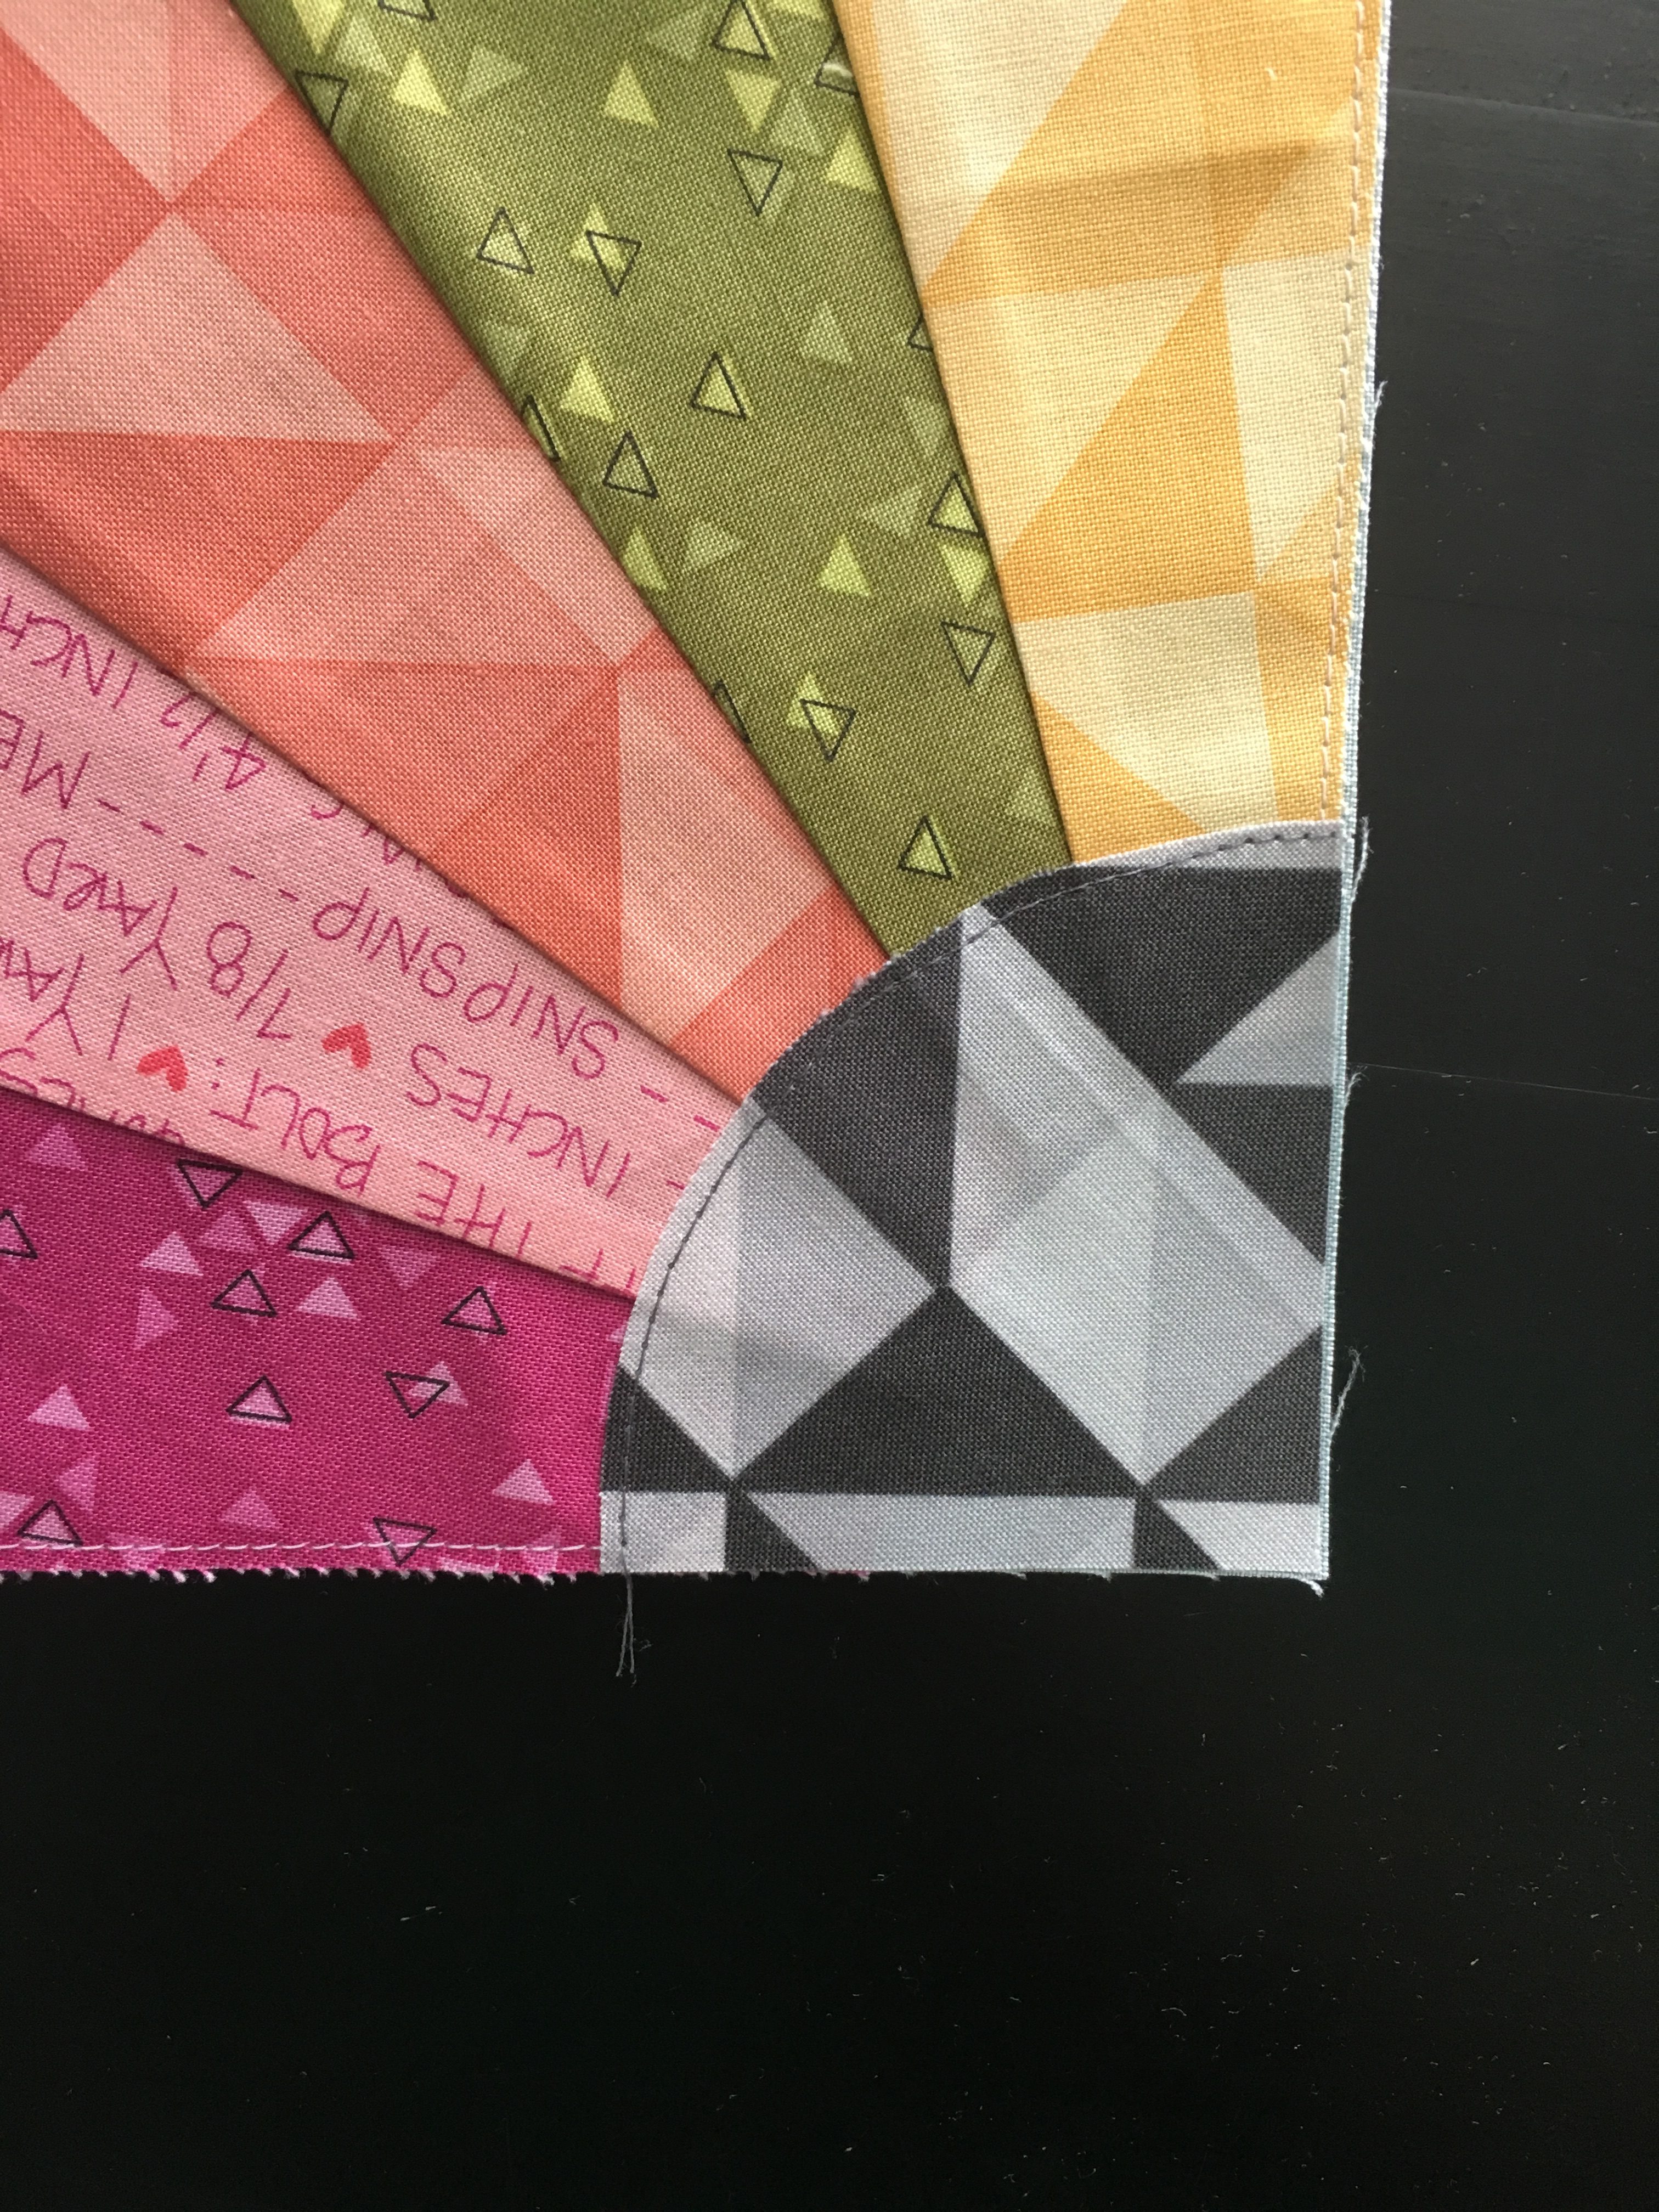
Grab your Spectrum fat eighth bundle. I started by pressing it, then cutting just one piece of fabric so I could get the hang of using the ruler and cutting Dresden blades. After my first successful fat eighth, I stacked 4 pieces together and cut them at the same time. This helped speed things up a lot, but once again, make sure you're comfortable with the process before you cut into multiple pieces. You will need a total of (150) 8" Dresden blades to make the required 30 quilt blocks. I chose to omit a few prints from my blades that didn't have as much contrast from the background as I was going for. You will need to set aside 2 fat eighths as well for the centers. I chose 2 gray prints for the centers and loved the pop they added.
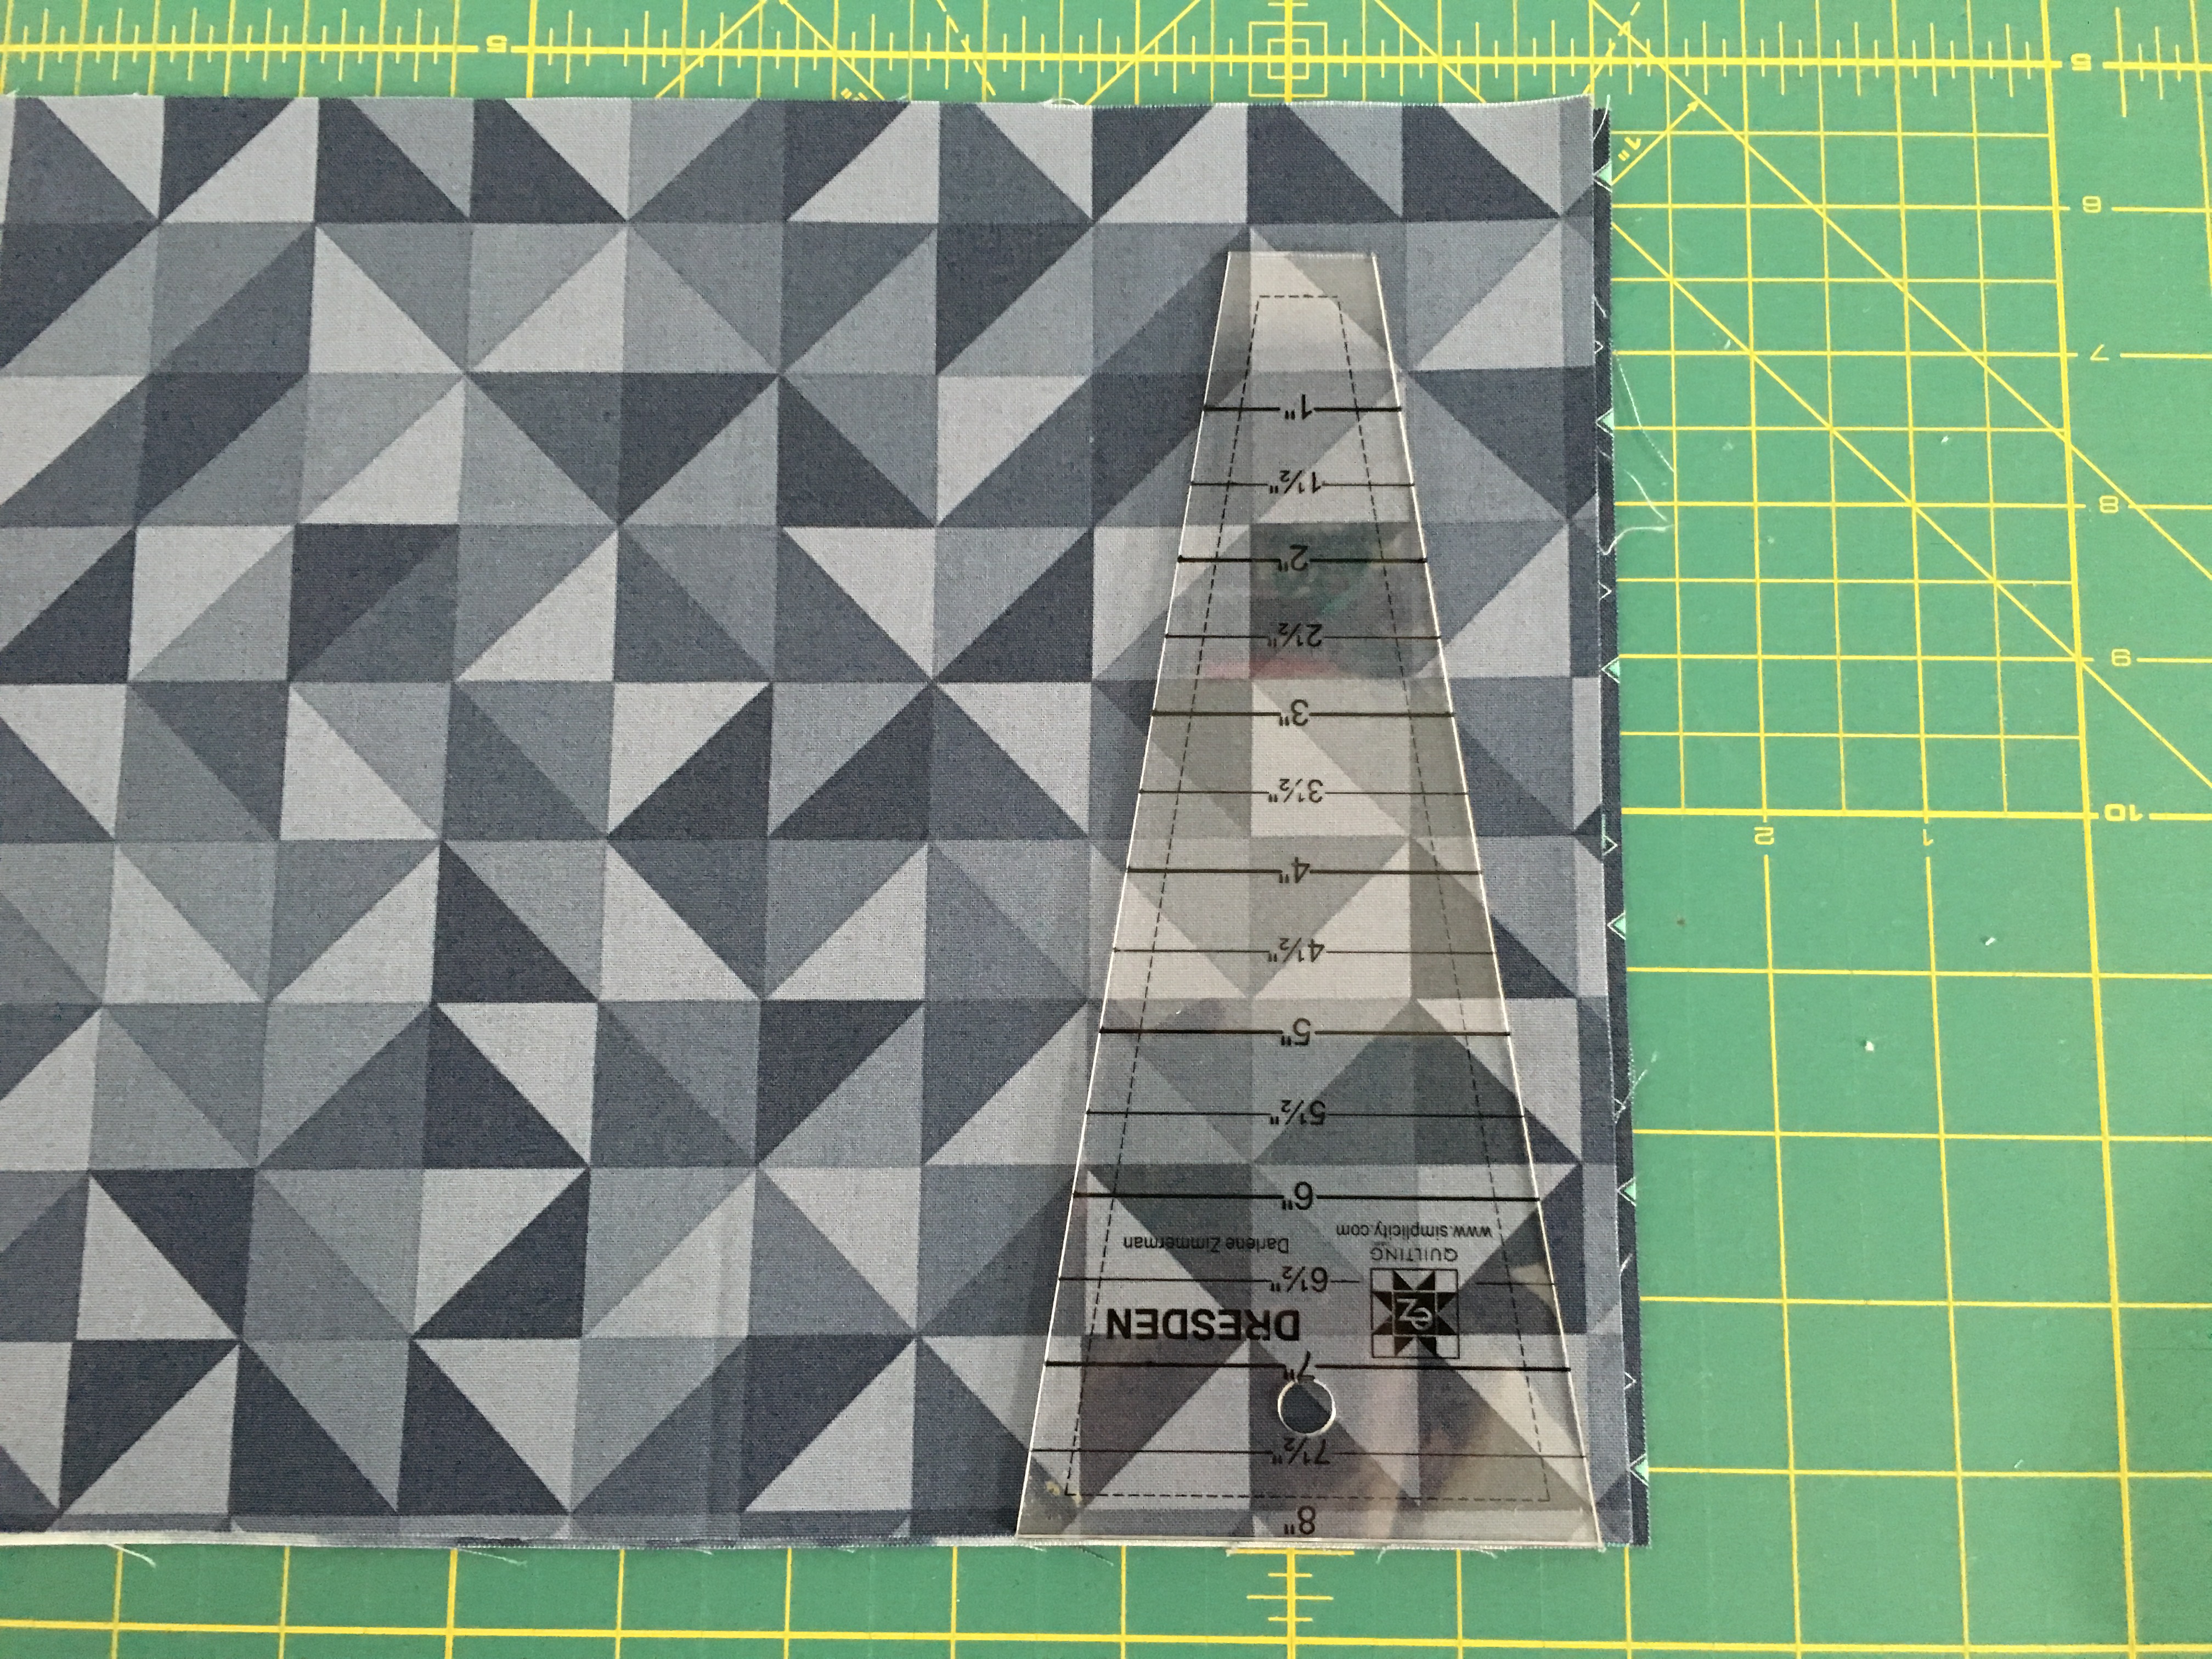
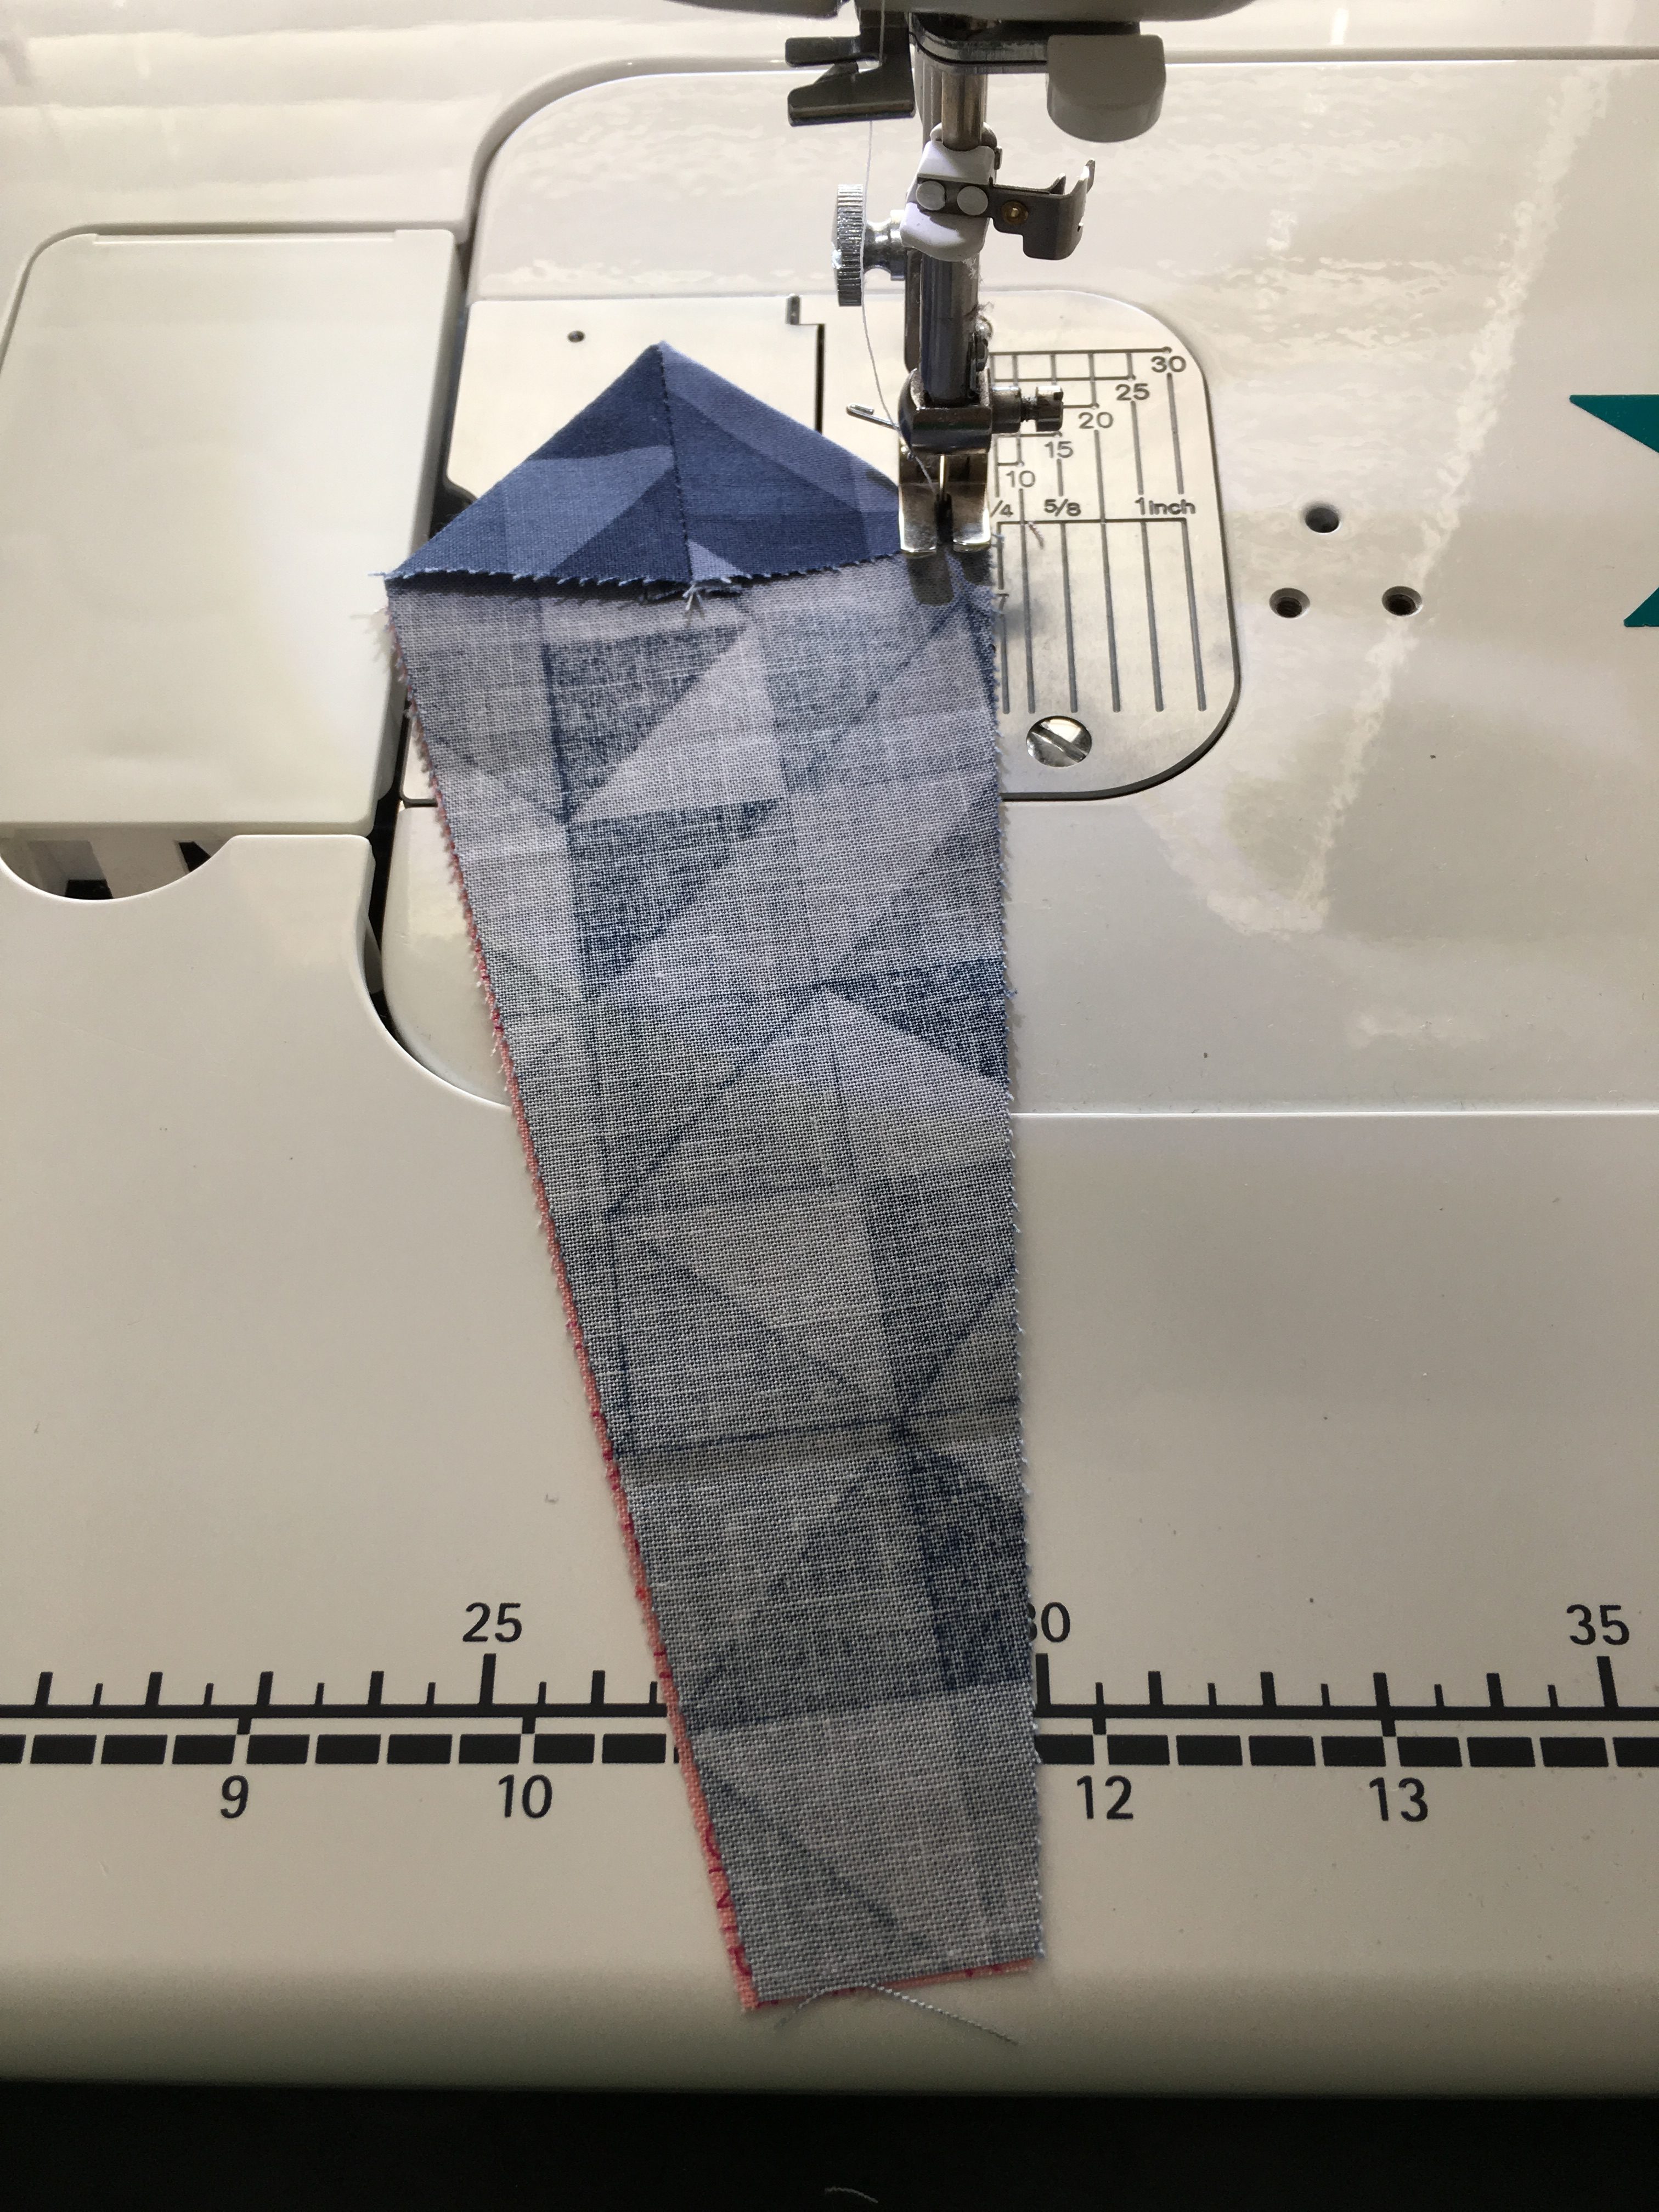
Trim the excess to the right, go around the top, then down the left side. You'll need to flip the ruler to cut the next blade. I cut 7 from each print, but you may need more or less depending on how many prints you omitted.
Blade Construction:
Once you have all of your beautiful blades cut, put the right sides of the top (wider part) together.
Repeat for each of the 150 blades.
Pressing:
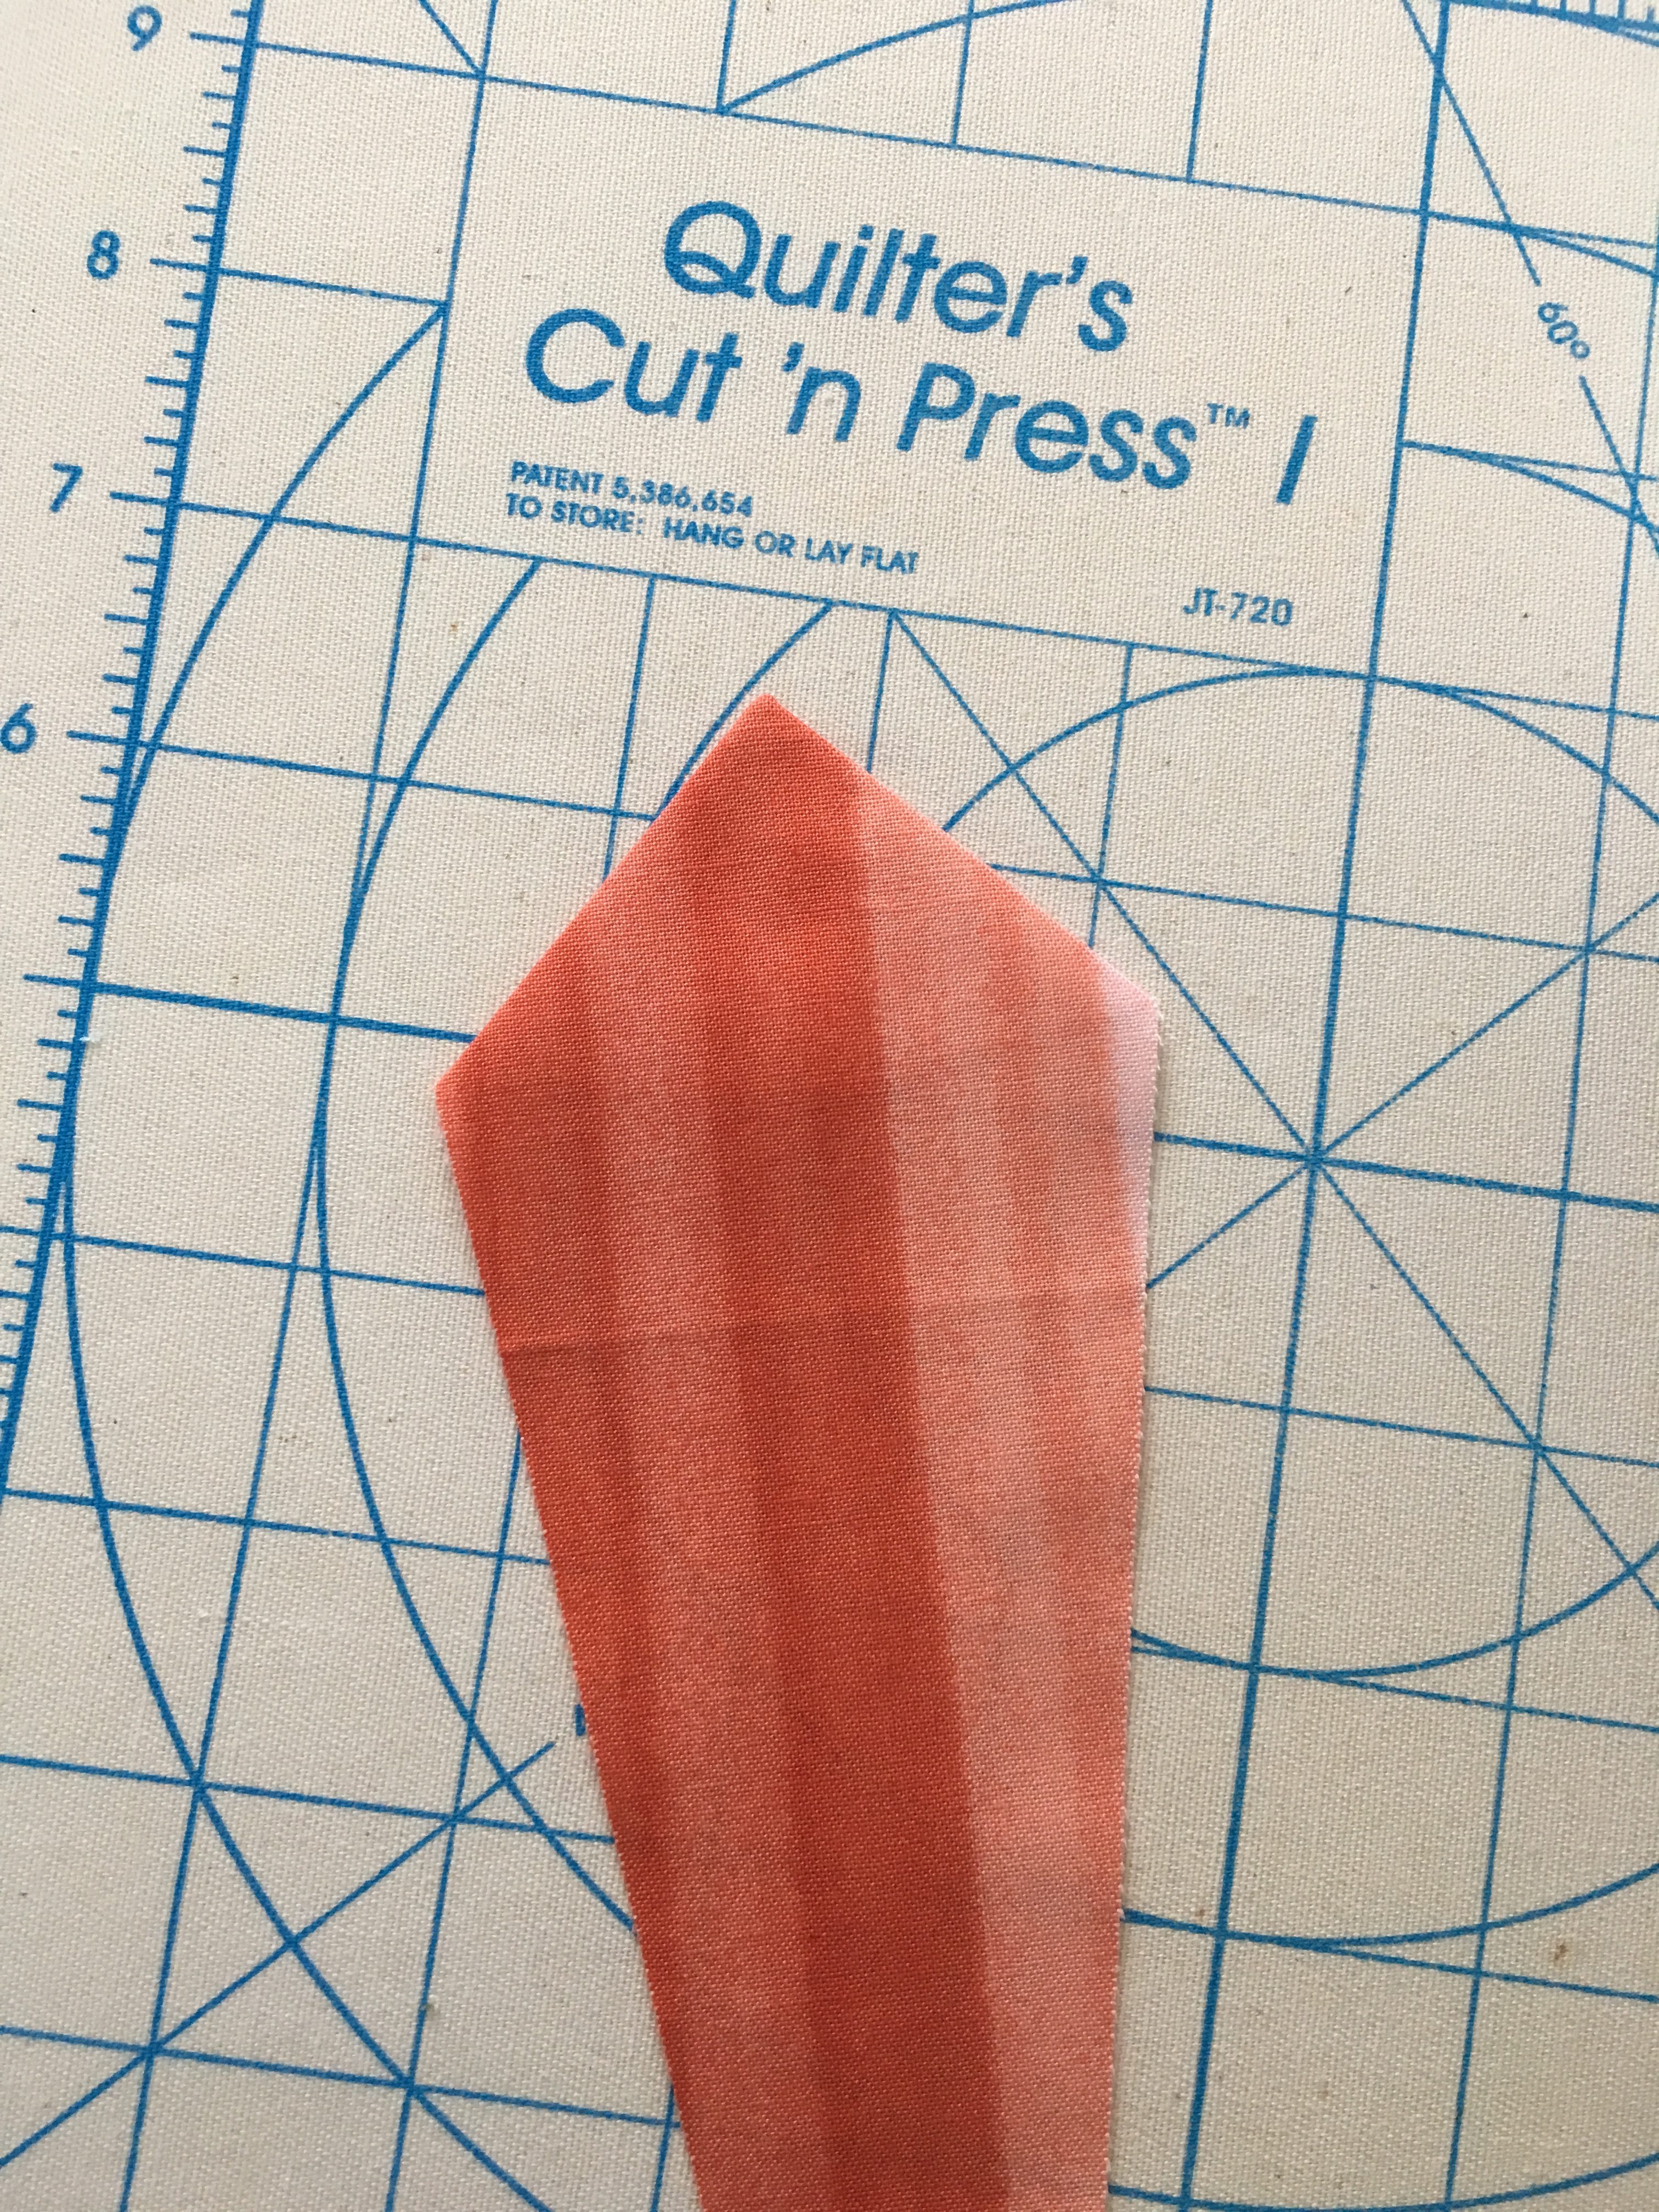
Flatten out the Dresden blade so it looks like this picture:

Press the seam open. Don't worry about the very tip, we'll fix that next. Insert your corner tool and pop out the tip of the Dresden blade, being careful not to push too hard, then press it again.


It should look like this from the front:
Fan Assembly:
Pick out two blades and put their right sides together. Sew 1/4" seam along the right side.
Continue adding blades until you have a unit of 5 blades together. Press however you'd like. I pressed all of my seams to one side. If you prefer open seams, that will work just fine as well.
Block Assembly:
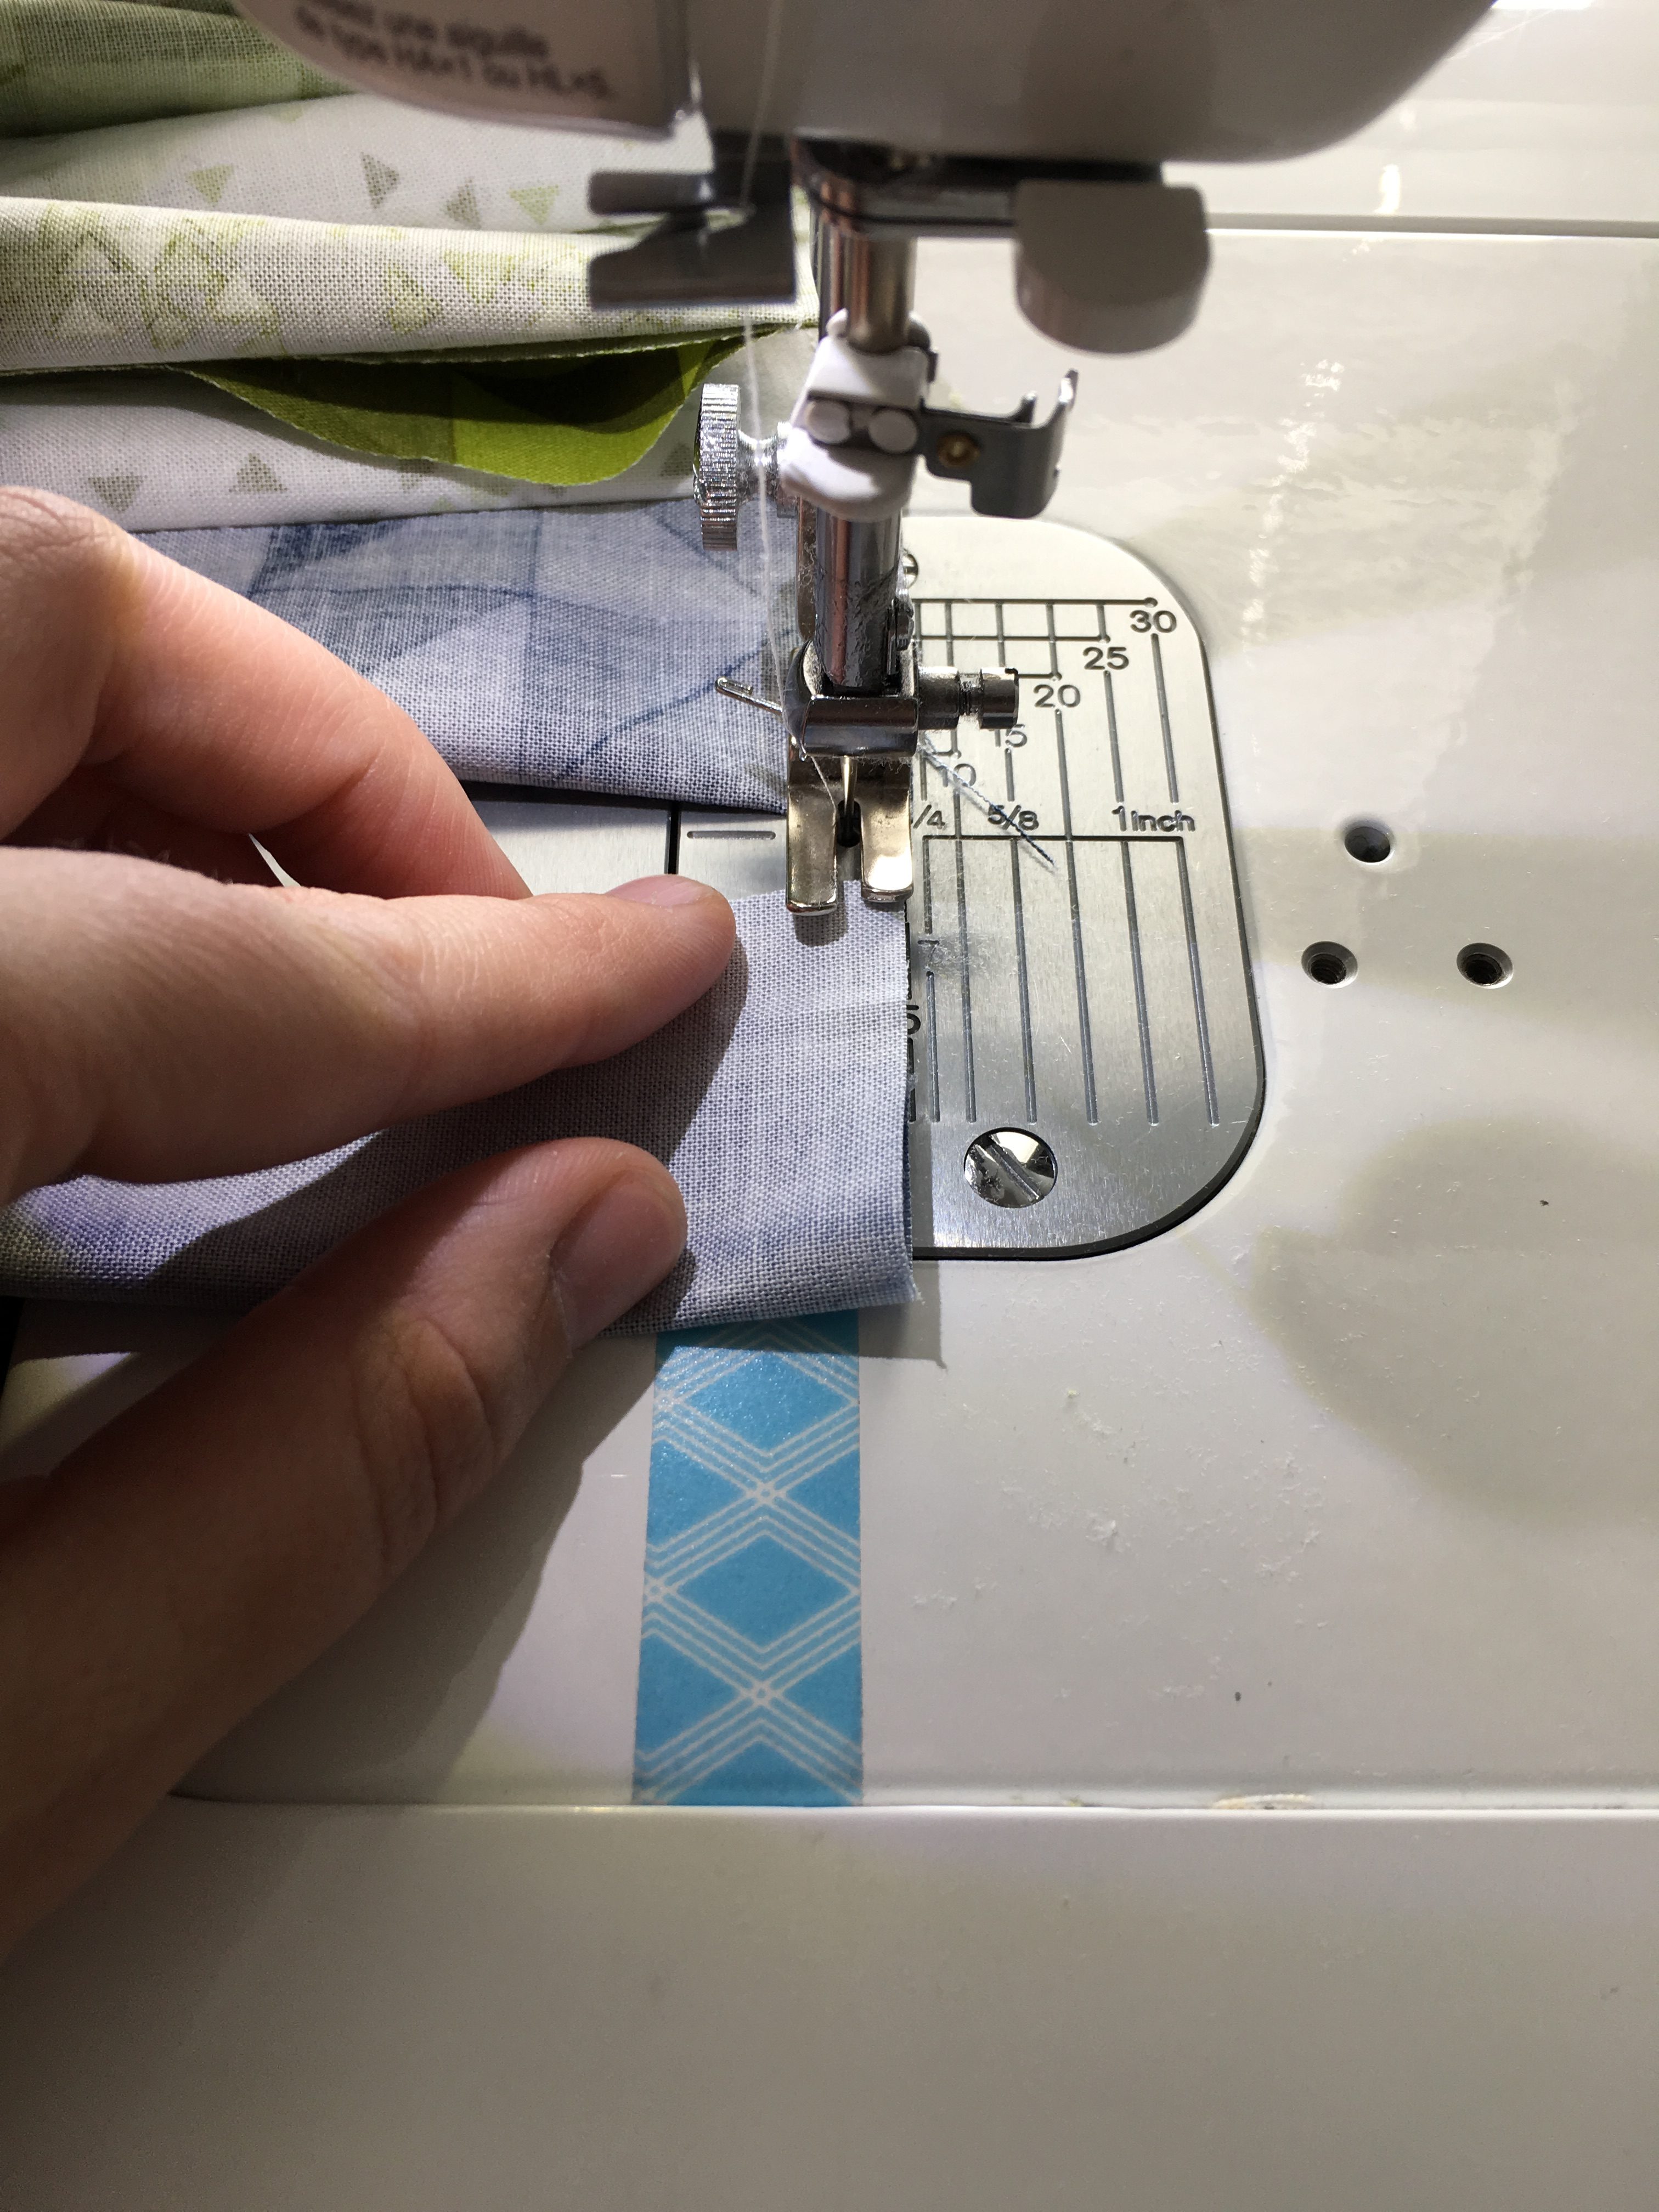
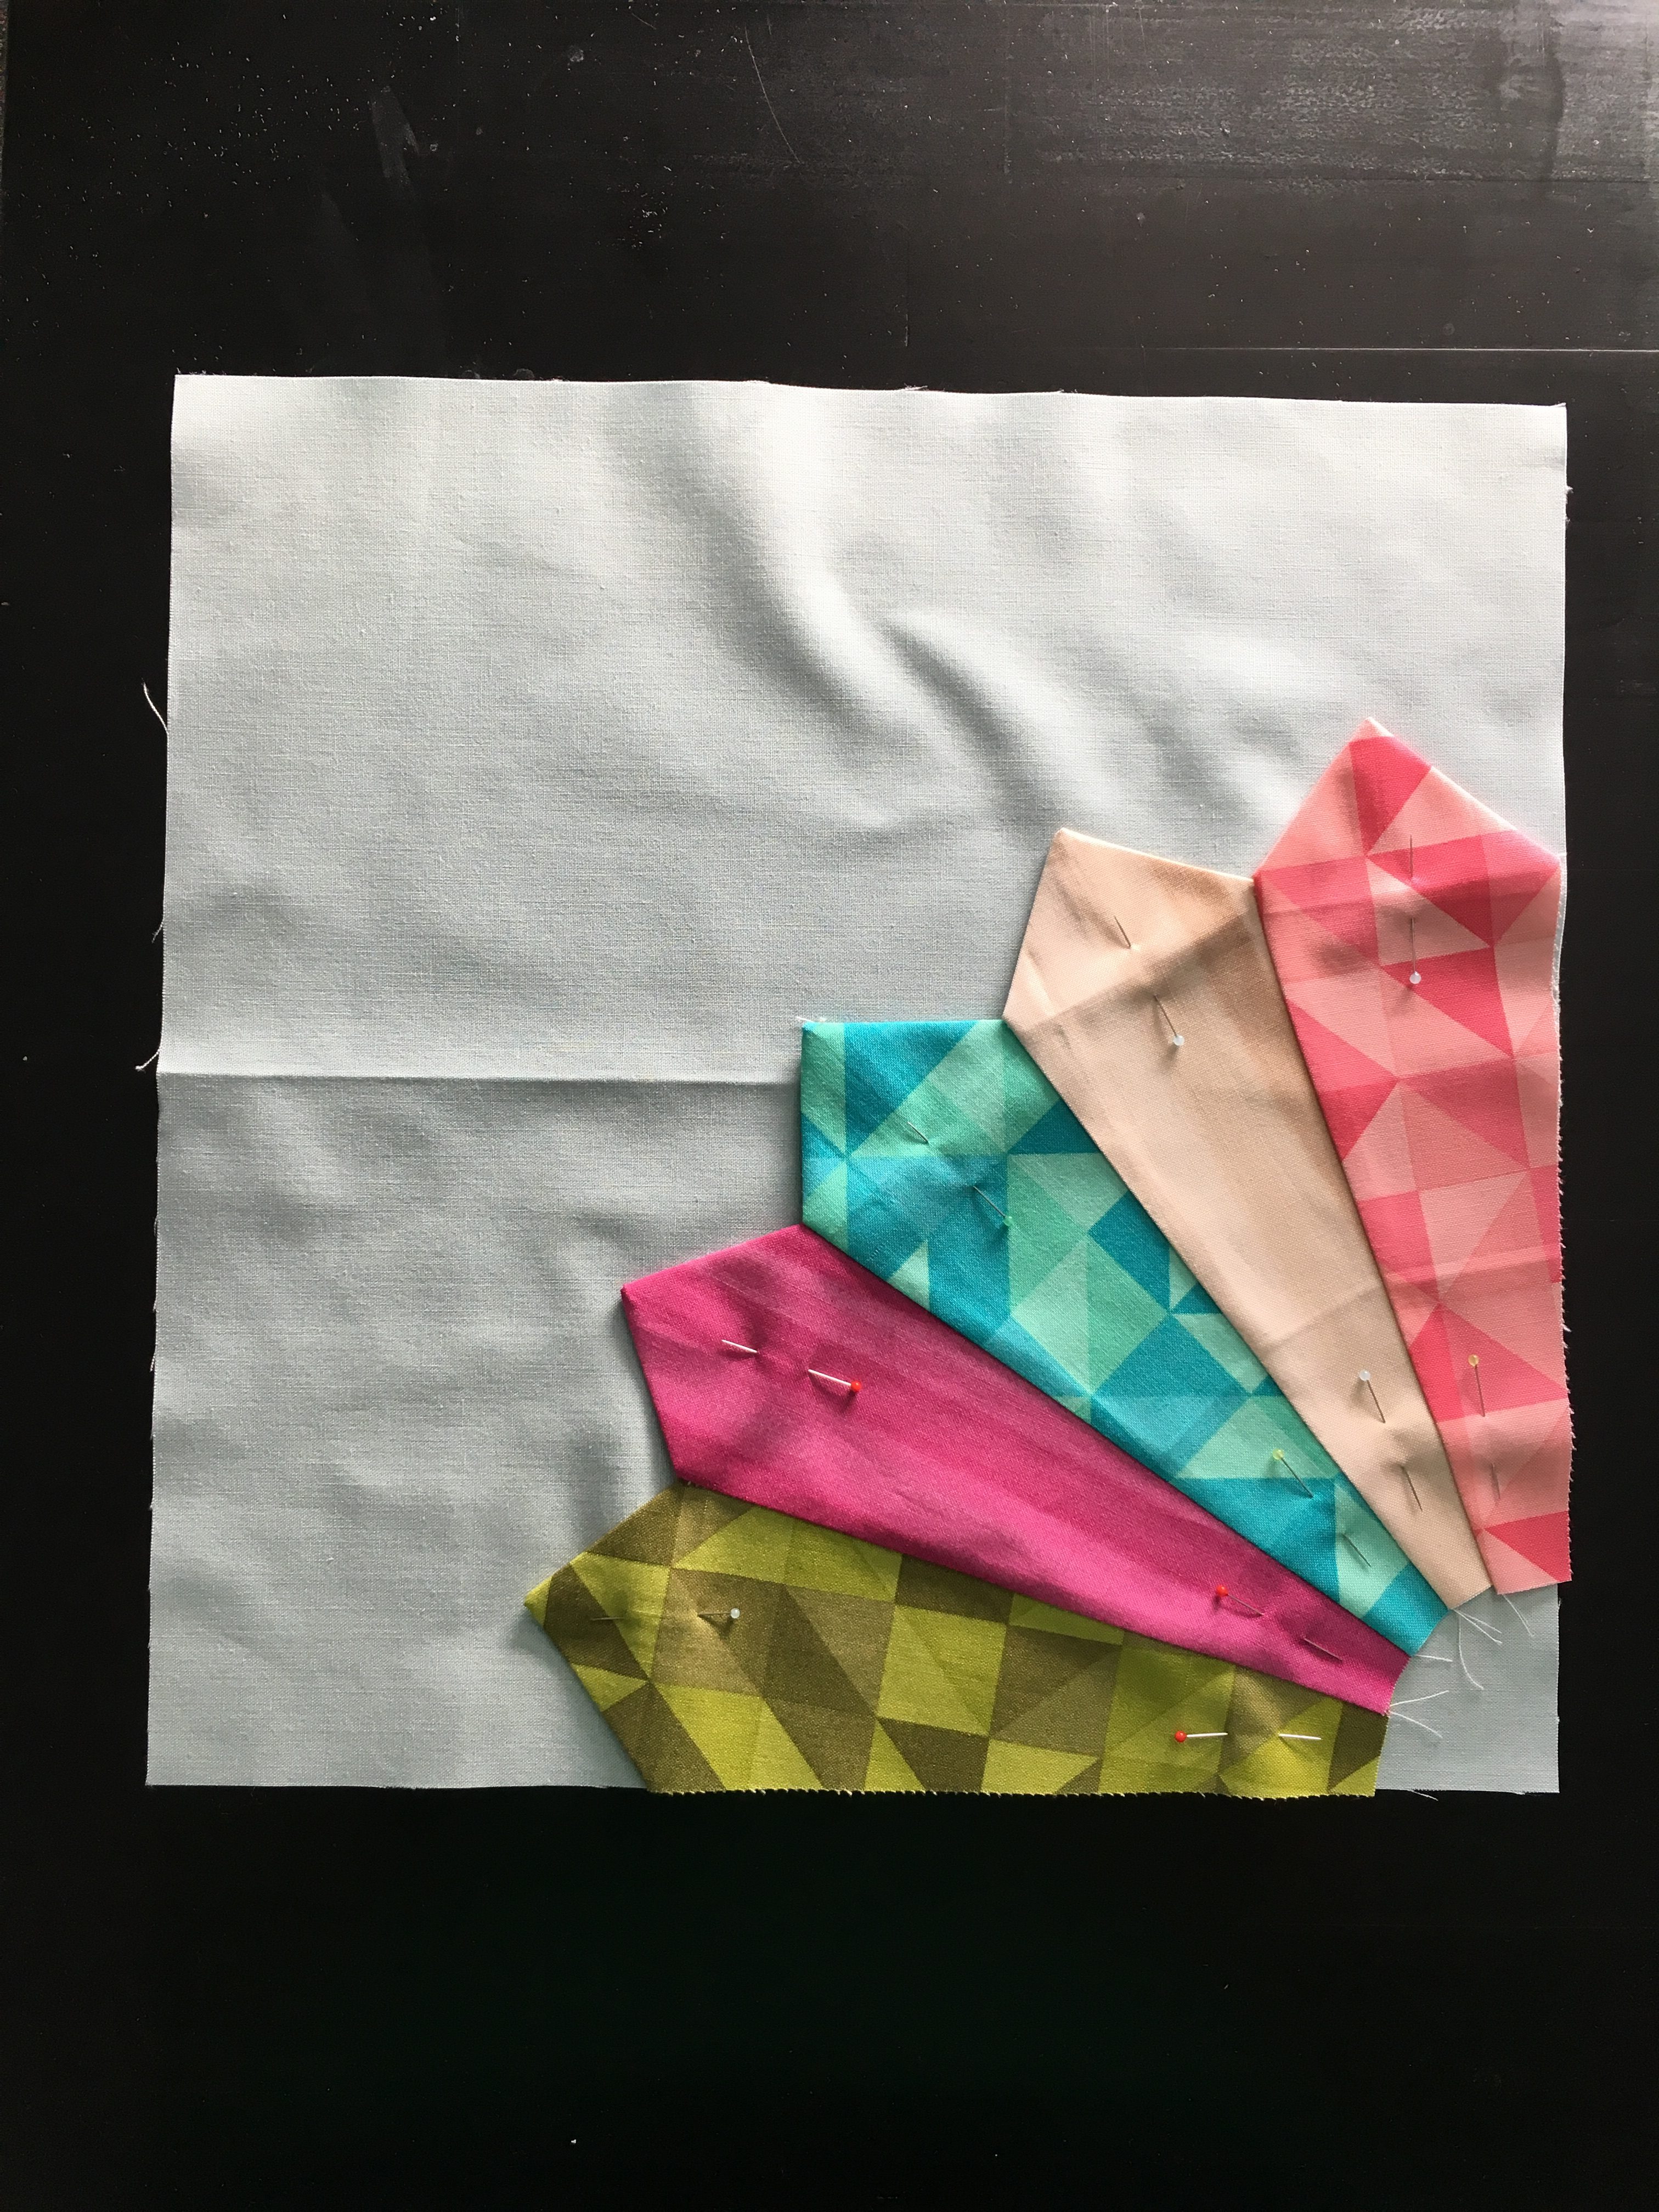
Place your pressed fan on top of a 12-1/2" background square.

Since all of the raw edges will either be caught in a seam or covered by the fusible appliqué center, I chose to pin and sew a very scant 1/8" around the entire edge instead of fusible appliqué here.

Center Circles:
Cut (2) 5-1/2" x 22" strip of Heat 'n Bond Lite. Pick the 2 fat eighths you set aside for centers, follow the manufacturer instructions for the fusible webbing, and adhere it to the wrong side of the fabric.
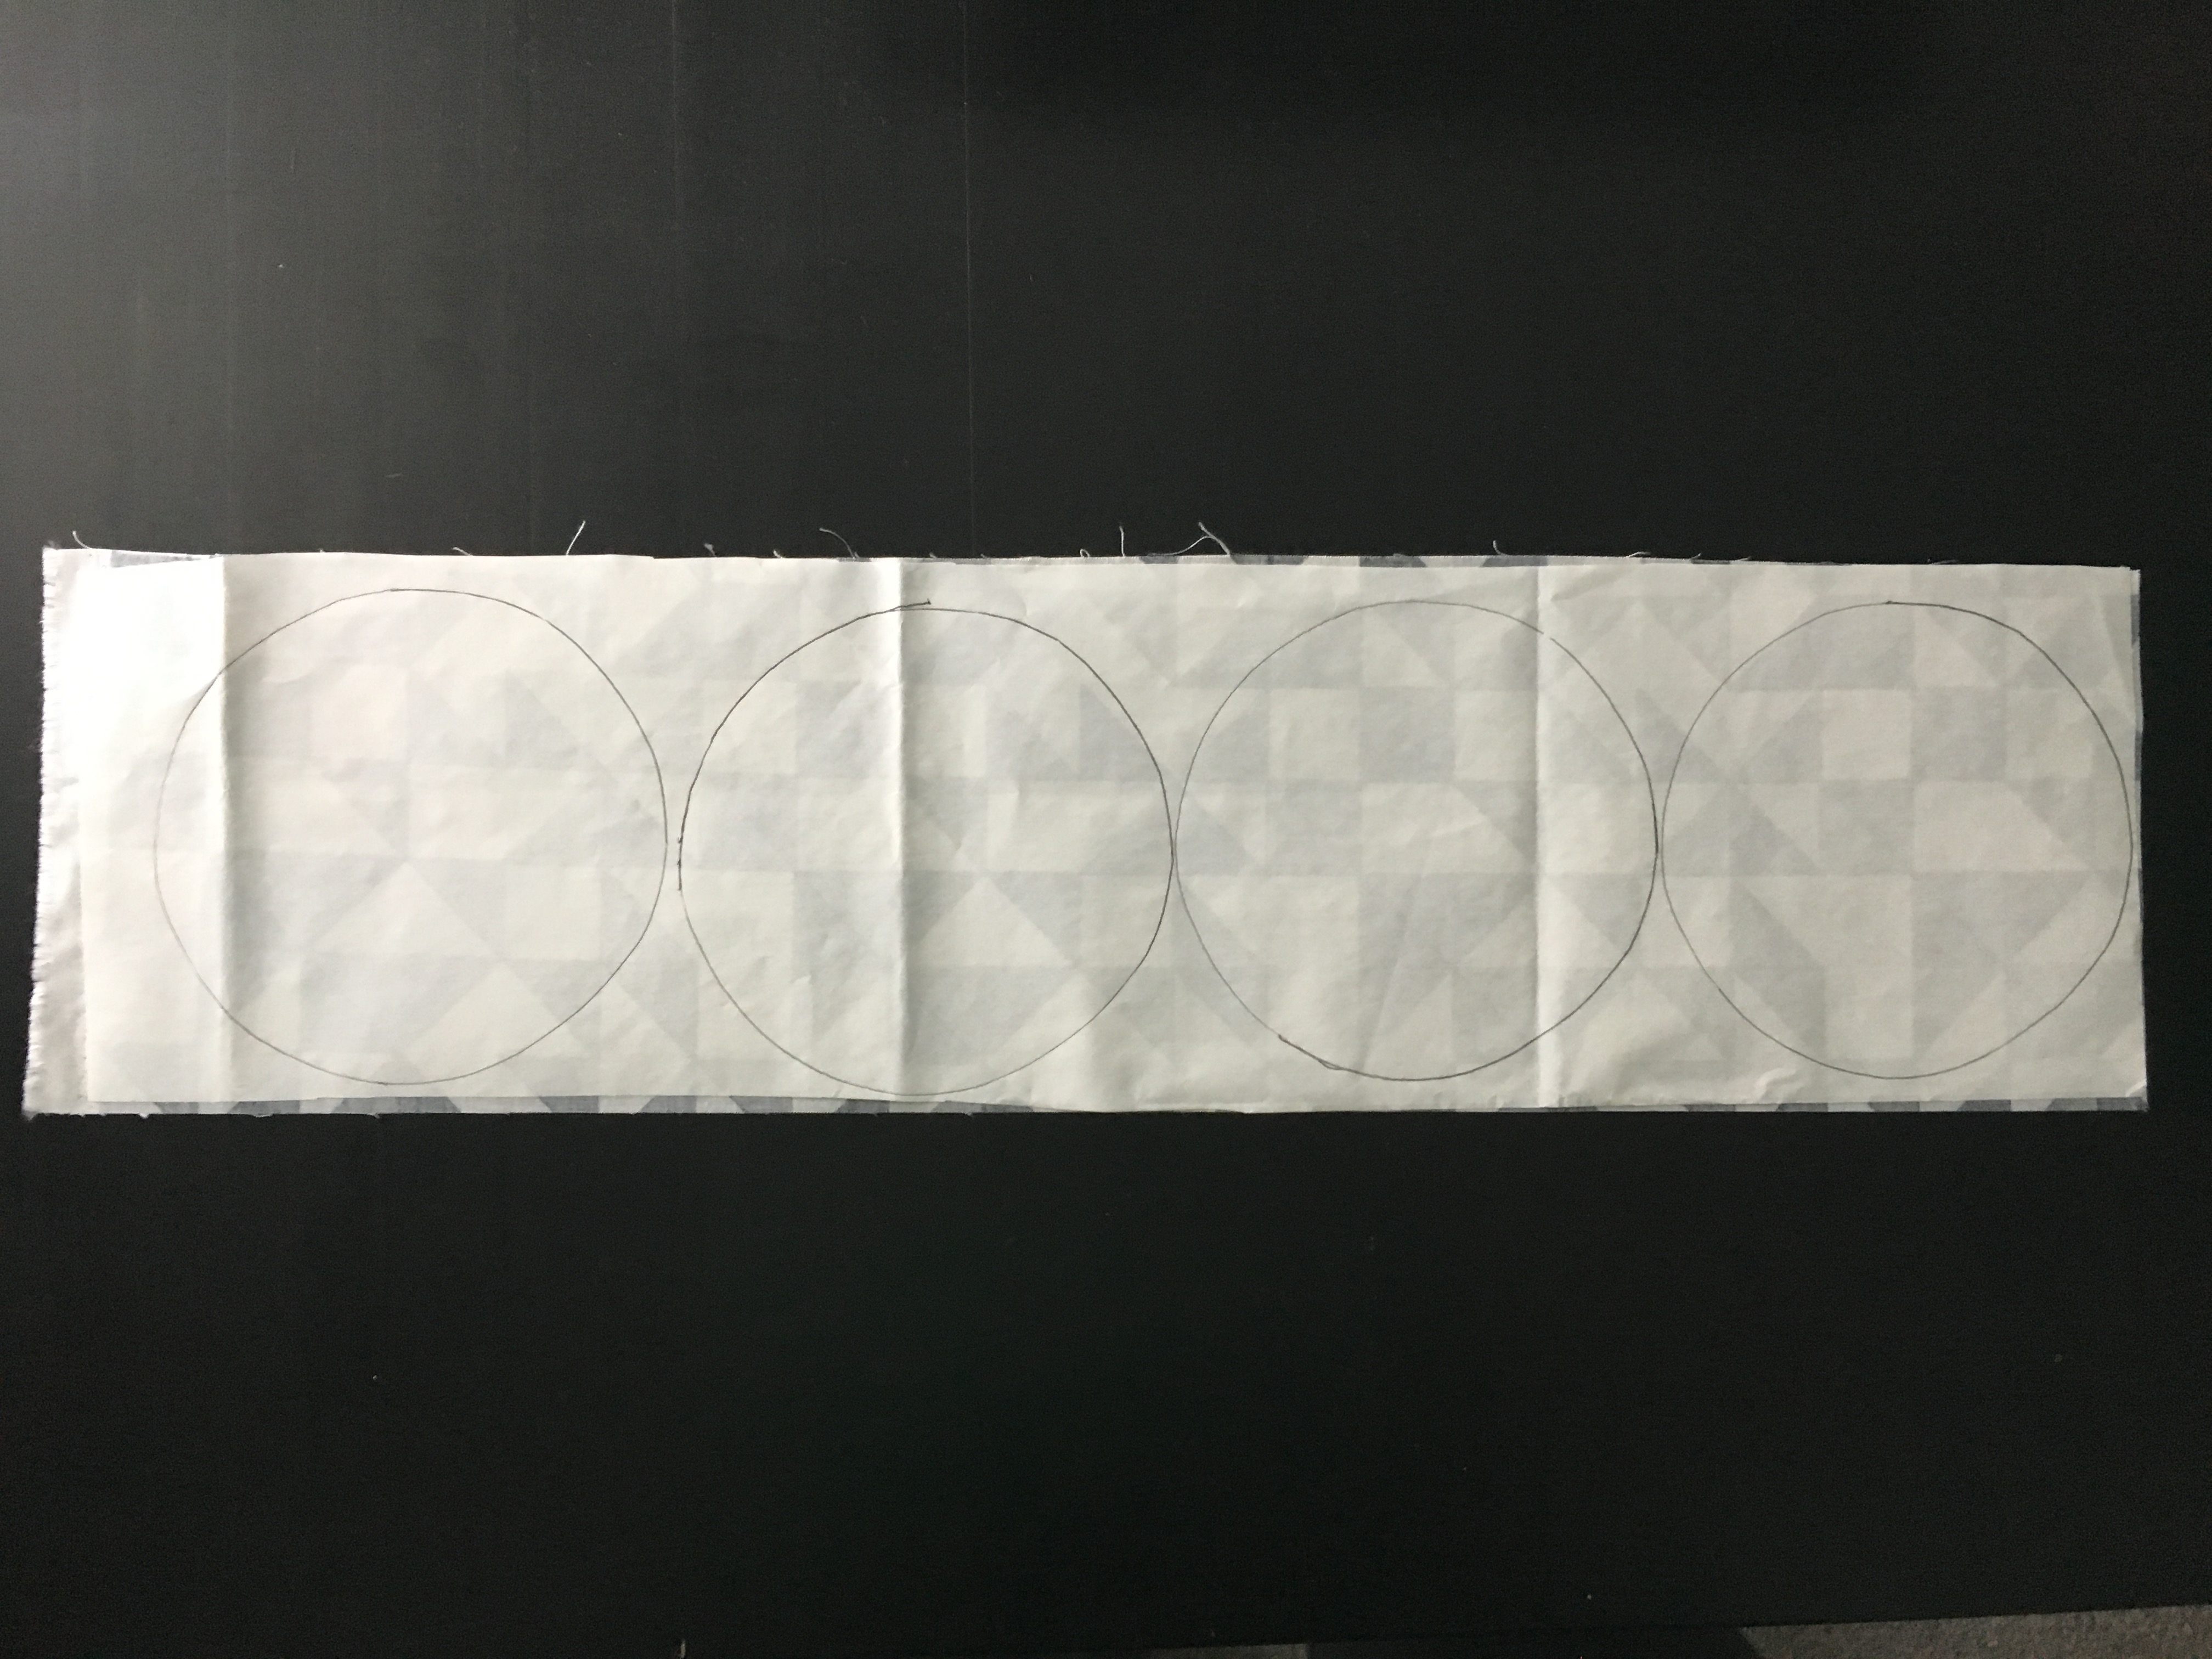
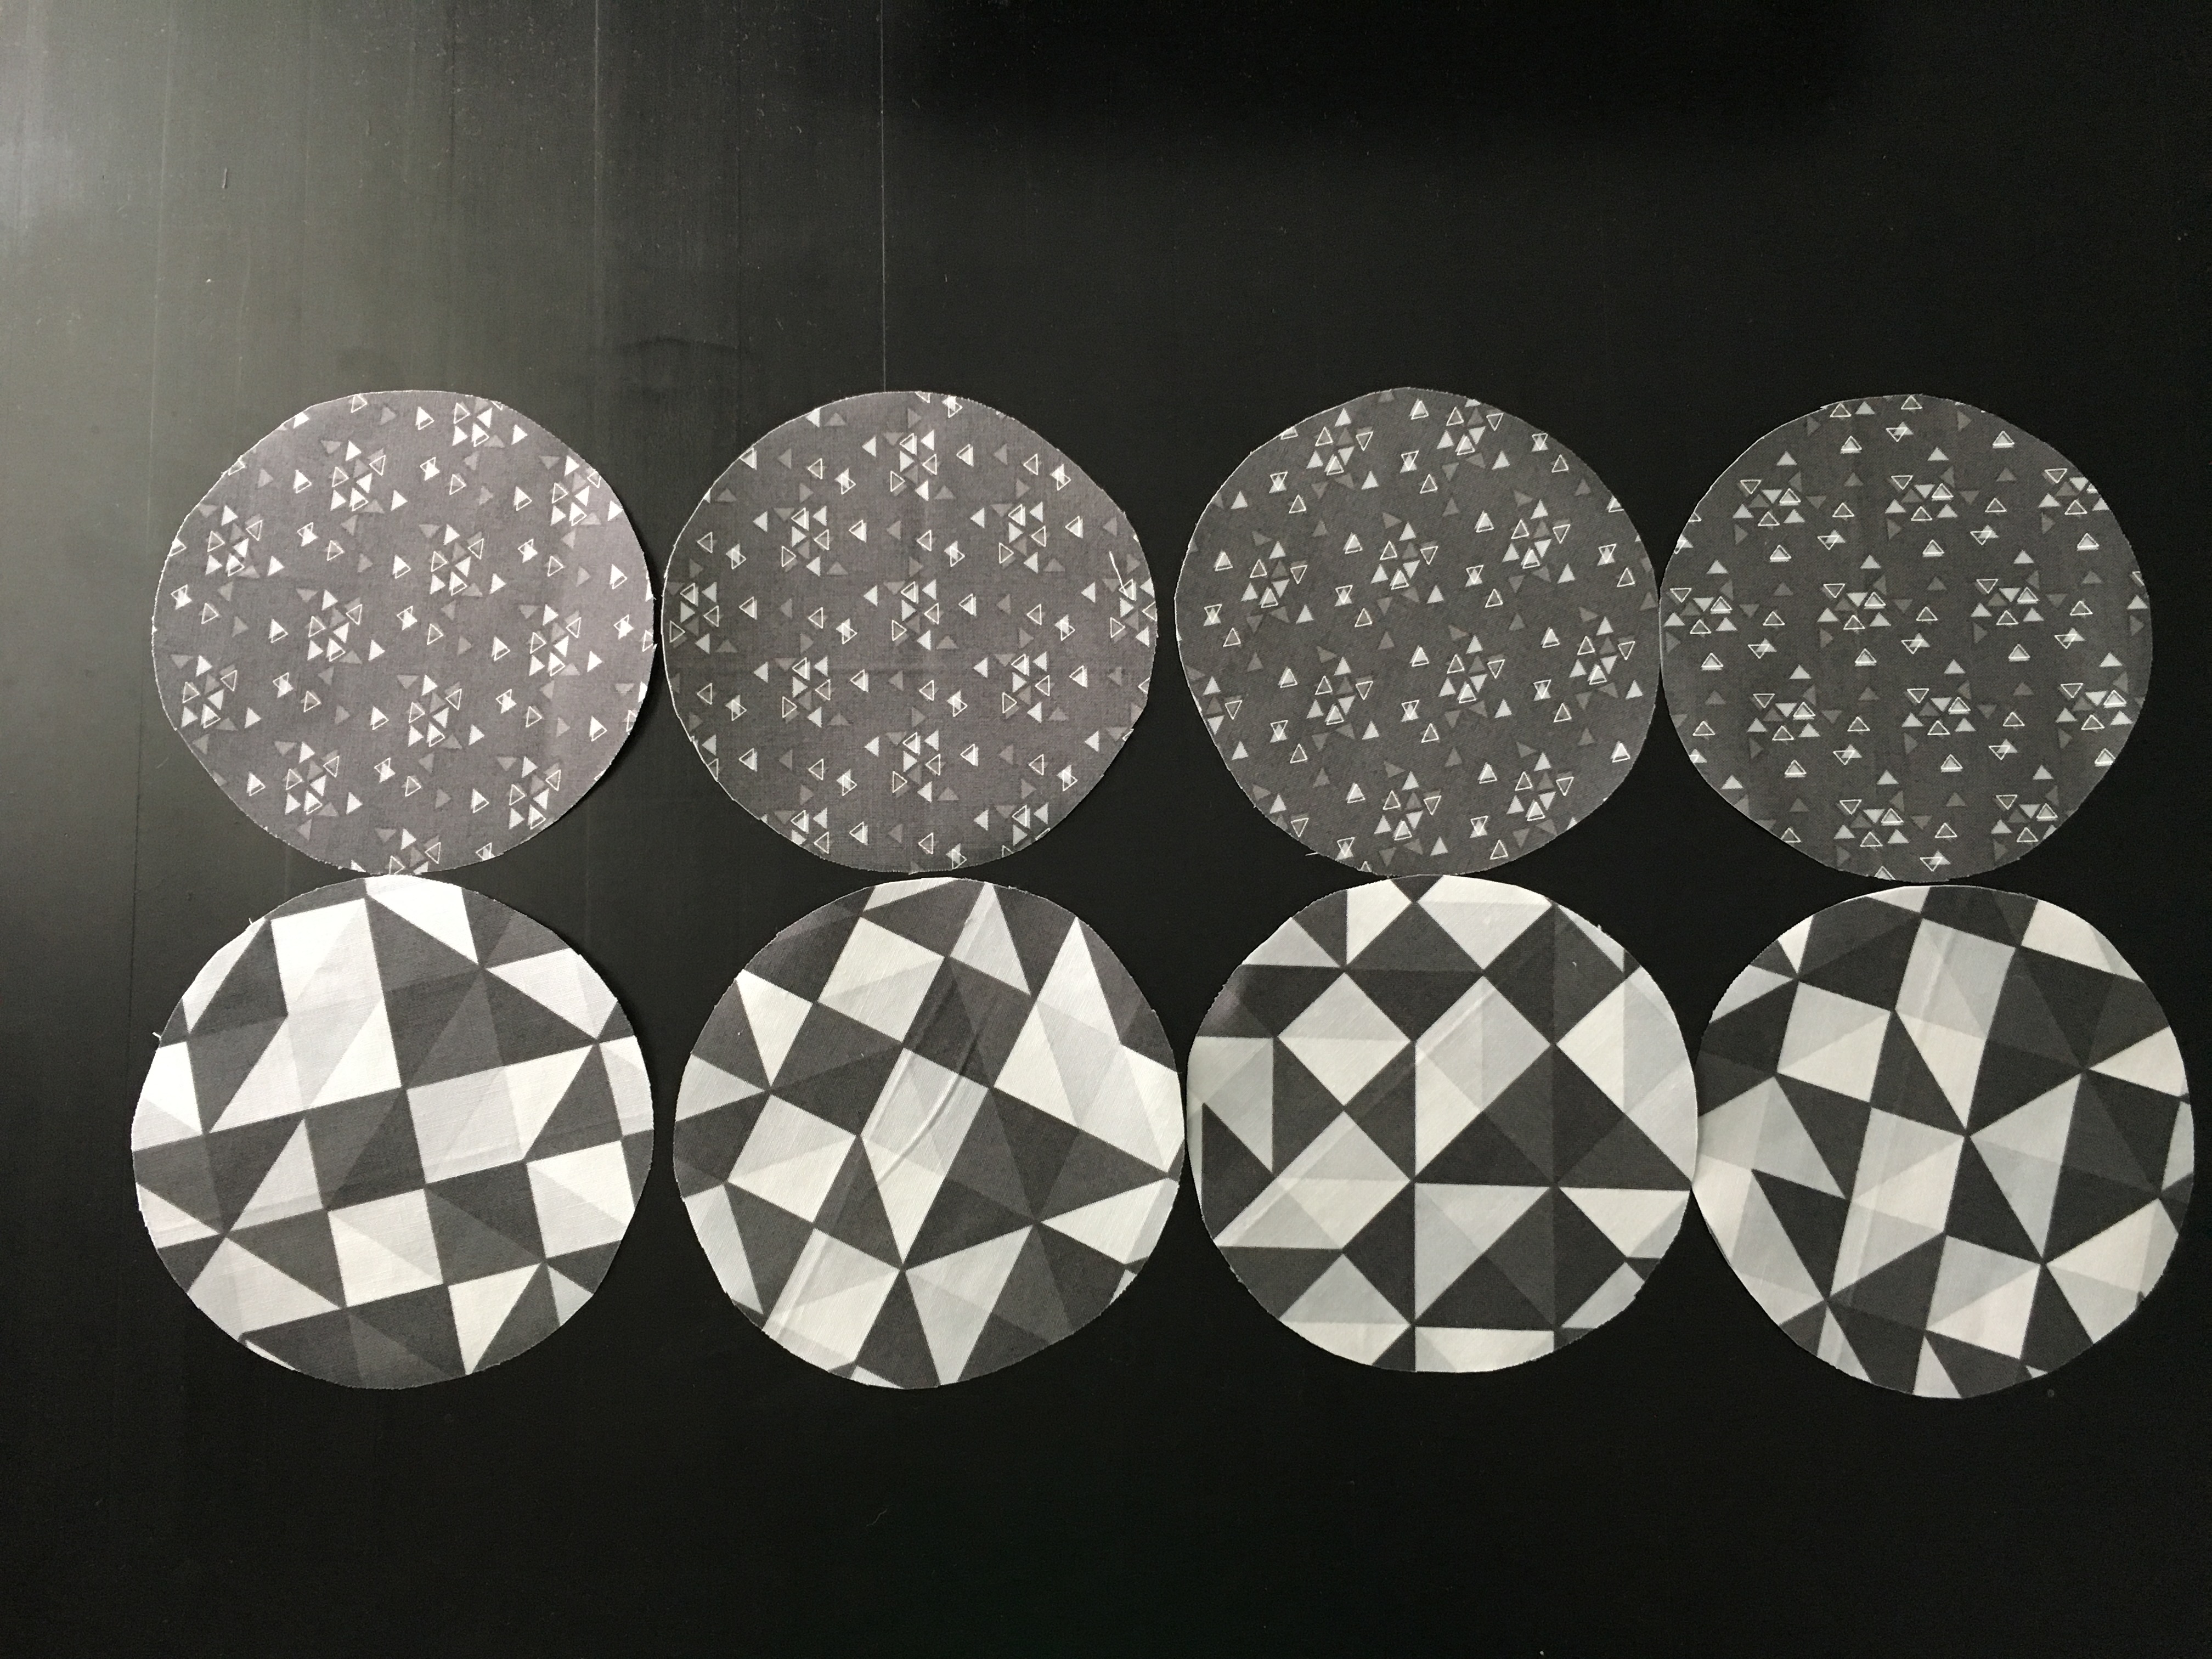
You will need a 5-1/4" circle for the center. I traced a Jelly Roll I had in my stash onto paper and it was the perfect size. Trace this circle template onto the back of the webbing. You will need 4 circles cut from each fat eighth, for a total of 8 circles.
Cut them out, then quarter the circles.
Place one quarter on the center of each butterfly block. Follow the manufacturer instructions and fuse it to the block. All of the raw edges from your fan should be covered by this piece. Sew in a coordinating thread color around the edge. If your machine does a blanket stitch, this is a wonderful project to use that feature.

Quilt Assembly:
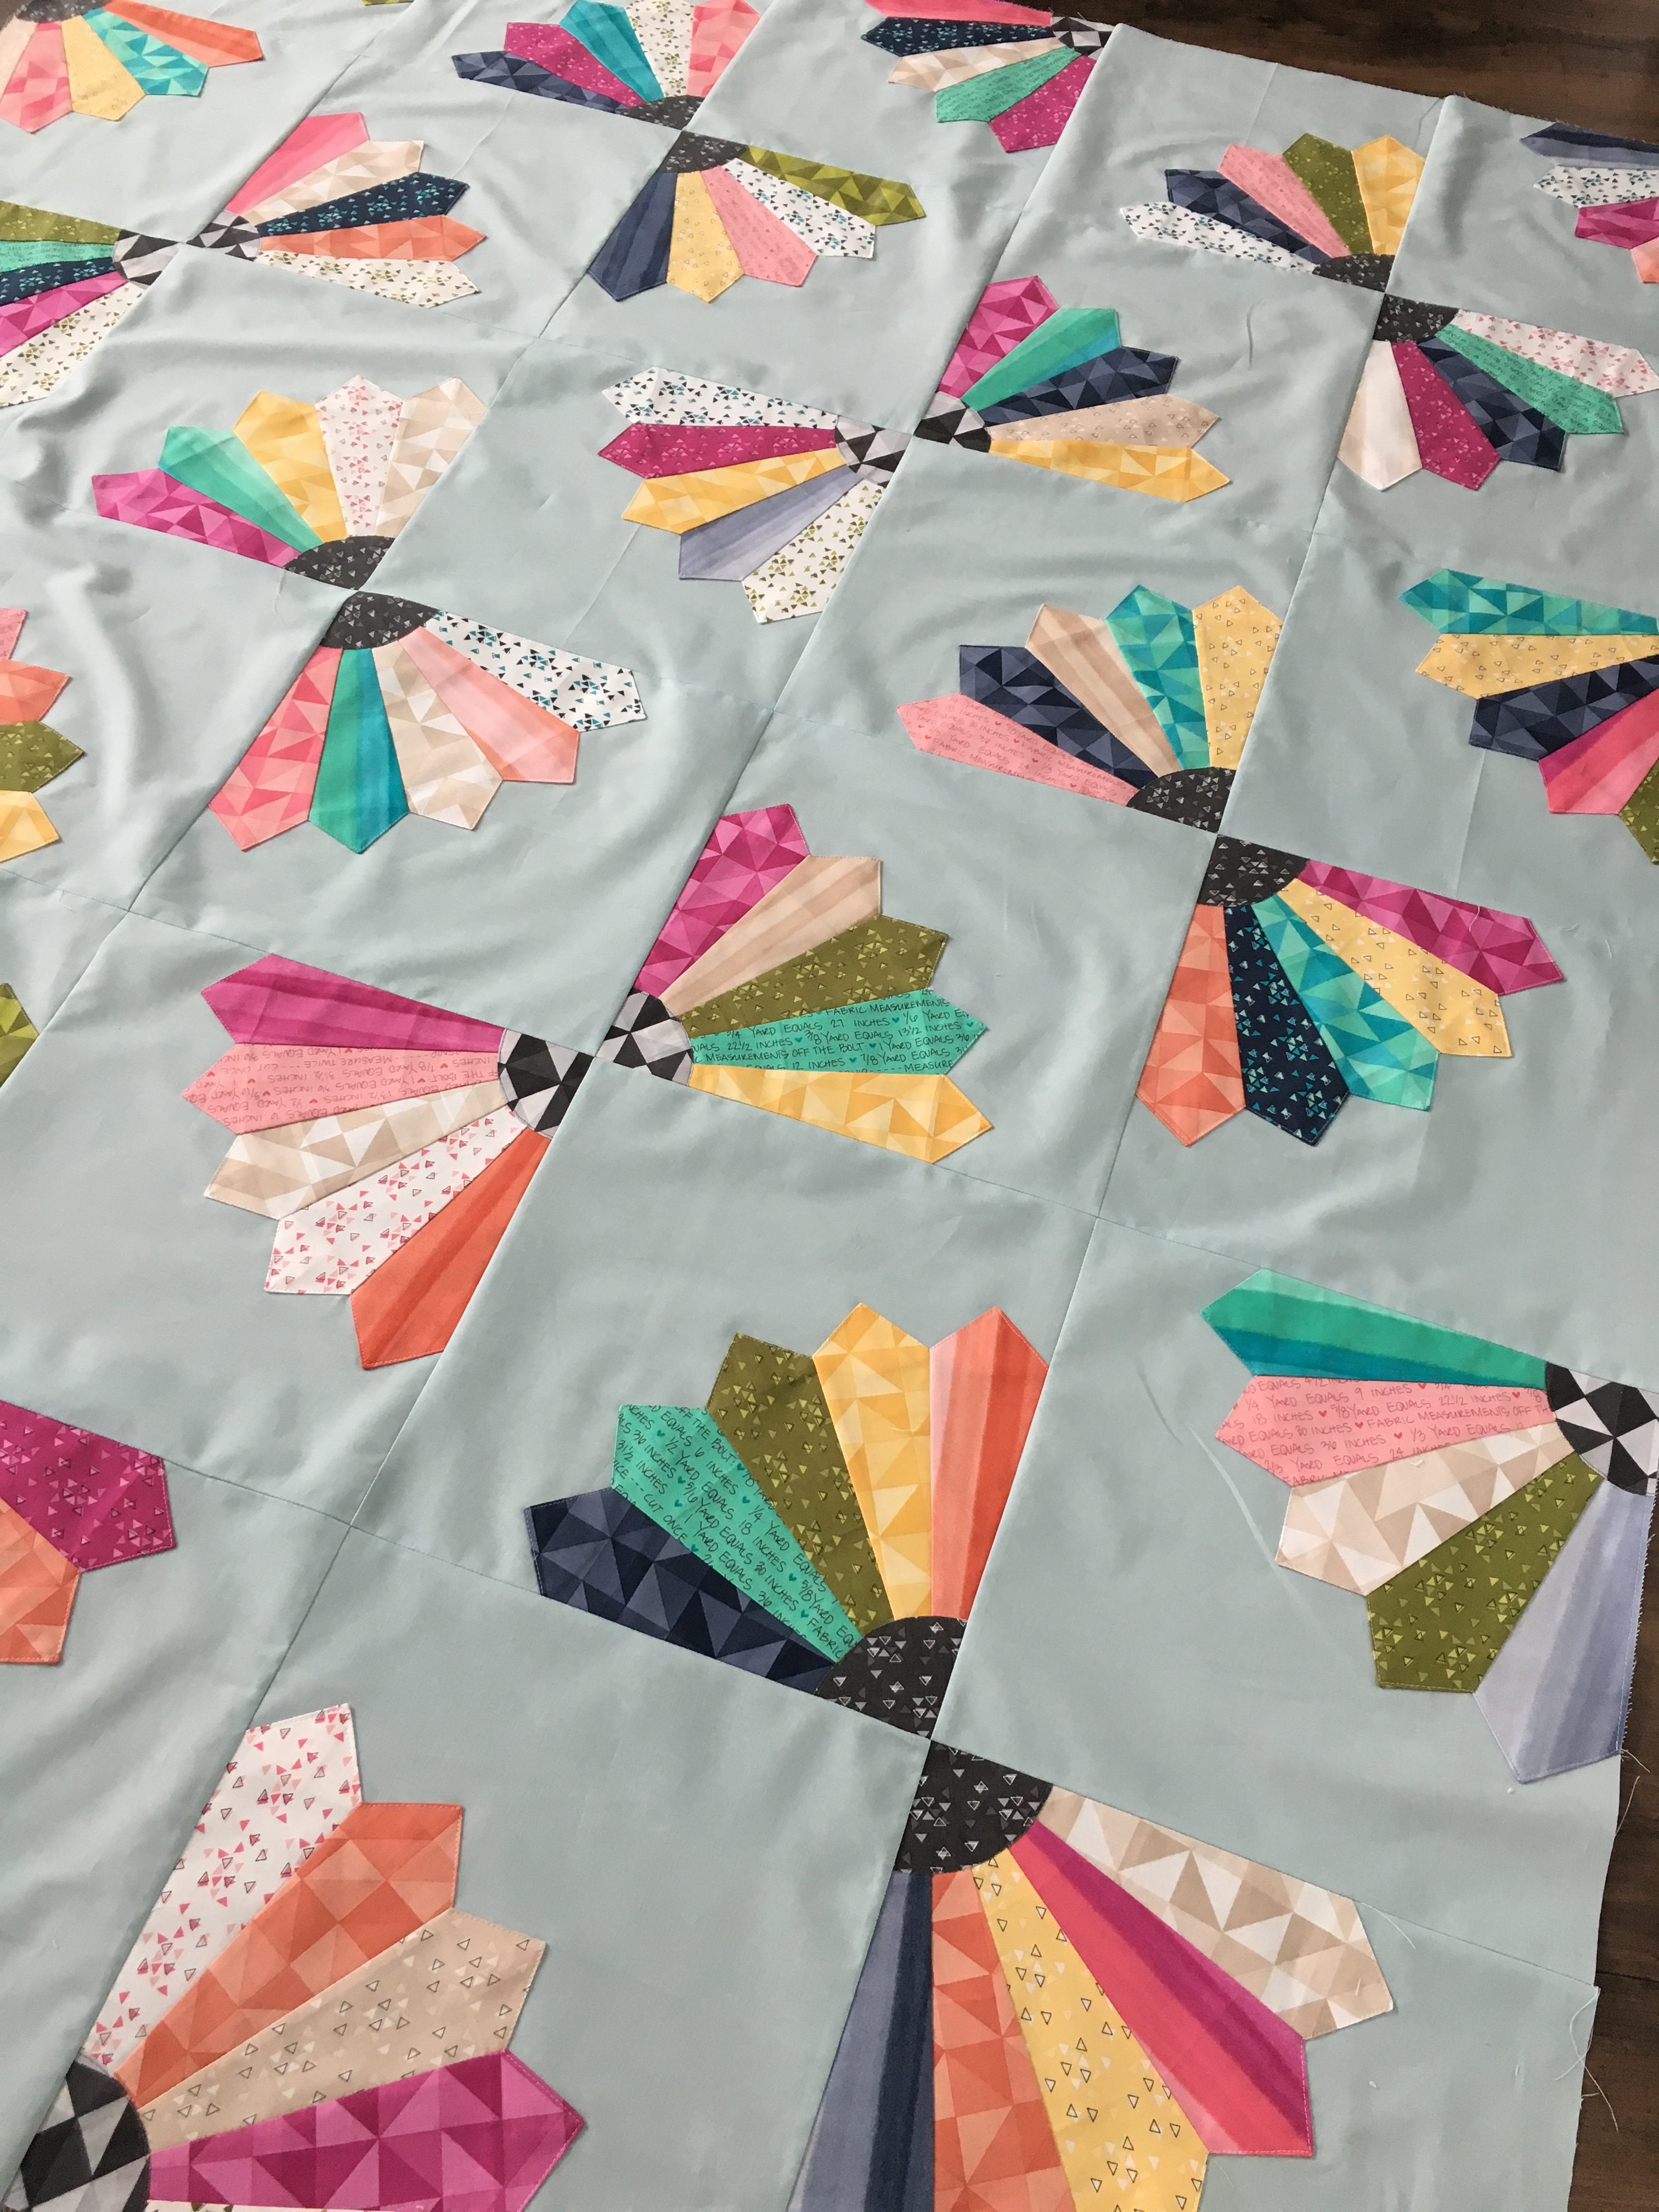
Lay out your blocks as shown below. I made sure each "butterfly" had a matching center as I was laying them out. Press your seams open as you assemble your top, as there will be quite a bit of bulk in your seams.
![]()
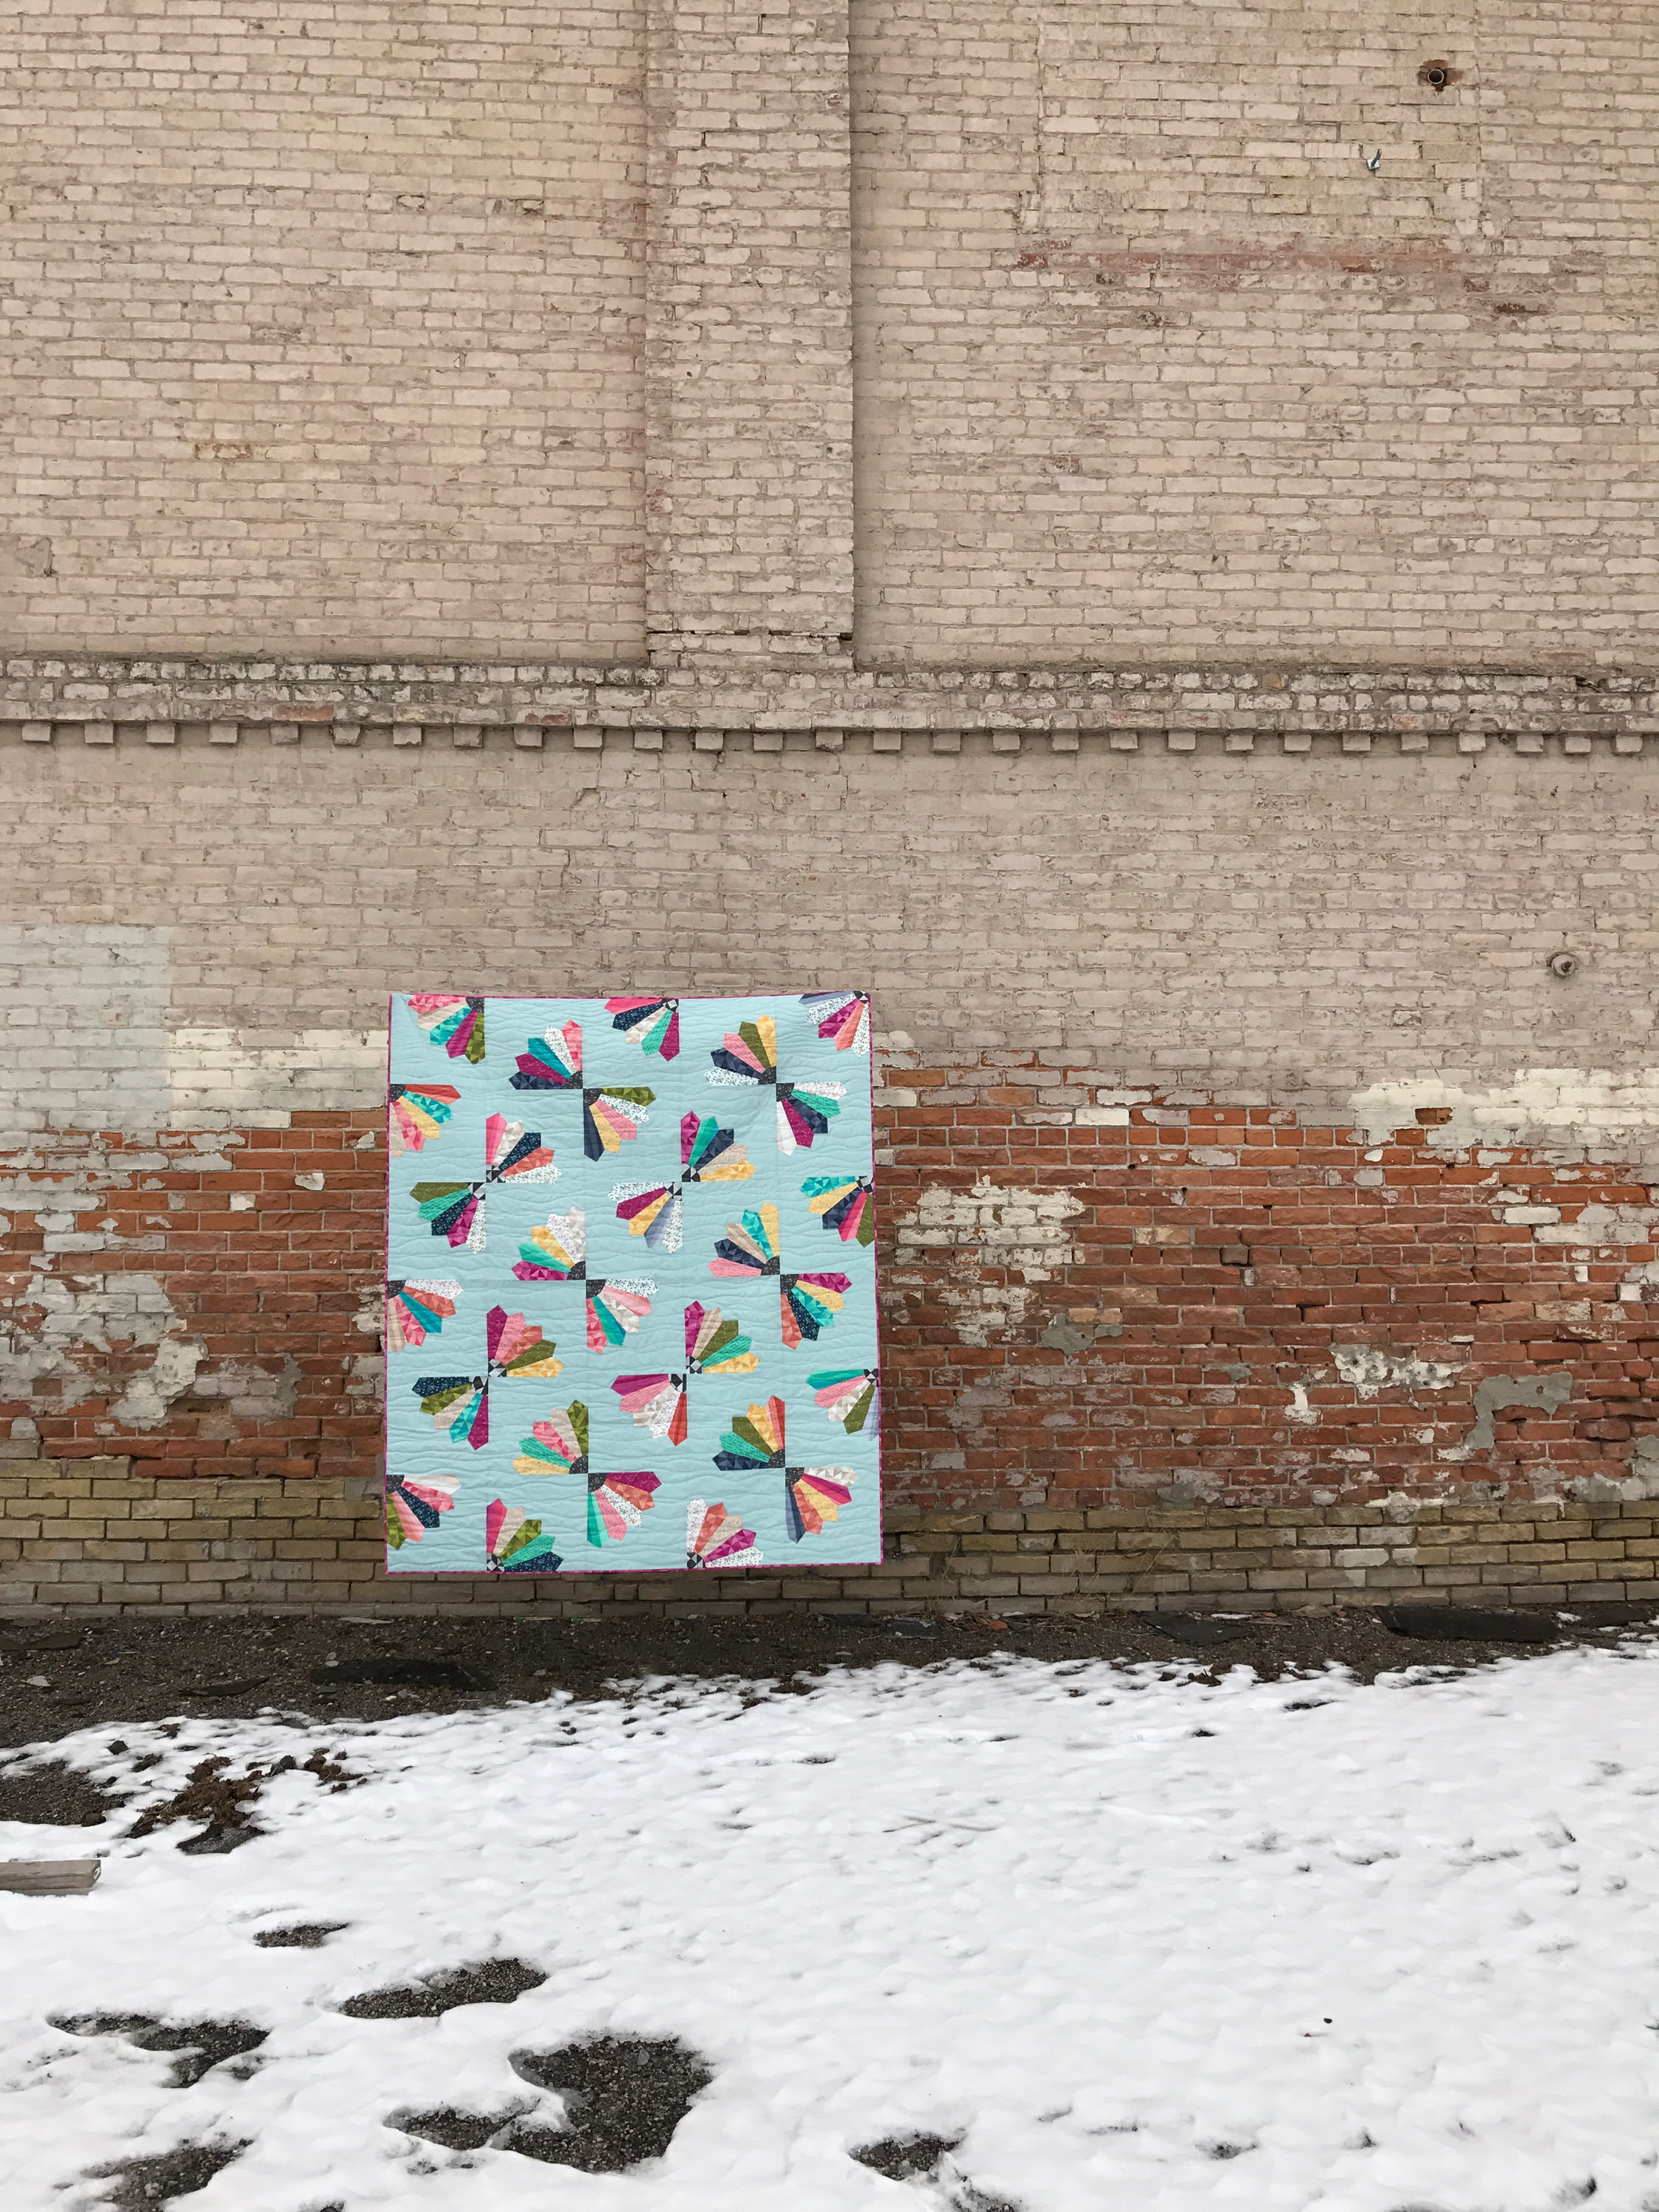
This quilt finishes at 60" x 72".
I hope you liked this pattern and even more so, I hope that if Dresdens were intimidating to you that you found some courage to try them! Follow along with me on instagram or on my blog, and don't forget to use the #dresdenbutterflies hashtag if you make one. I'd love to see it.
Jen Van Orman
{heritage-threads.com}
![]()
Save
Save
Posted in:
Comments