Welcome to Moda Fabrics!
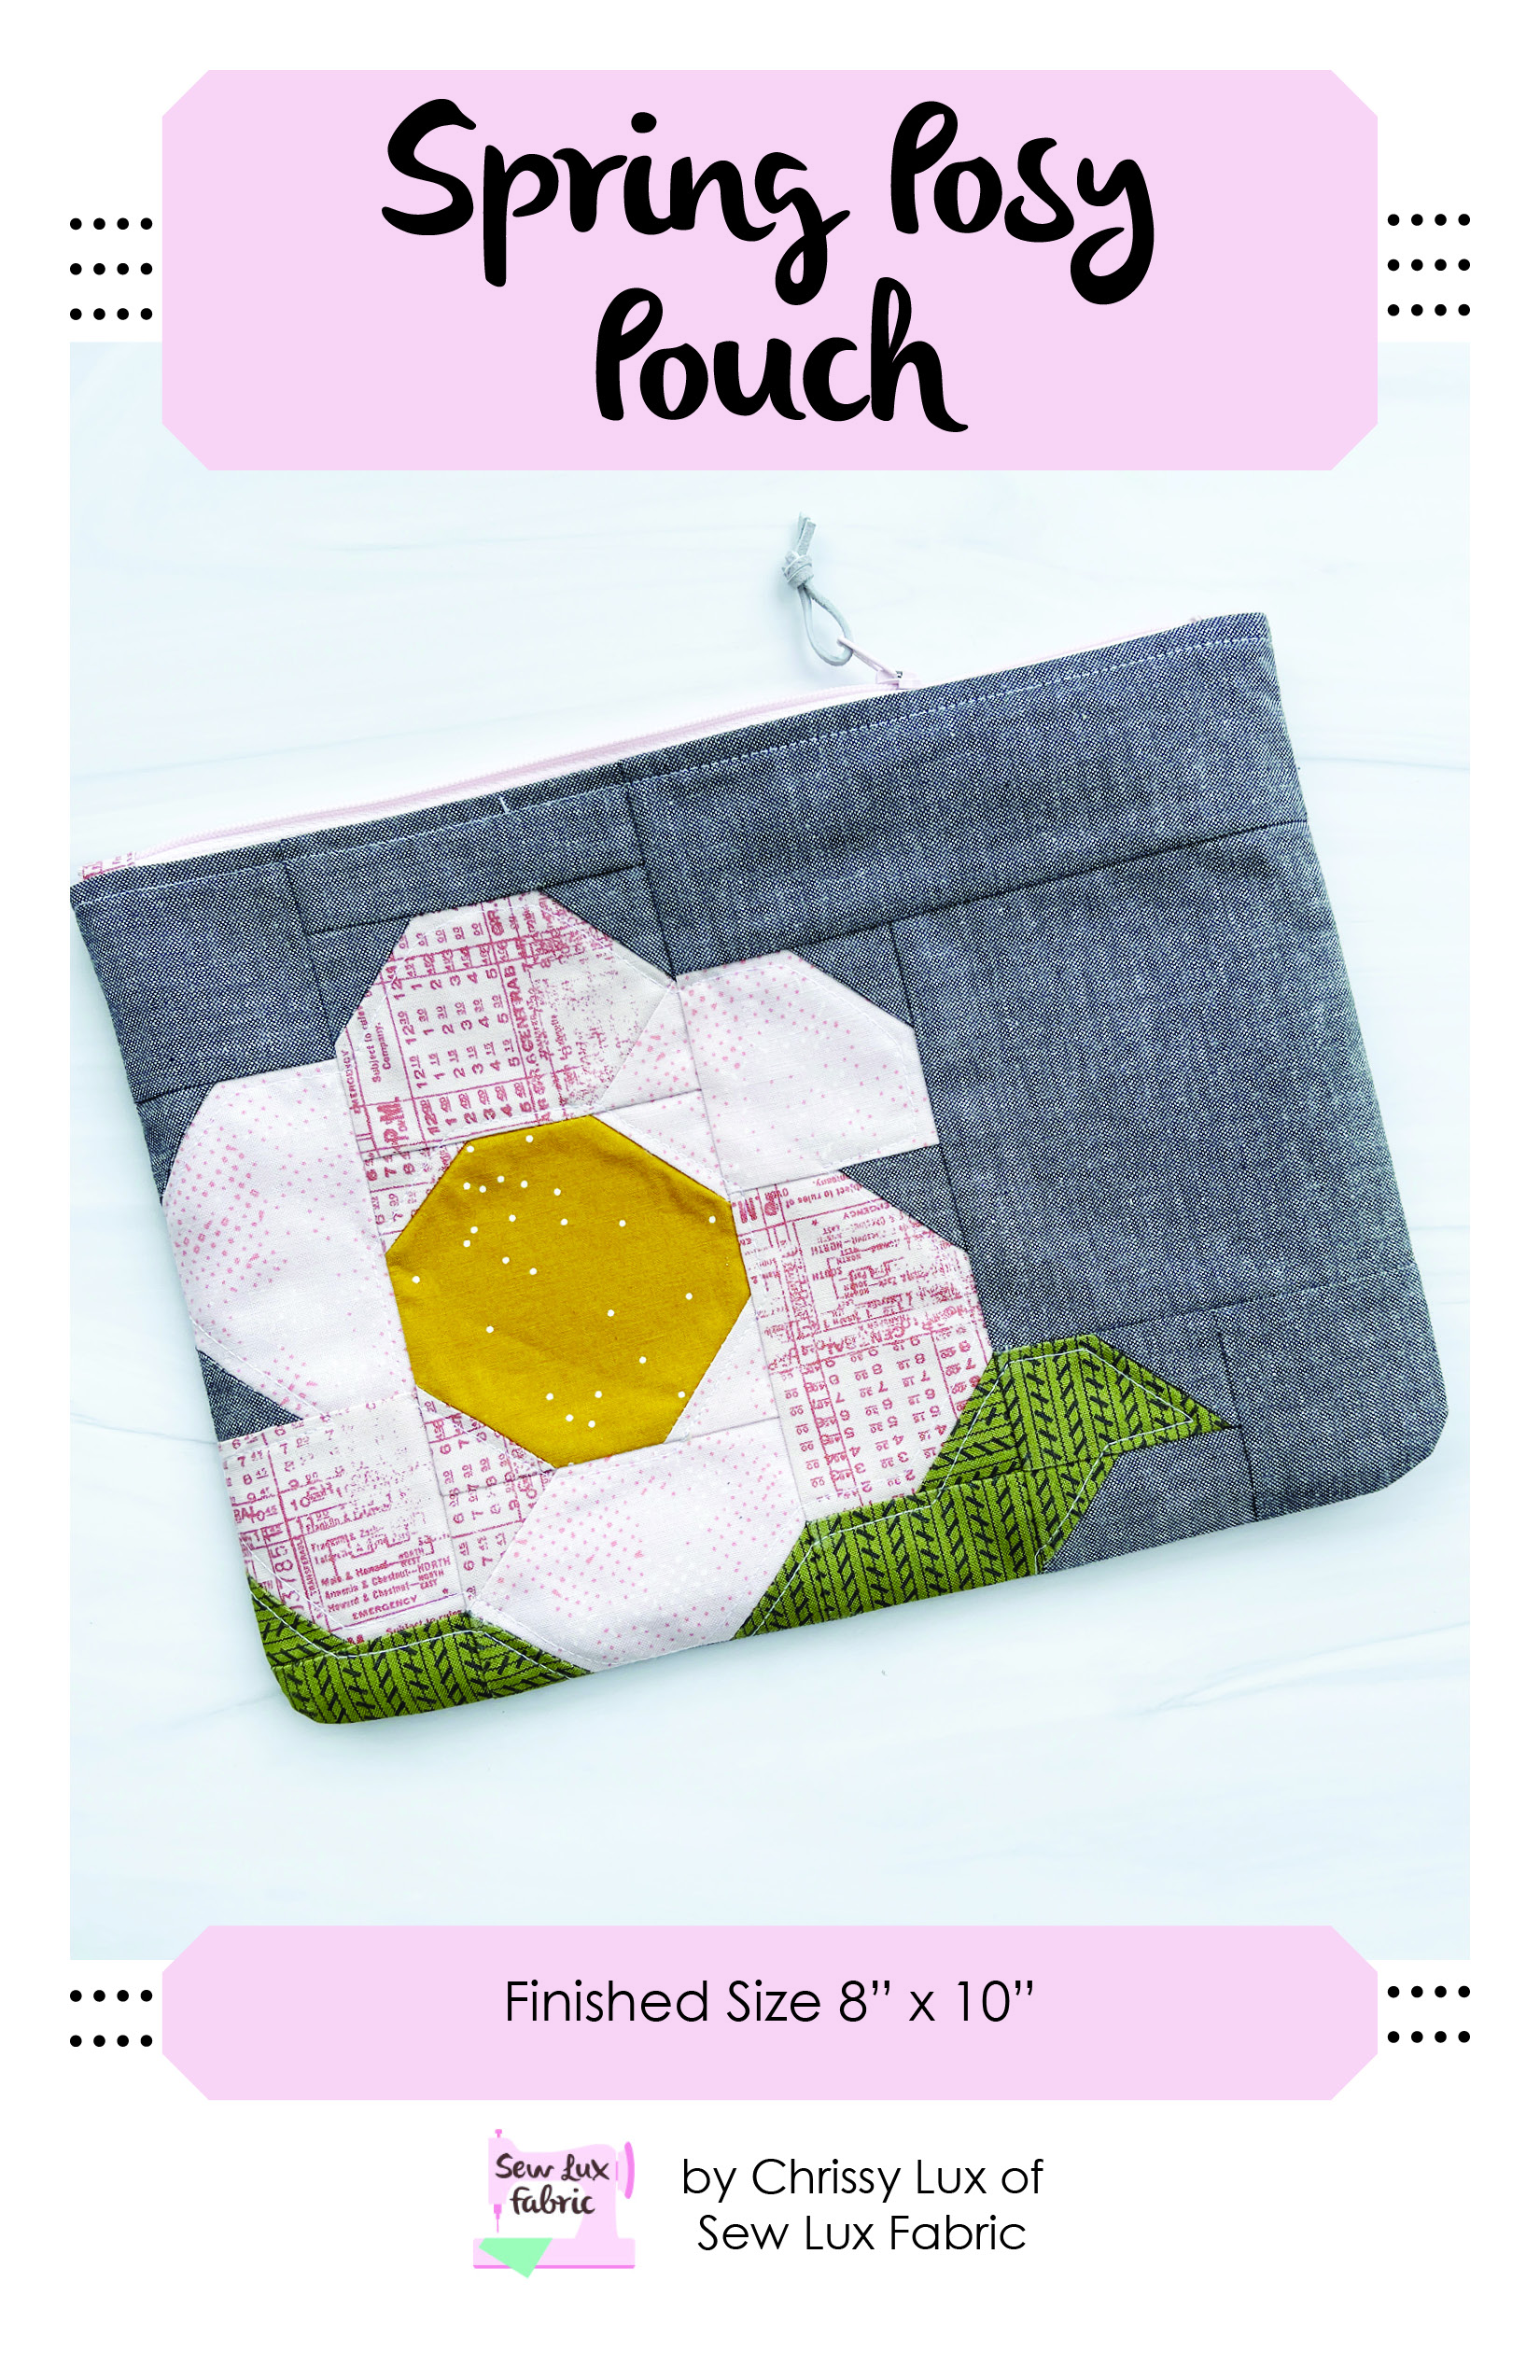
POUCH CLUB: SPRING POSY
POUCH CLUB: SPRING POSY
Published:
Mar 21 2024 - 08:00
Materials Needed:
You will need the following to complete this project:
- 2 Fat Sixteenths (or Layer Cake squares) for Flower Petals (Strawberry Lemonade by Corey Yoder shown)
- 1 Fat Sixteenth for Leaves
- 1 Charm Square (5") for Flower Center
- 1 Fat Quarter Exterior (Crossweave Lake shown)
- 1 Fat Quarter Lining
- (1) 12" longer zipper
- 1/3 yard Interfacing (Pellon SF101 or similar)
- Spring Posy Pouch Pattern SLF2251
Paper and PDF patterns as well as kits are available in our shop at Sew Lux Fabric or ask your local quilt shop to carry the paper pattern and kit one up for you!
Note: Be sure to check out the video on our YouTube channel linked at the end of this post for additional tips and video to support this tutorial.
Step 1: Piece the Pouch Front
Follow the directions in the pattern to cut the fabrics to size. We’re using prints from Strawberry Lemonade, Fig Tree Eyelets and Beyond Bella for this pouch.

The flower petal units come together pretty easily using diagonal seams. Follow the pattern directions for instructions on which units to make.

To sew a diagonal seam: Draw a diagonal line on the wrong side of the square and then sew just inside the line.

Press toward the corner and then trim the seam allowance. TIP: When sewing smaller units, pressing seams open can help reduce bulk.
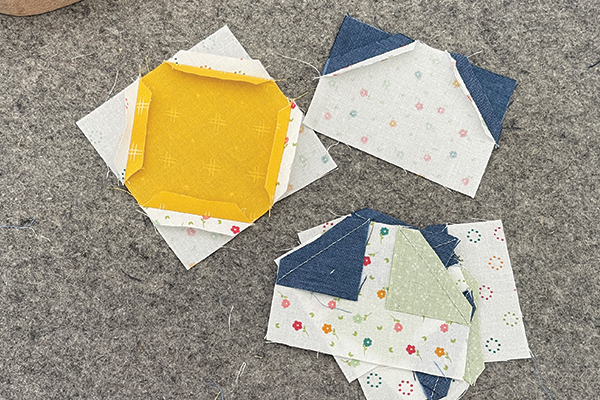
TIP: When I am piecing tiny blocks like this, I will often check my block size after adding corner triangles. If they need trimming to keep everything square, taking the time to do so will lead to a more accurate finished block later.

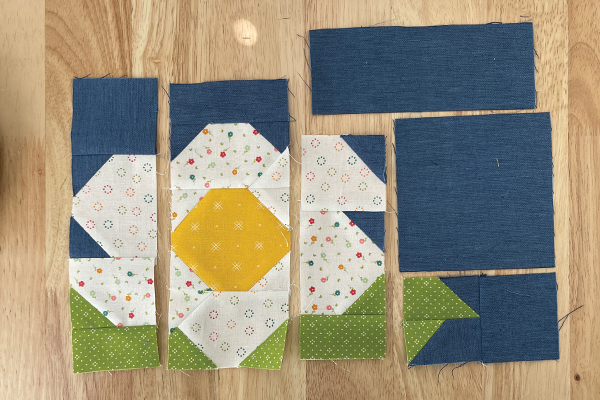
This pouch front comes together in sections. Follow the directions in the pattern to join units together and then sew the three sections together to finish the pouch front.
Once the front pouch panel is made, adhere interfacing to the wrong side of the front and the pouch back as well.

Add any decorative stitching, if you'd like. I stitched around the inside of the different flower petals, leaves, and center as shown in the photo below.

Use the template in the pattern or other similarly sized round object to mark a curve on the bottom corners of the exterior and lining pieces.

Carefully trim the corners to curve them and now we're ready to install the zipper!

Step 2: Prepare & Install the Zipper
Follow the directions in the pattern to make and add tabs to the ends of the zipper.
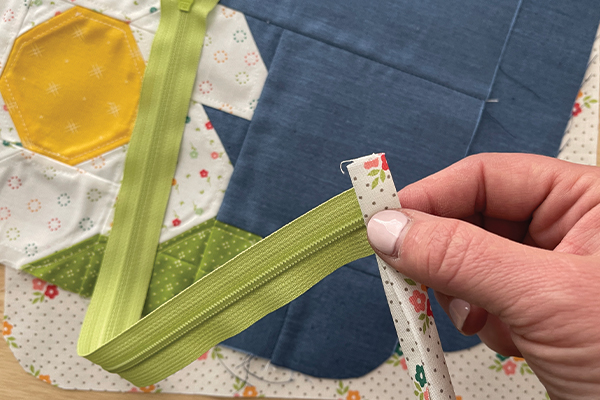
Align the zipper with the top edge of the pouch, centering it and leaving about 1/2" on either side.

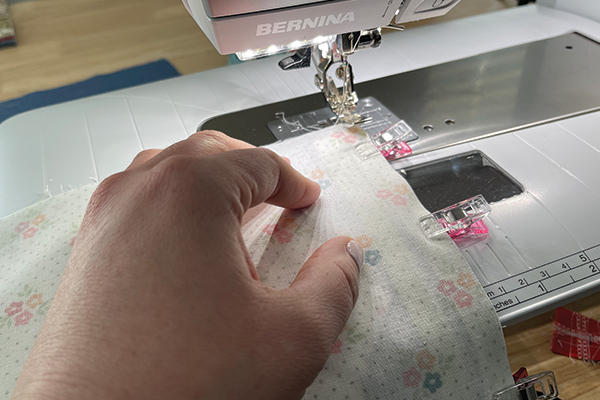
Install the zipper using a zipper foot and top stitch the exterior & lining in place. (Refer to video linked below.)
Step 3: Finish the Pouch
Arrange the pouch so that the exterior is RST and the lining pieces are RST. Make sure the zipper is half open and pin or clip in place around all four sides and sew closed, leaving a 3-4" hole in the bottom of the lining.

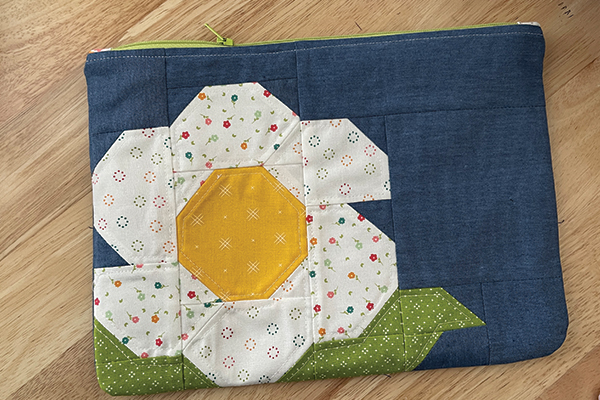
Turn the pouch right sides out through the hole in the bottom of the lining, press well and close the opening by hand or machine.
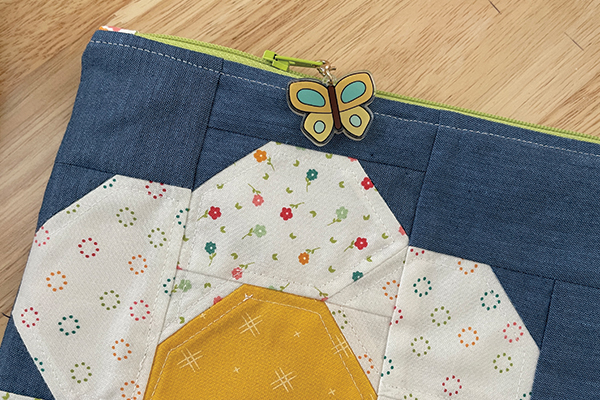
Our acrylic zipper pulls look so cute on this pouch! (Butterfly zipper pull from the Pouch Club Acrylic Zipper Pulls set. SKU CL142)
For more details and video of the steps above and some additional tips, check out the video.

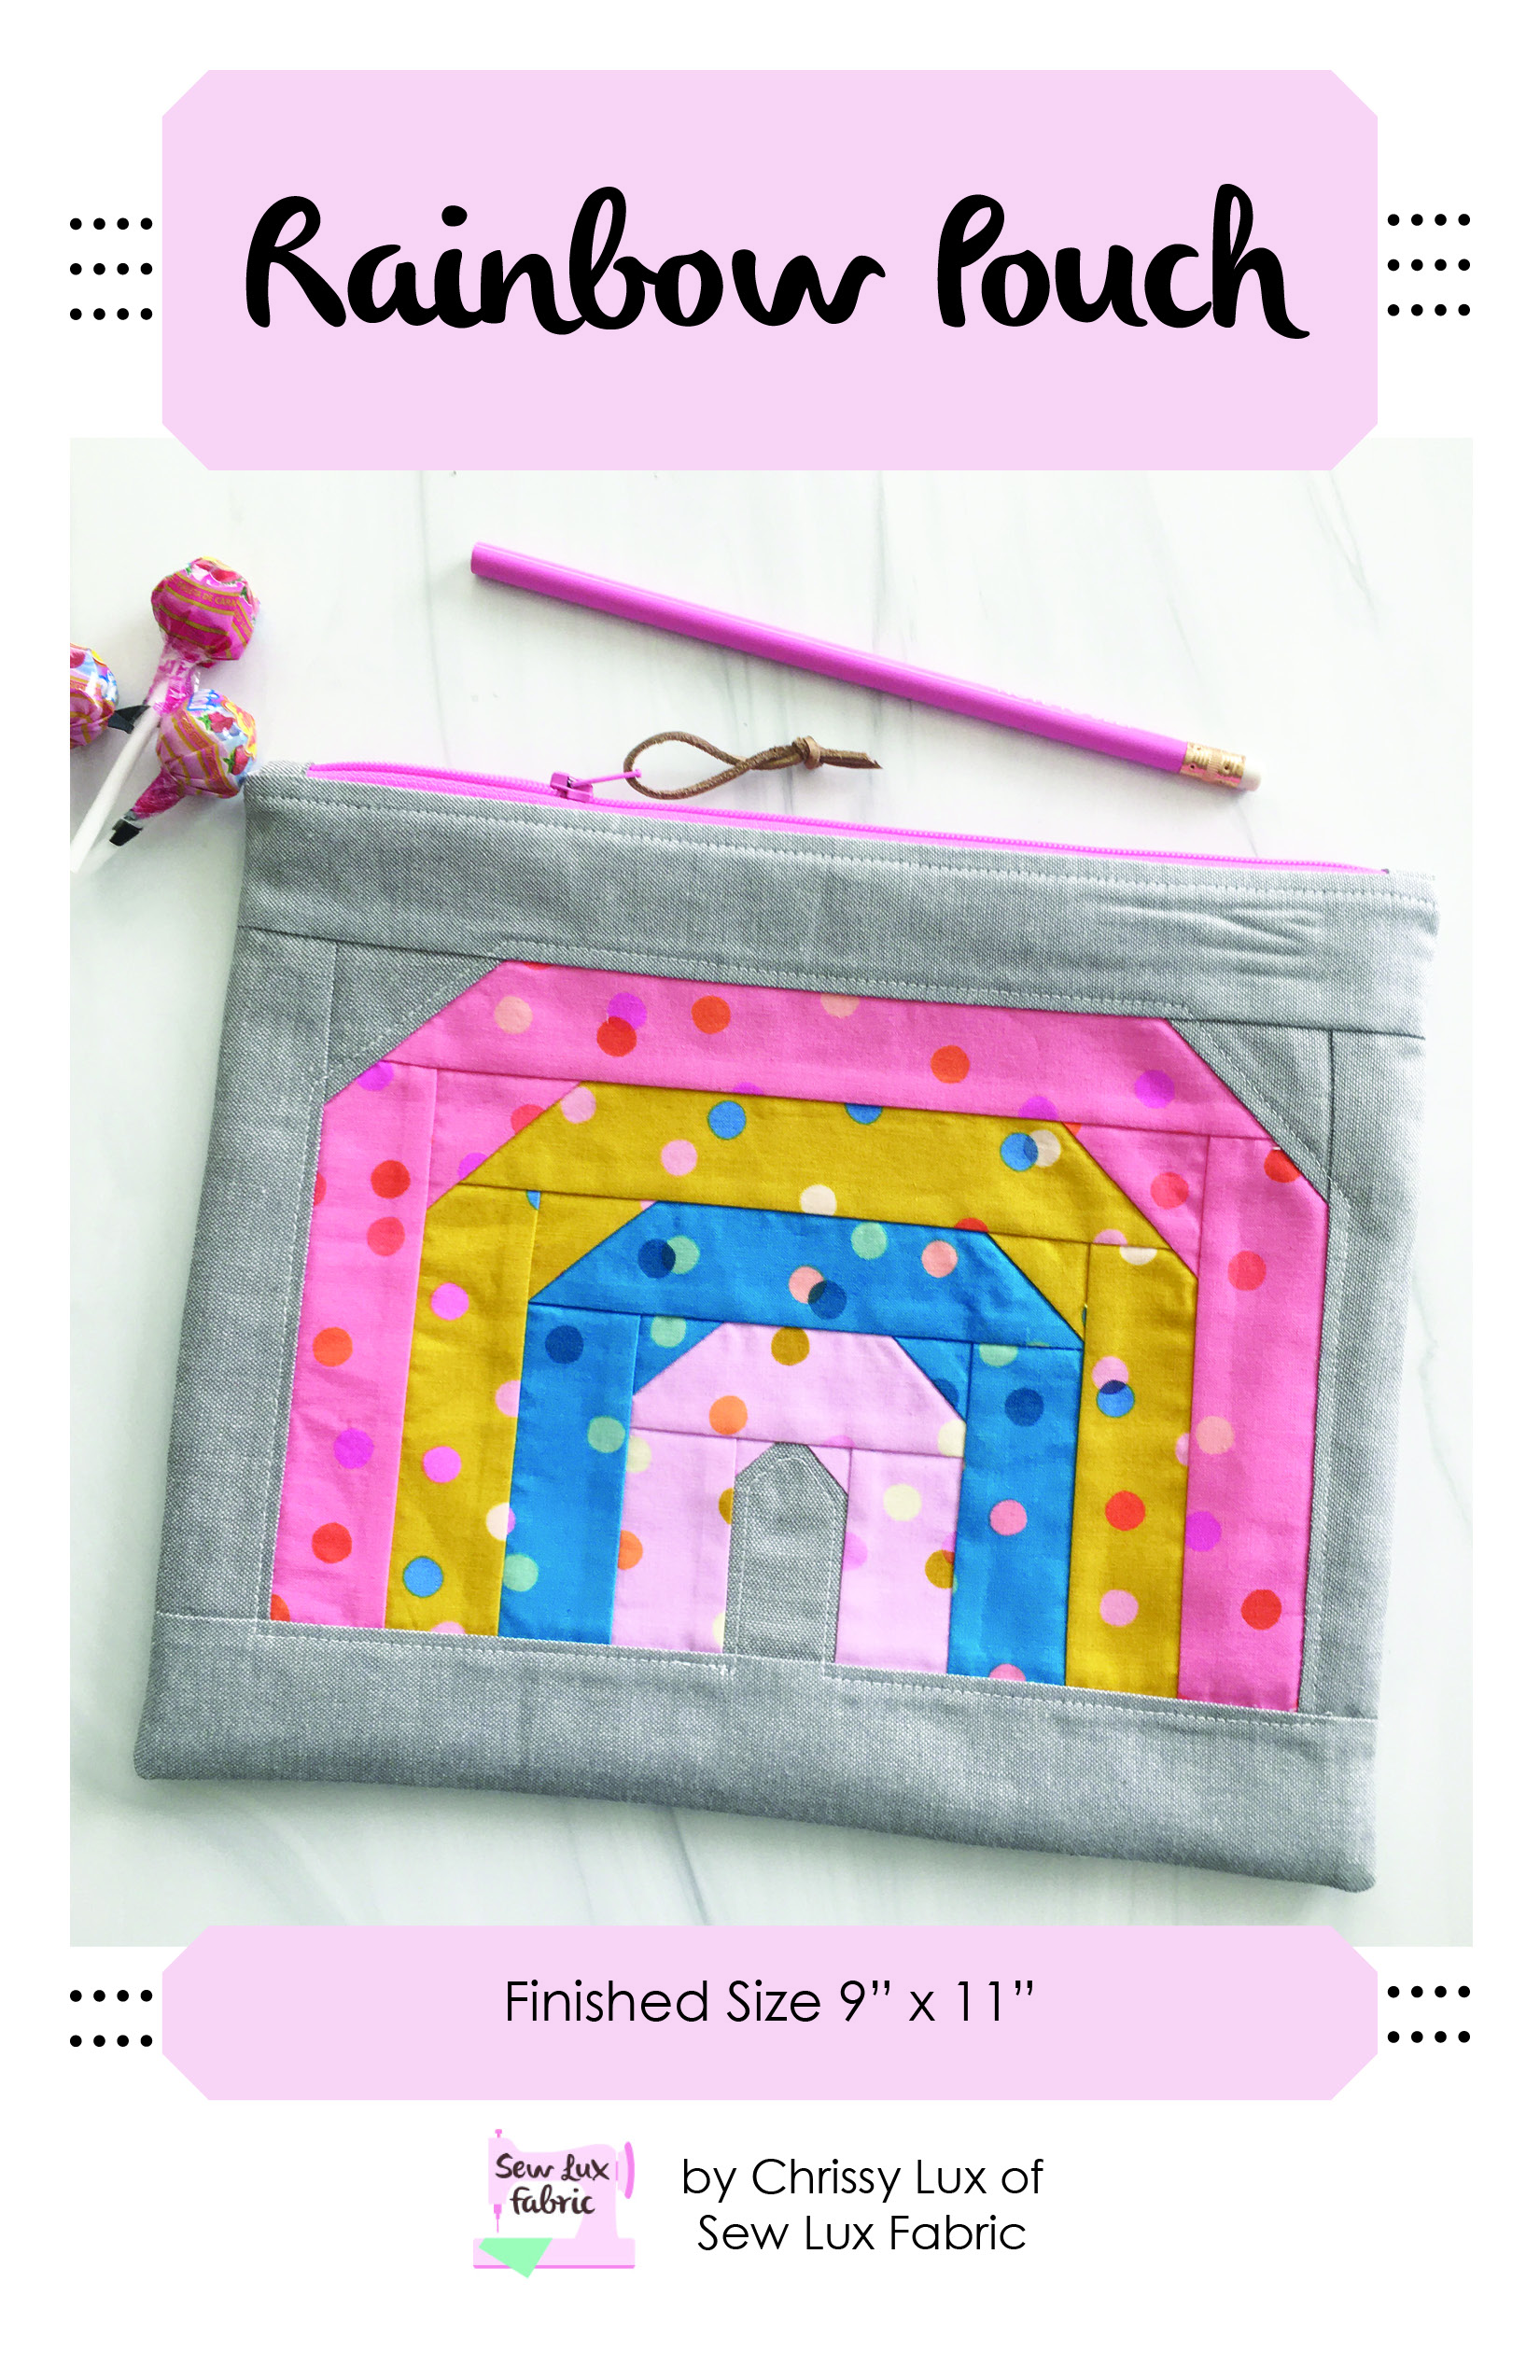
Next month, we will be making the Rainbow Pouch, a fan favorite at Sew Lux! See you back here on April 18th for our next installment of the Pouch Club Series.