Welcome to Moda Fabrics!
Tumbling Mug Rug
Tumbling Mug Rug
Published:
Sep 27 2015 - 23:00


Hello Fellow Quilters!! I am a first-timer here on the Moda Bake Shop and I am so excited! This project is easy and fun. I have an addiction to mini charms and this gives me something to create with these that are fast and easy but looks difficult. I have already made 5 different mug rugs!
The mug rug finishes at 9" x 10" or the place mat finishes at 18" x 12".
![]()
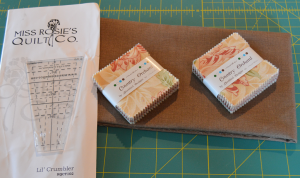
Pick the ingredients for the desired size.

1 Mug Rug:
- 1 Mini Charm Pack
- 1 Fat Quarter for Backing
- 1 piece of batting to fit finished size
- Matching Thread for Quilting
- Lil Crumbler Ruler by Miss Rosie’s Quilt Co
1 place mat:
- -2 Mini Charm Packs
- 1 Fat Quarter for Backing
- 1 Piece of batting to fit finished size
- Matching Thread for quilting
- Lil Crumbler Ruler by Miss Rosie’s Quilt Co
![]()
Place 1 mini charm square on your cutting mat. I placed mine on the 1 ¾” mark. Place the Lil Crumbler Ruler large end flush with the top of the mini charm square and the solid middle line on the 3” mark on the mat. By placing your square on the 1 ¾” mark and placing the solid line on the 3” mark this will place the ruler in the middle of the Mini Charm Square.

Cut on each side of the ruler, what is cut off here is waste and can be thrown away or add to your quilters jelly jar!

Repeat the cutting for all of the mini charm squares in the pack (or if making a place mat cut both packs the same way). The cut mini charm squares will now be referred to as a tumbler.
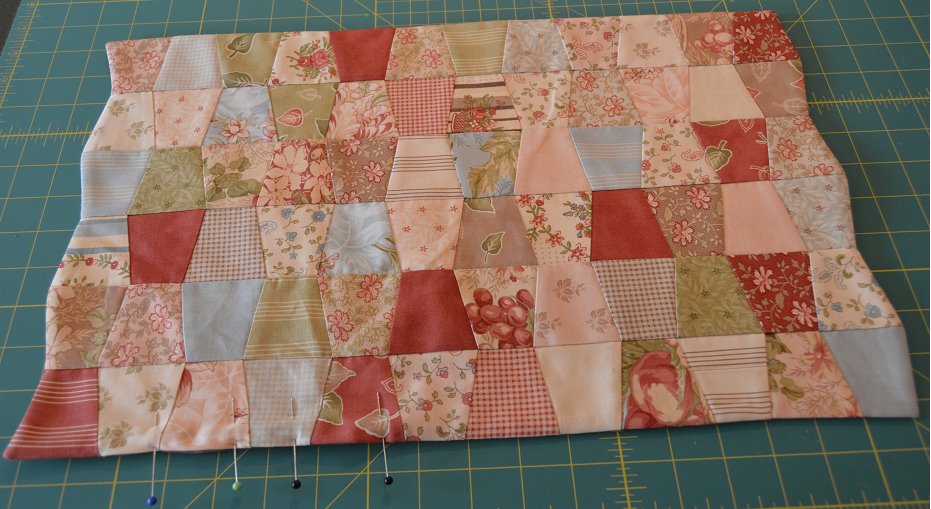
Lay the tumblers out 6 x 5 for the mug rug. If making the place mat, lay the tumblers out 12 x 6. You can make these mug rugs or place mats whatever size you would like, the layout would determine how many mini charm packs you would need. The picture is of the place mat.

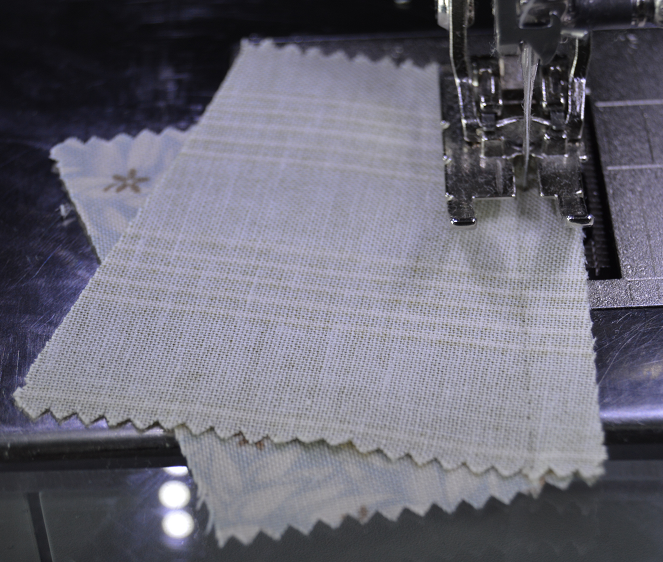
Now it is time to sew! Flip 1 tumbler on top of another tumbler. I flipped the 2nd tumbler on top of the 1st tumbler.

Sew the two tumblers together using a ¼” seam.
Now take the next 2 tumblers and sew these together. Continue sewing the tumblers together in the 1st row.
Sew each row of tumblers together.

Press the rows in opposite directions. This will let the seams snuggle when putting the rows together.
Sew the 1st and 2nd rows together. Snuggle the seams together and pin in place.

Sew all the rows together. Press to one side, using Best Press (or another pressing aid to help make the mug rug lay flat.
Layer Batting, Backing right side up, and mug rug right side down. Pin together through all 3 layers.

Stitch around the mug rug with a ¼” seam. When stitching the uneven sides, stitch to the seam line where the 2 rows are joined. Stop with your needle down, pivot, and continue sewing. Leave an opening for turning on one of the straight sides (size of the opening depends of size of the project).


Cut Backing and Batting even with the mug rug. Where you left the opening for turning, leave 1/8” of batting and backing. Round the 4 corners of the mug rug (this will relieve the bulk in the corners).

Turn mug rug through the opening, poking the corners out (I use a small pair of scissors to poke the corners out.)
Press the mug rug, turning the opening in and pin.
Top stitch 1/8” all the way around the mug rug. When stitching the uneven sides, stitch to the seam line where the 2 rows are joined. Stop with your needle down, pivot, and continue sewing.
Quilt as desired. I stitched 1/8” away from the seams. See the Picture.
Press and enjoy!

![]()
Finished mug rug is 9" x 10" or the place mat finishes at 18" x 12".
Hope you enjoyed my latest pattern! For more fun projects check out my Facebook page under Meg’s Choice Patterns! I hope to have a blog started by the end of the year with fun patterns and tips!
Megan Pohlar-McGuire
{Meg's Choice Patterns}
![]()
Posted in: